8 Tools
144
Tools
8
3 Select [Date & Time], and then press the <OK>
button.
4 Set the date.
Use the numeric keypad (buttons 0 to 9) to enter
the date.
Example: To enter June 18, 2014 as the date,
press <2><0><1><4> <0><6> <1><8>.
Note • Enter the date in the display format set in [Date
Format].
• Press the < > and < > buttons to move the
cursor.
5 Press the <OK> button.
6 Set the current time.
Use the numeric keypad (buttons 0 to 9) to enter
the current time.
Note • Enter the time in the display format (12- or 24-
hour clock) set by [Time Format].
When [12H] has been set for [Time Format],
enter a value between [1:00] and [12:59].
When [24H] has been set for [Time Format], enter a value between [0:00] and [23:59].
• Press the < > and < > buttons to move the cursor.
7 Press the <OK> button.
8 Check the settings, and then press the <OK> button.
The confirmation screen will be displayed.
Date Format
Set the date format.
You can select from [yy/mm/dd], [mm/dd/yy], or [dd/mm/yy].
[yy/mm/dd] is set at the time of factory shipment.
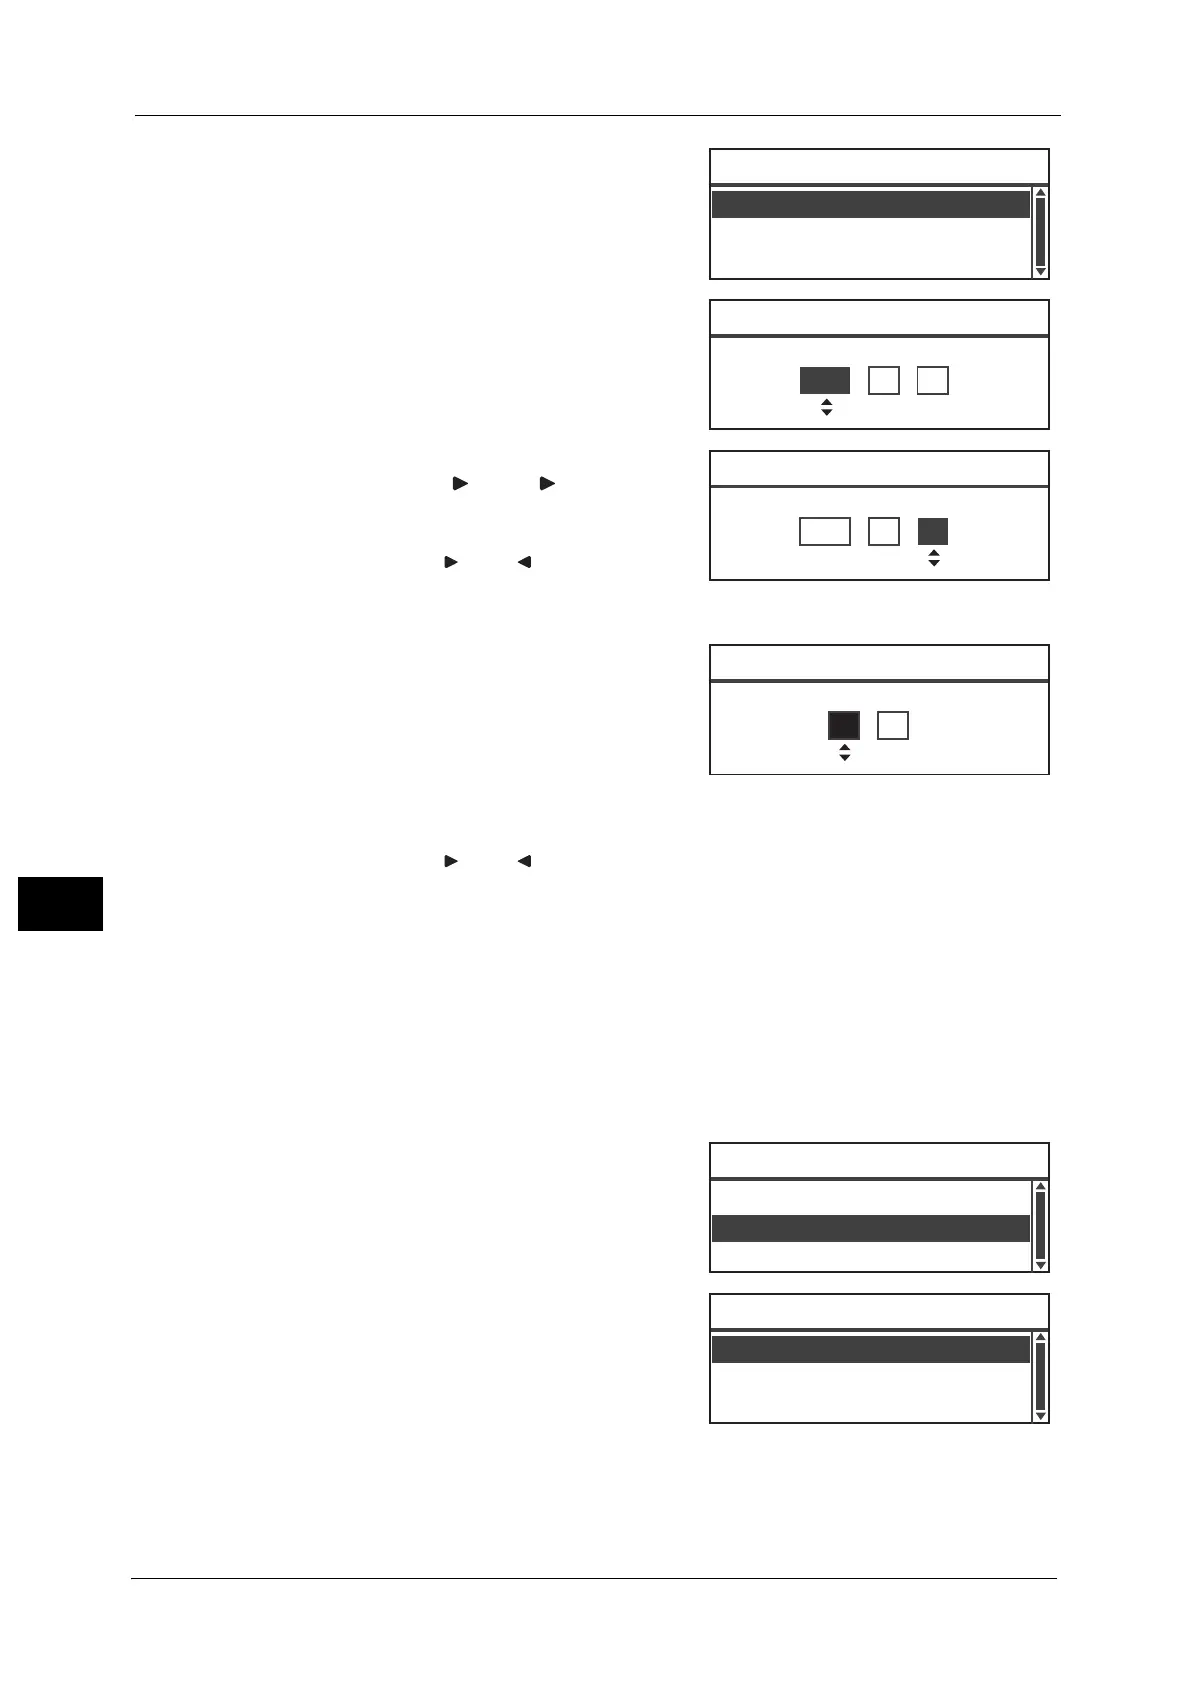
1 In the [Clock] screen, select [Date Format], and
then press the <OK> button.
2 Select the date display format, and then press
the <OK> button.
Time Format
Set the time format.
Date Format
...
yy/mm/dd
Time Format
...
24H
Clock
Date & Time
...
Date [OK]:Next Screen
1900 / 1 / 1
Date [OK]:Next Screen
2014 / 6 / 18
Time [OK]:Save
(0:00 - 23:59)
00 : 00
Date Format
...
yy/mm/dd
Time Format
...
24H
Clock
Date & Time
...
mm/dd/yy
dd/mm/yy
Date Format
yy/mm/dd
 Loading...