4 Handling the Rack after Installation 151
E
4.4 Mounting a General-purpose Table (Fixed Type)
■ Confirming components
Confirm that all components have been delivered (see the table below).
Also, prepare the necessary tools:
・Phillips screwdrivers (No. 3 bits)
・Cage nut tool
・Hexagon wrenches (M6 bolts: Socket size 10)
The procedure for mounting a general-purpose table (fixed type) is as follows:
1. Insert cage nuts.
2. Attach rear brackets.
3. Mount the table.
4.4.1 Inserting cage nuts
Insert cage nuts into the rack posts (front and rear). For information on the procedure for inserting the
cage nuts, see "4.1 Inserting and Removing Cage Nuts".
1 Open the front door, and insert the M6 cage nuts into the front post of the
rack.
The mounting locations are as follows: one nut in each of the upper and lower square holes
among the three square holes (height of 1 U) at the location line marking the mounting
location of the table. Two nuts on each of the left and right sides make up a total of four nuts.
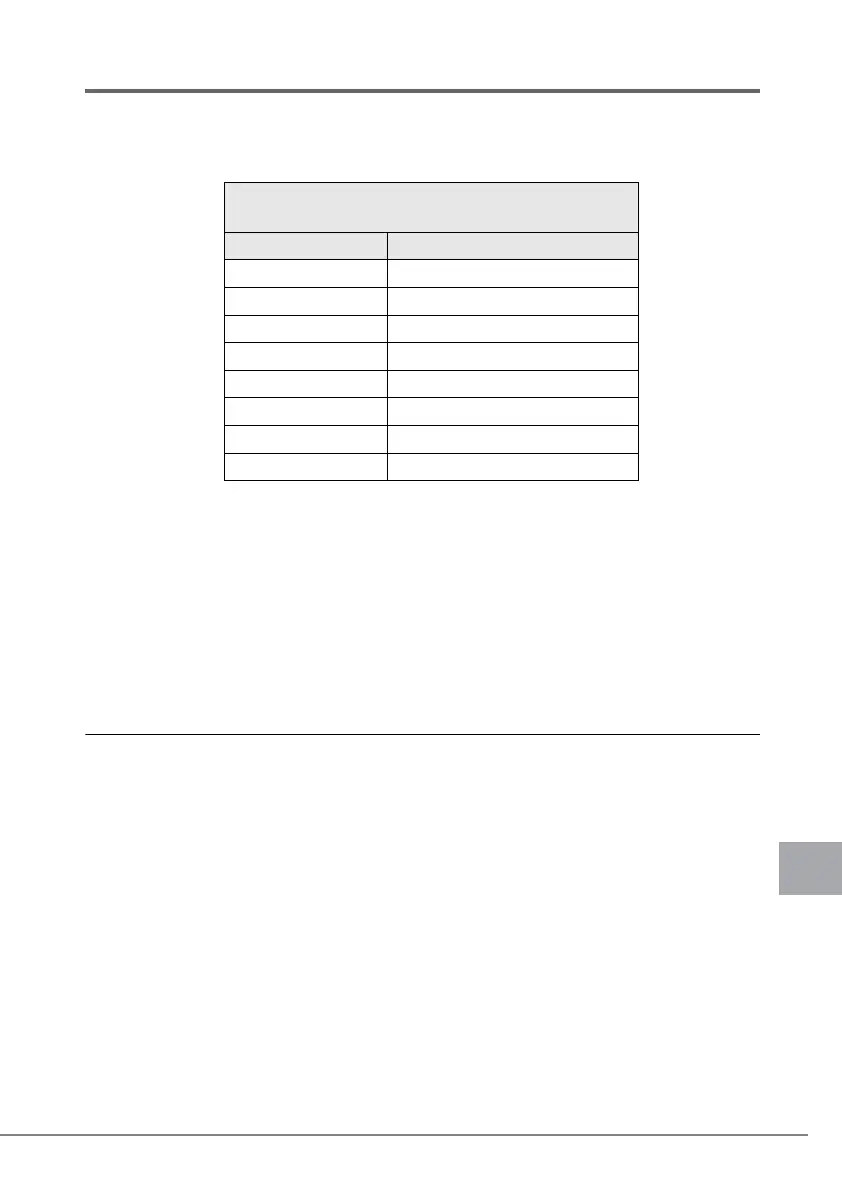
General-purpose table (fixed type)
Type name: 19R-26TR1
Component name Quantity
Table 1
Rear bracket L 1
Rear bracket R 1
M6 cage nut 8
M6 bolt 4
M6 screw 8
Belt 2
Installation Guide 1
 Loading...