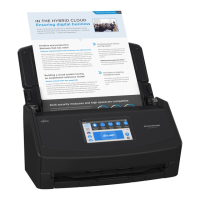
Connecting the ScanSnap to a Computer Directly in Direct
Connect Mode (iX1600 / iX1500)
When a wireless LAN environment has not been configured or the ScanSnap cannot establish a
connection to a wireless access point, and if you want to connect the ScanSnap to a computer via
wireless LAN, use Direct Connect mode to connect the scanner to the computer directly.
1. When the ScanSnap is connected to a computer via the USB cable, unplug
the USB cable.
2. Set [Wi-Fi connect mode] to [Direct connection] for the ScanSnap.
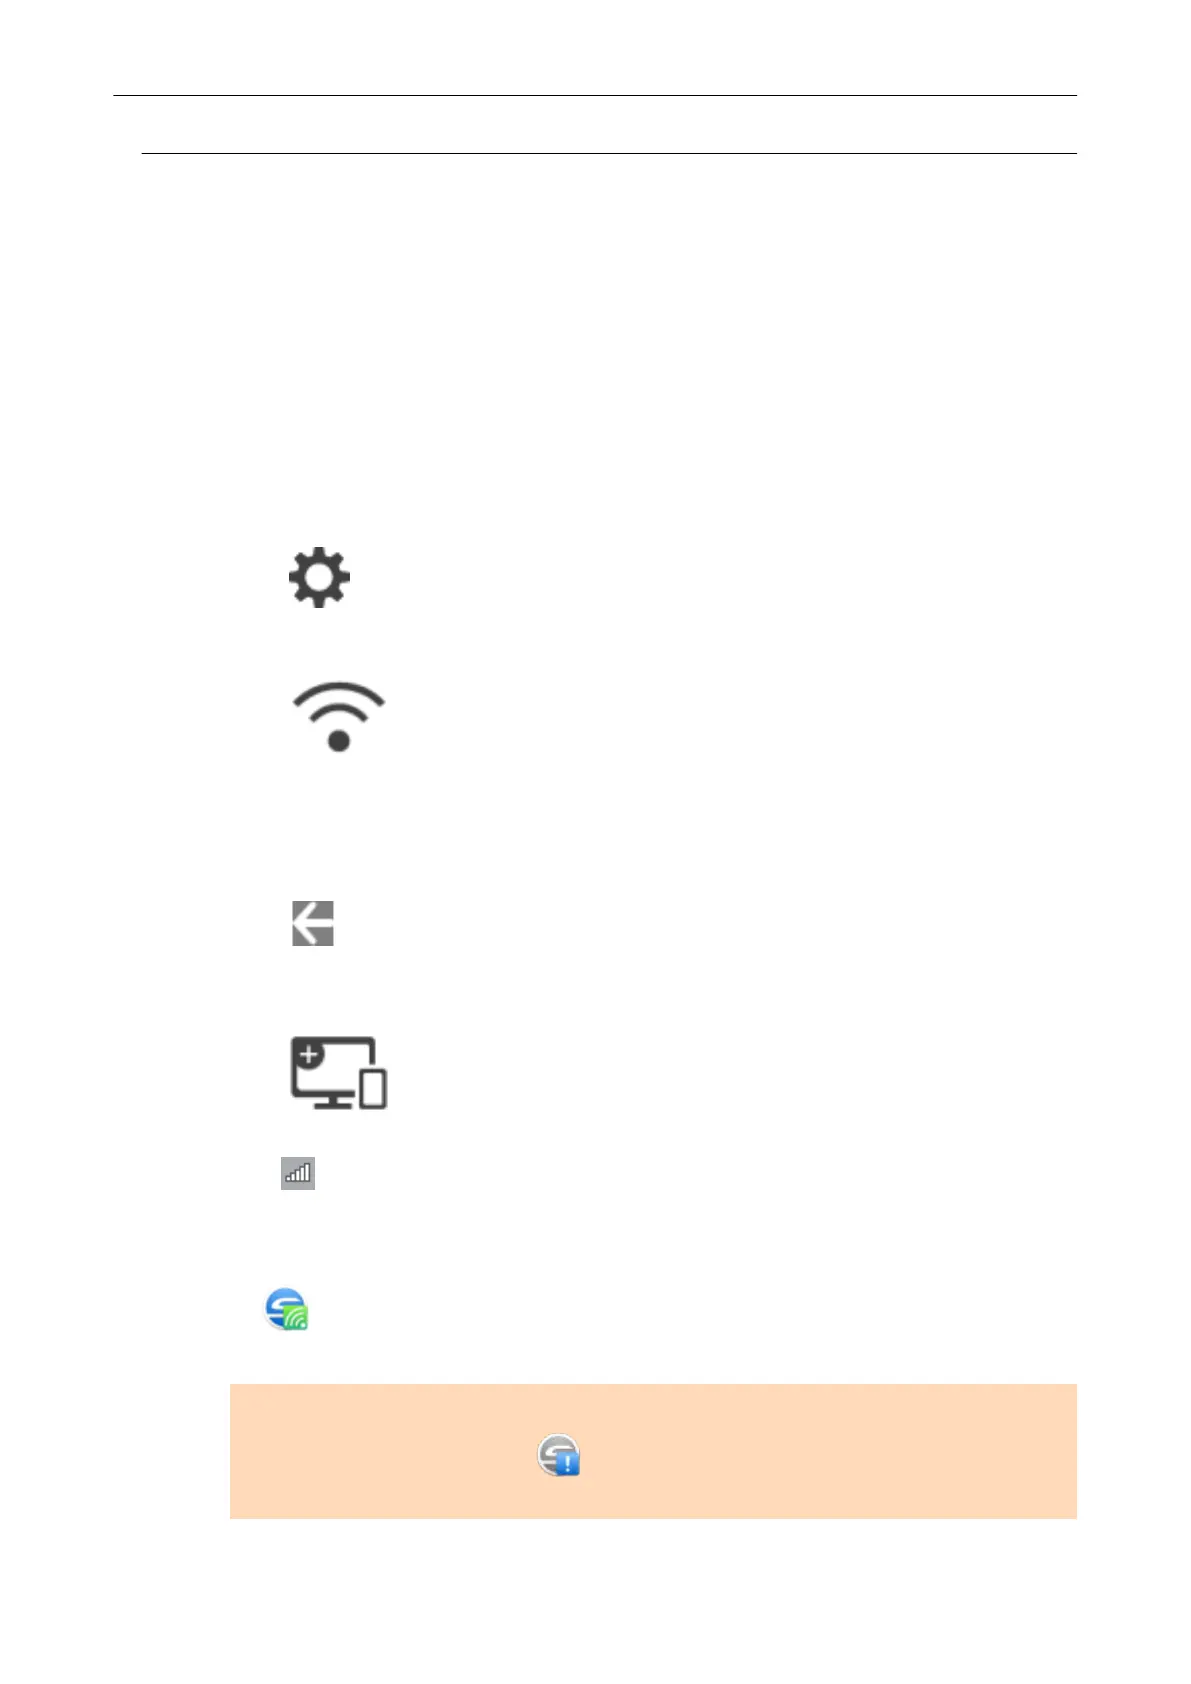
1.
Press
in the home screen on the touch panel of the ScanSnap to display the
[Settings] screen.
2. Press
to display the [Wi-Fi settings] screen.
3. Press [Wi-Fi connect mode] to display the [Wi-Fi connect mode] screen.
4. Select [Direct connection].
5.
Press
twice to display the [Settings] screen.
3. Connect the ScanSnap and a computer directly by using a direct connection.
1.
Press to display the [Connecting Devices] screen.
2. Click
in the notification area located at the far right of the taskbar, and connect the
ScanSnap network displayed in the wireless network list.
a The ScanSnap is connected to a computer via wireless LAN and the ScanSnap
Manager icon in the notification area located at the far right of the taskbar changes to
.
If the icon does not change, go to step 4.
ATTENTION
If the ScanSnap Manager icon is
, exit ScanSnap Connect Application on the mobile
device.
Connecting the ScanSnap to a computer or mobile device via Wireless LAN (iX1600 / iX1500)
126
 Loading...