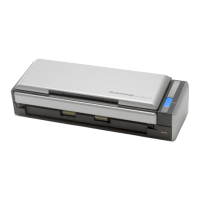
Setting an IP Address for the ScanSnap (iX1600 / iX1500)
To identify your ScanSnap on a network, set an IP address for the ScanSnap.
When setting an IP address, [Access point connection] needs to be selected for [Wi-Fi connect
mode] temporarily.
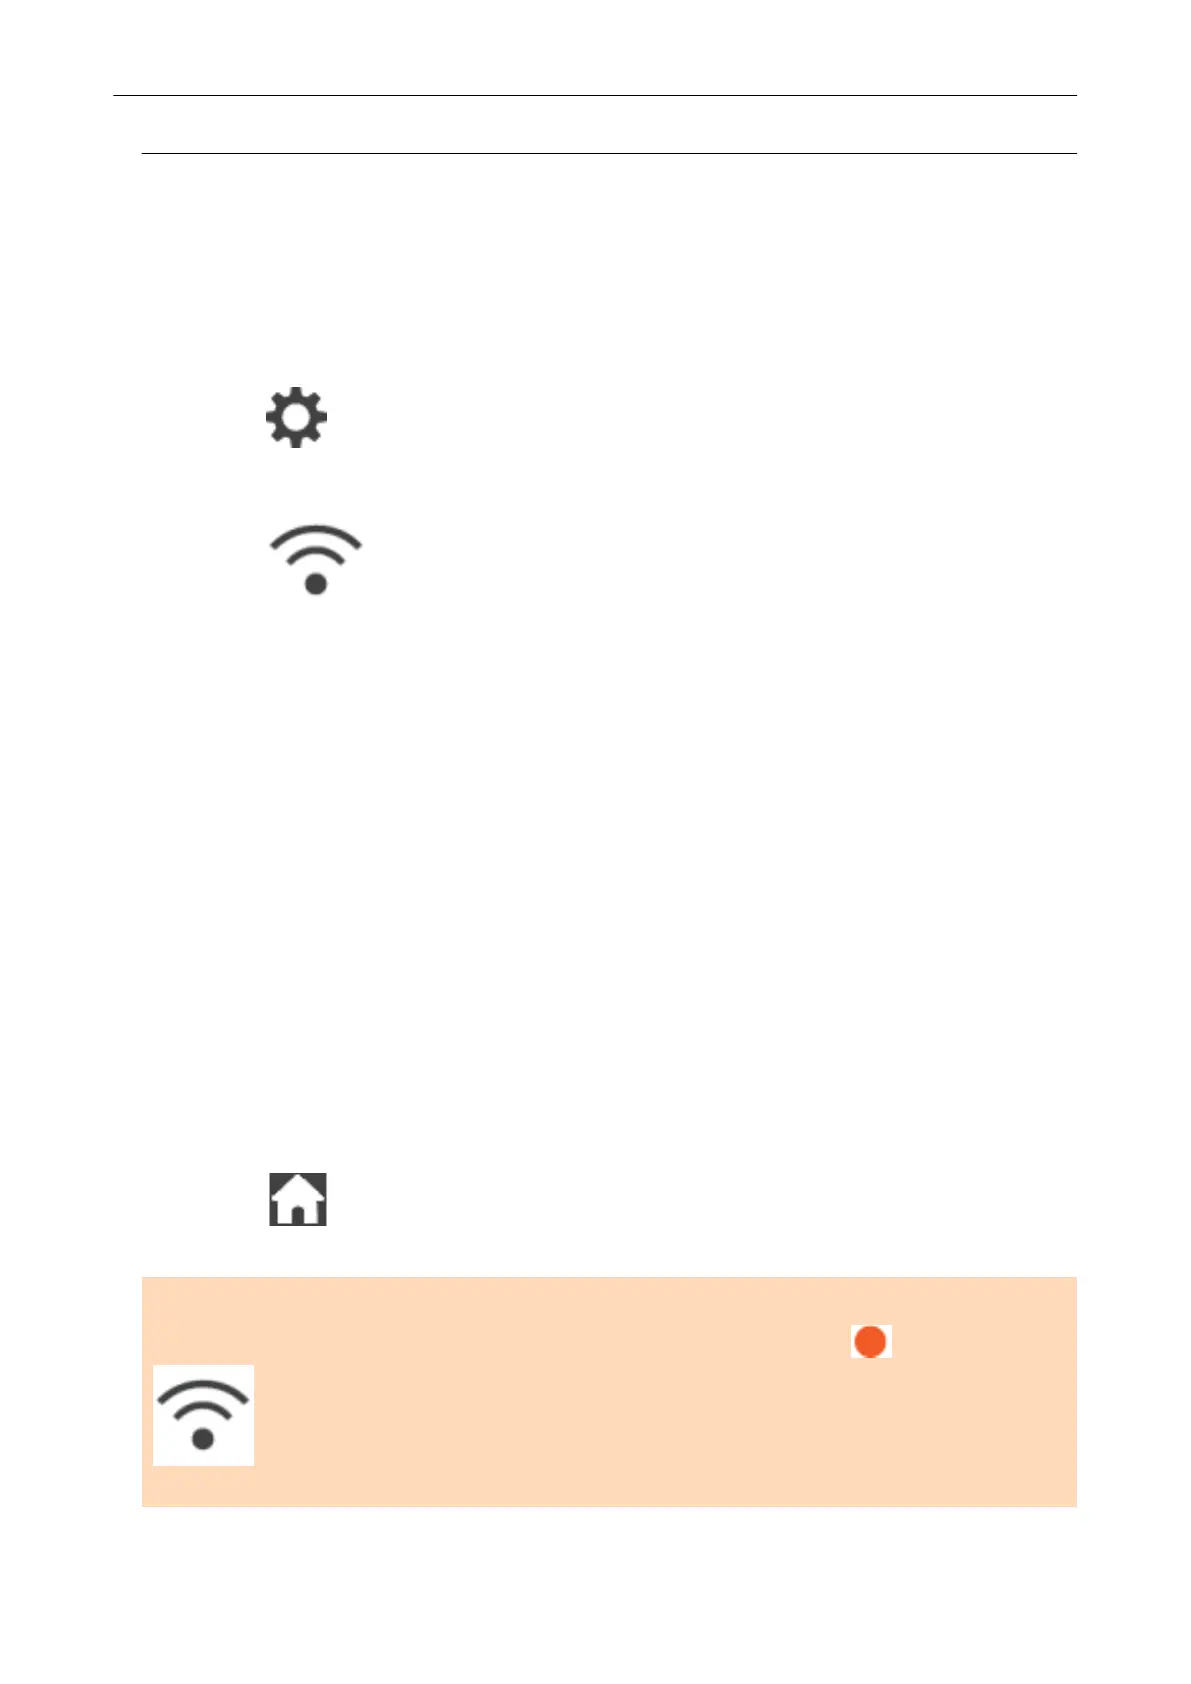
1. Press in the home screen on the touch panel of the ScanSnap to
display the [Settings] screen.
2. Press
to display the [Wi-Fi settings] screen.
3. Press [Access point connection] to display the [Access point connection]
screen.
4. Press [IP address] to display the [IP address] screen.
5. Press the setting field for [Configuration method] to display a list.
6. Set an IP Address.
When obtaining an IP address from the DHCP server and automatically assigning it to the
ScanSnap, select [Obtain automatically (DHCP)].
When setting an IP addresses manually, select [Configure IP address manually] and configure
the following settings.
1. Press the input field for [IP address], enter the IP address, and then press [OK].
2. Press the input field for [Subnet Mask], enter the subnet mask, and then press [OK].
3. Press the input field for [Default Gateway], enter the default gateway, and then press [OK].
7. Press
to return to the home screen.
ATTENTION
If there is a device with the same IP address as the ScanSnap on the network,
is displayed on
in the [Settings] screen. Change the IP address which has been set for the ScanSnap to
avoid an IP address conflict on the network.
Access Point Connect Settings (iX1600 / iX1500)
166
 Loading...