19
8. Display the sounder screen to measure how many feet the transmitting line of HIGH
and LOW frequencies is shifted by VRM marker.
Transmitting line is low: to the next step,
Transmitting line is same position: The setting is finished.
9. Turn the power off, and on again while holding any key down.
10.Select DRAFT ADJUSTMENT with [▼] key.
11.Press the [MENU] key.
12.Enter the value of the transmitting line measured in step 8 with - (minus). at the DRAFT
ADJ (H) EXT and DRAFT (L) EXT line with [t]/[s]
13.Press the [MENU] key to return to SYSTEM menu.
3.4 Nav Data Setting
1. Select NAV DATA SETTING (NMEA) from the SYSTEM menu and press the [MENU]
key.
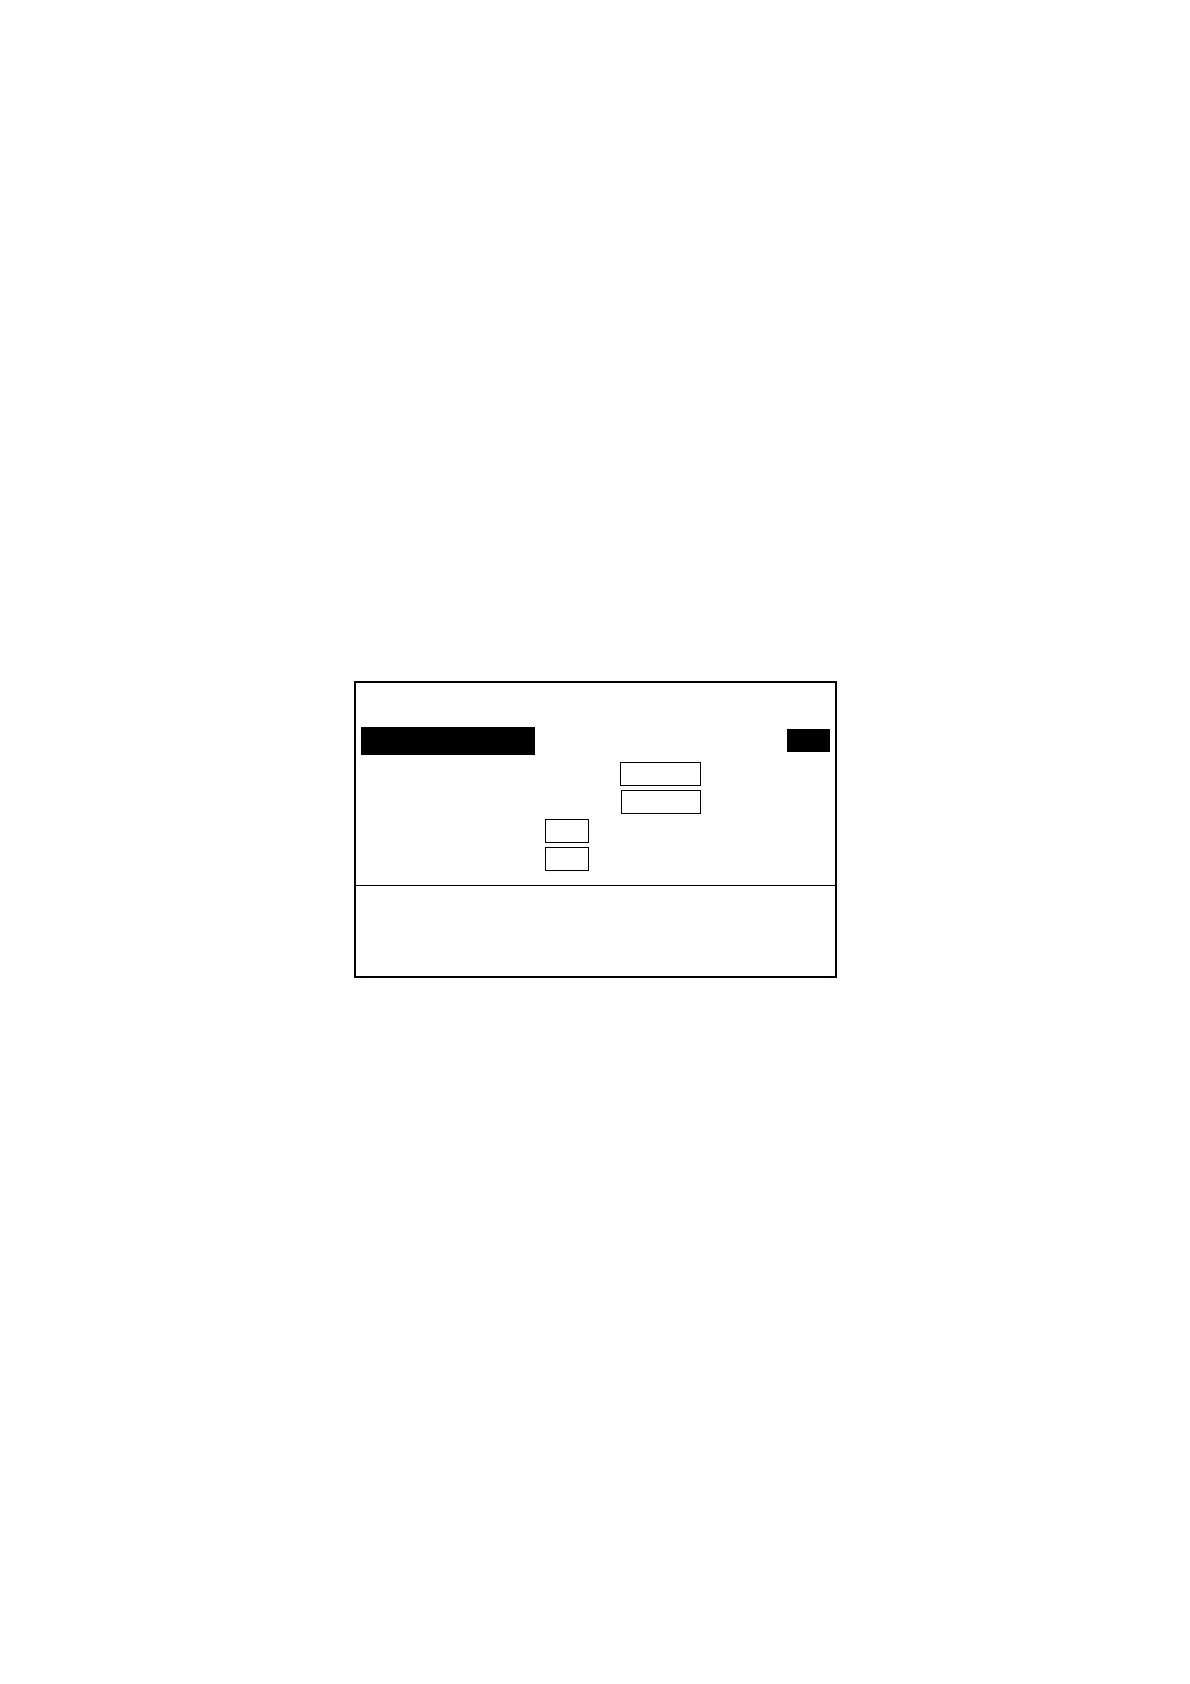
[NAV DATA SETTING (NMEA)]
BAUD RATE (NMEA) : 600 1200 2400 4800
NAV DATA : DR AUTO LC...
NMEA VERSION : Ver 1.5 Ver 2.0
DISPLAY DATA : L/L TD TIMER
TLL OUTPUT : OFF ON
[▲] [▼] : Select item.
[t] [s] : Change setting. (or [-], [+])
[MENU] : Return to SYSTEM MENU.
Figure 3-7 NAV DATA SETTING (NMEA) menu
2. Set baud rate of navigator with [t]/[s].
3. Select NAV DATA with [▲]/[▼].
4. Set type of NMEA talker of navigator (GPS, Loran C, Loran A, Decca, DR, AUTO) with
[t]/[s]. Select AUTO when more than one navigator is connected, and the priority is
GPS, Loran C, Loran A, Decca, DR.
5. Select NMEA VERSION with [▲]/[▼].
6. Set NMEA version of navigator with [t]/[s]. If you are unsure of version number try
both and select the one which successfully receives nav data.
7. Select DISPLAY DATA with [▲]/[▼].
8. Select L/L or TD as appropriate with [t]/[s].
9. Select TLL OUTPUT with [▲]/[▼]. (This enables/disables L/L position output when the
[MARKER] key is operated.)
10.Select ON or OFF as appropriate with [t]/[s].
11.Press the [MENU] key to close the menu and return to the SYSTEM menu.
 Loading...