Getting started Getting started
4 5
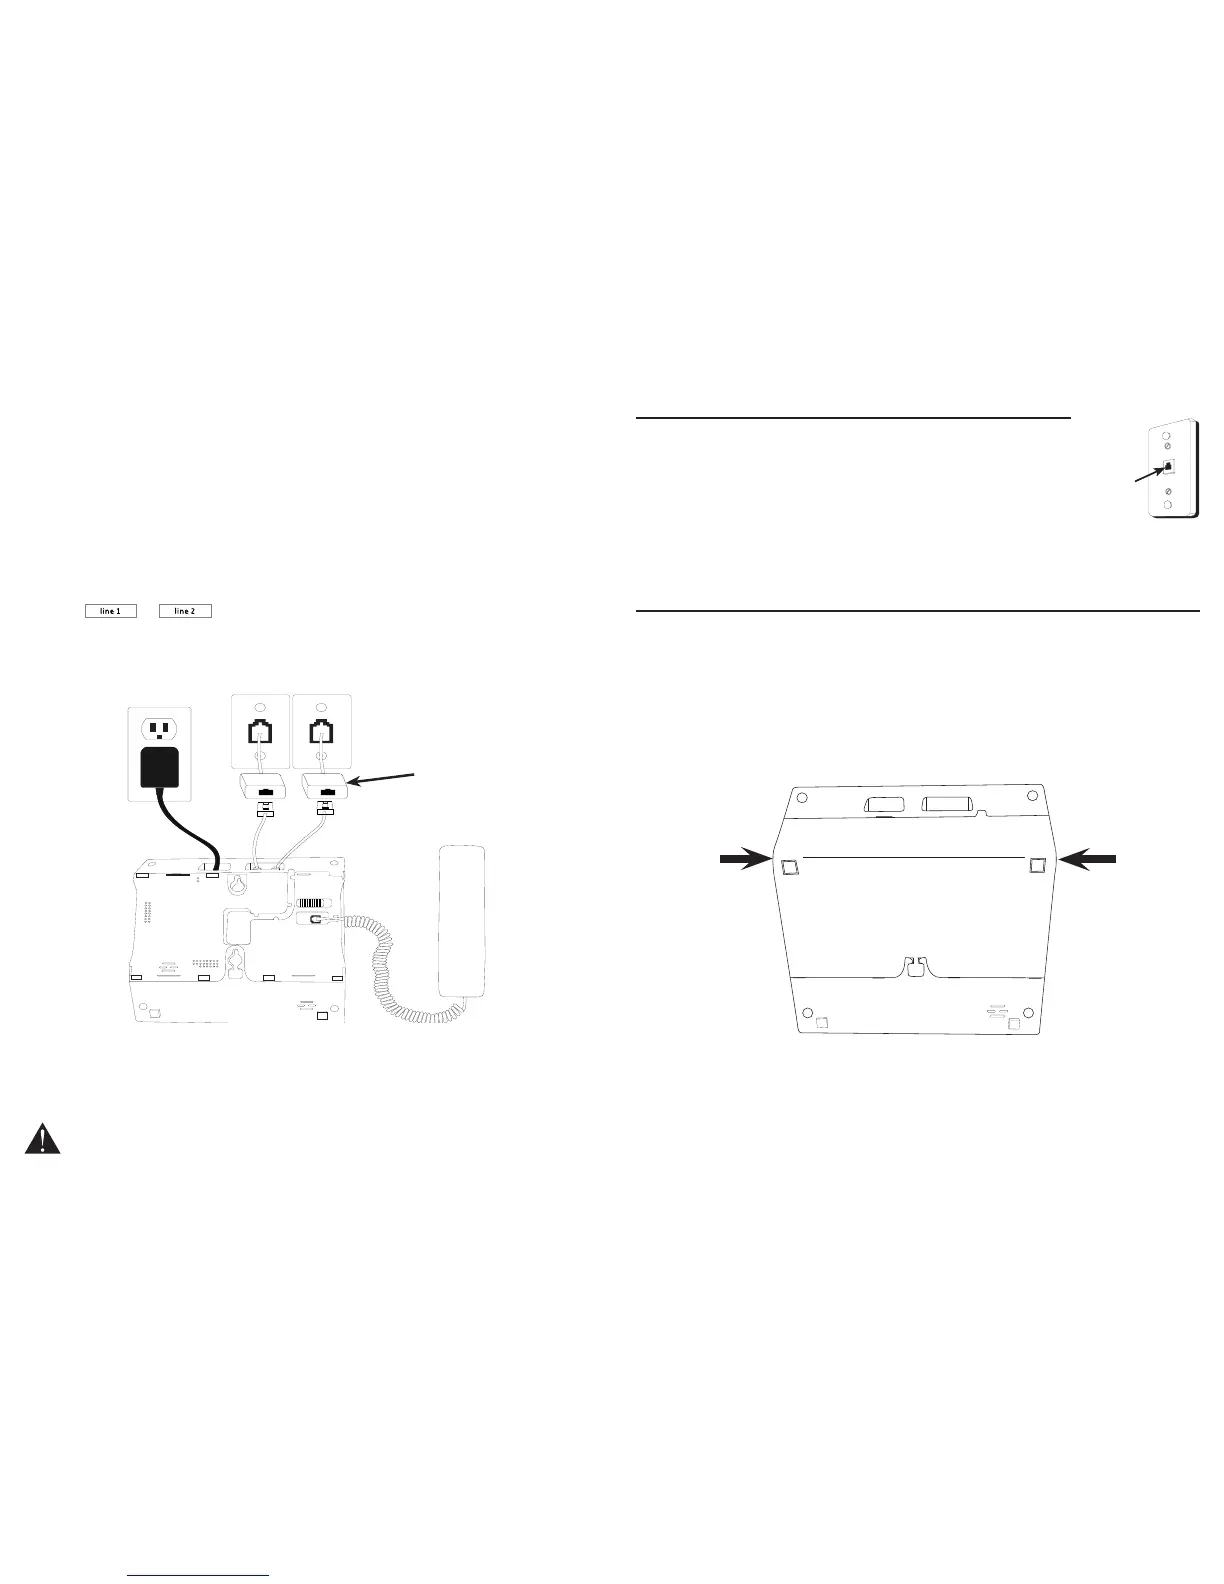
Wall plate
Modular
telephone
line jack
CAUTION:
1. Use only the power adaptor that came with this unit. Using other power adaptors may damage the unit.
2. To prevent re or electrical shock hazard, do not expose this product to rain or moisture.
If you have separate wall jacks for each line, install the telephone base as
described below.
9. Plug one end of the 4-pin gray-color telephone line cord into the Line 1 + Line 2
jack at the back of the telephone base as shown in Figure 5.
10. Plug the other end of the 4-pin gray-color telephone line cord into the telephone
wall jack you will use as your “line 1”.
11. Plug one end of the 2-pin black-color telephone line cord into the Line 2 jack at the
back of the telephone base.
12. Plug the other end of the 2-pin black-color telephone line cord into the telephone
wall jack you will use as your “line 2”.
13. Press or as desired. The speakerphone is activated automatically.
14. If you hear a dial tone, the installation is complete.
Wall mount installation
1. Make sure the telephone line cord is unplugged from the modular jack and the
power adapter cord is unplugged from the electrical outlet before installation.
2. Remove the base bracket by lifting it up from both sides of the bracket as shown in
Figure 6.
Figure 6
Figure 5
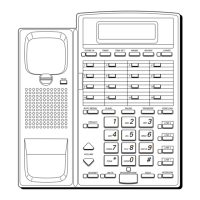
Telephone jack requirements
To use this phone, you need a RJ11C type modular telephone jack,
which might look like the one pictured here, installed in your home.
If you do not have a modular jack, call your telephone service
provider to nd out how to have one installed.
If you have DSL high speed Internet service, a DSL lter is required
(not included). Contact your DSL service provider for more
information about DSL lter.
DSL lters (not included)
are required if you have
DSL high speed Internet
service.
 Loading...