29 / 72
: Set the pattern to the rising edge of the channel selected.
: Set the pattern to the falling edge of the channel selected.
: Set the pattern to the rising or falling edge of the channel selected.
5. Press the Level softkey to set the trigger level. For the analog channels, the trigger level of each
channel needs to be set independently. For example, set the trigger level of CH1. Press Level softkey to
select CH1, and then use Trigger level knob to modify the level. Press Pattern softkey again to set the
trigger level for other source.
6. Press the Mode softkey, turn V0 to select the trigger mode (auto, normal), and press V0 to confirm.
Auto: When the oscilloscope meets the trigger condition, it completes a trigger acquisition once; when
the trigger condition is not met, it can run the acquisition waveform freely.
Normal: When the oscilloscope meets the trigger condition, the input waveform is displayed; when the
trigger condition is not met, the original waveform is displayed.
7. Press the Holdoff softkey and turn V0 to set the time that the oscilloscope waits before a trigger to
the next trigger, so that complex waveforms are displayed stably.
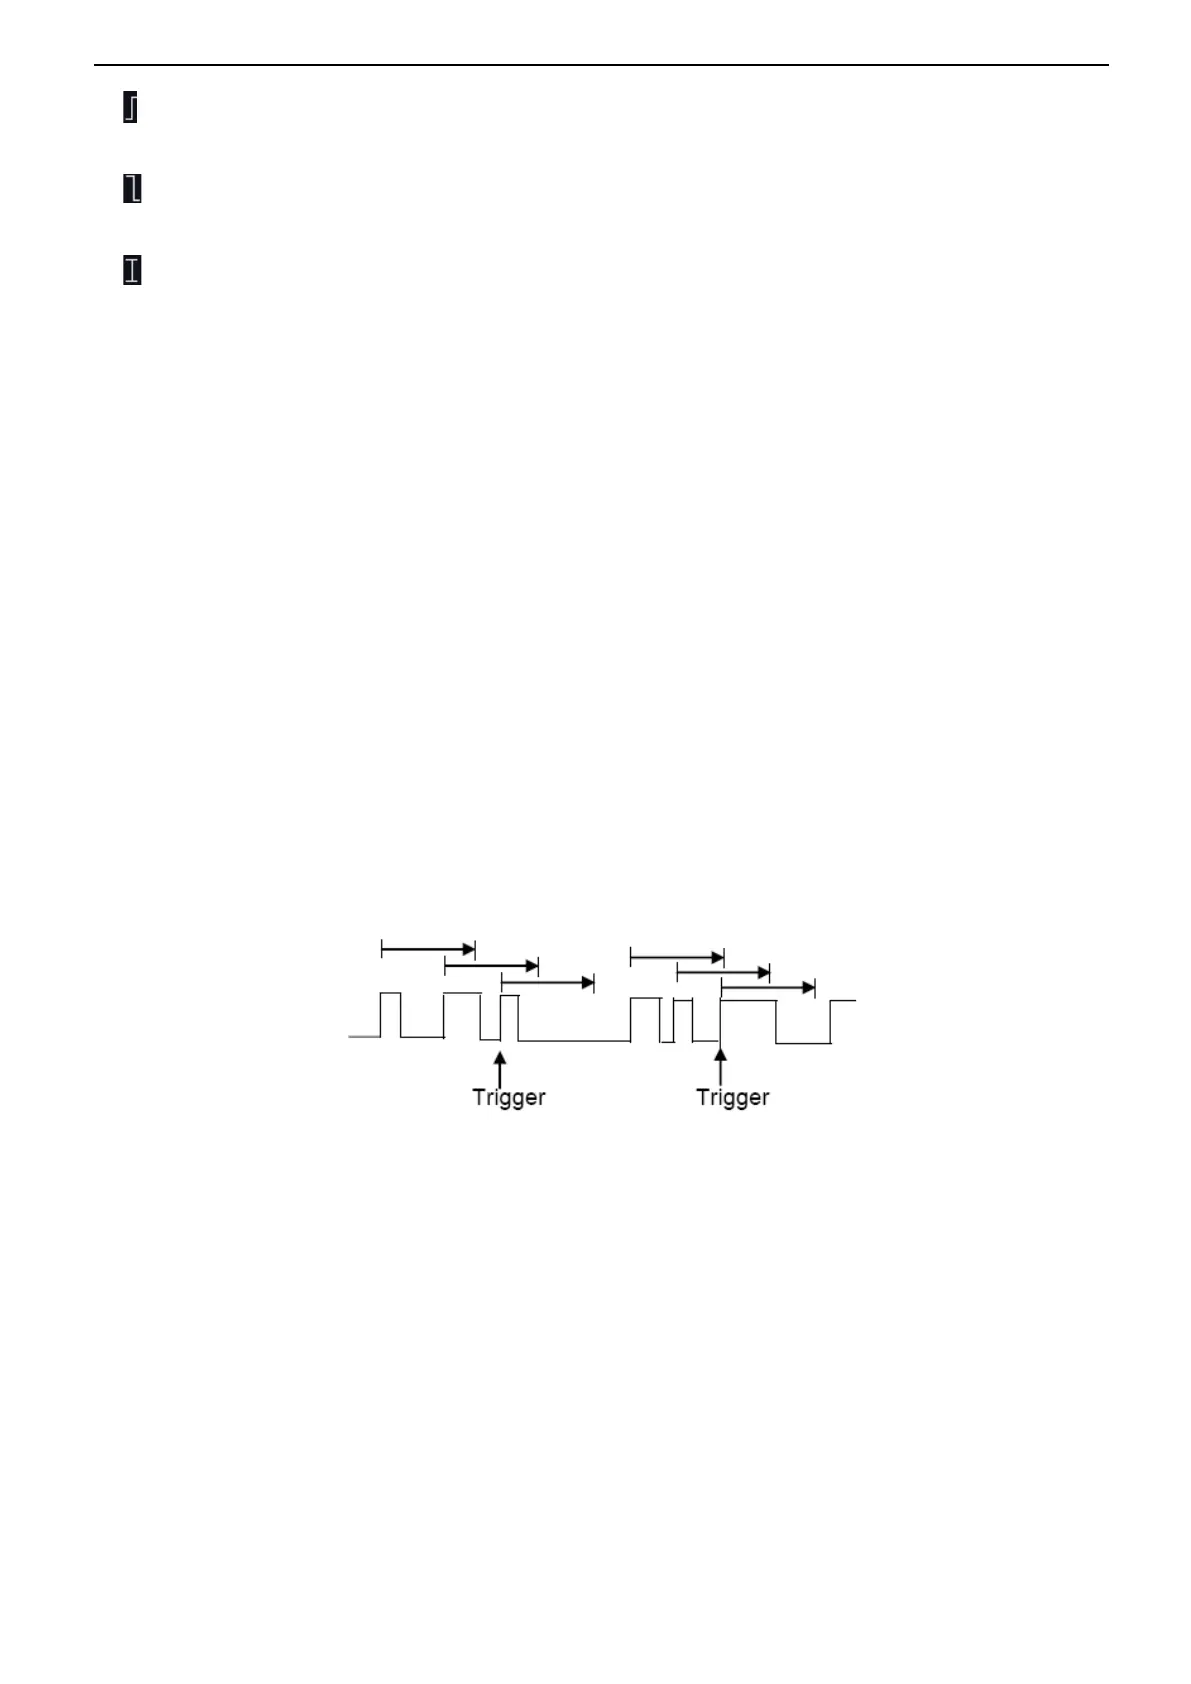
2.7.8. Interval Trigger
Trigger when the time difference between the neighboring rising or falling edges meets the time limit
condition (<, >, !=, =).
To set interval trigger:
1. Press the [Trig Menu] button on the front panel to enter the Trigger system function menu.
2. Press the Type softkey, then use the Multifunctional Knob to select Interval and push down the knob
to confirm.
3. Press the Source softkey, turn the Multifunctional Knob to select CH1~CH2 as the trigger source.
4. Press the Slope softkey to select rising or falling edge.
5. Press the When softkey, turn the Multifunctional Knob to select desired condition.
< (less than a time value): trigger when the positive or negative pulse time of the input signal is less
than the specified time value.

 Loading...