37
1. Thread the data cable through the hole in the 3. Push the data cable to the connector.
back cover.
2. Fasten the back cover to a wall with screws. 4. Press the front cover into the back cover.
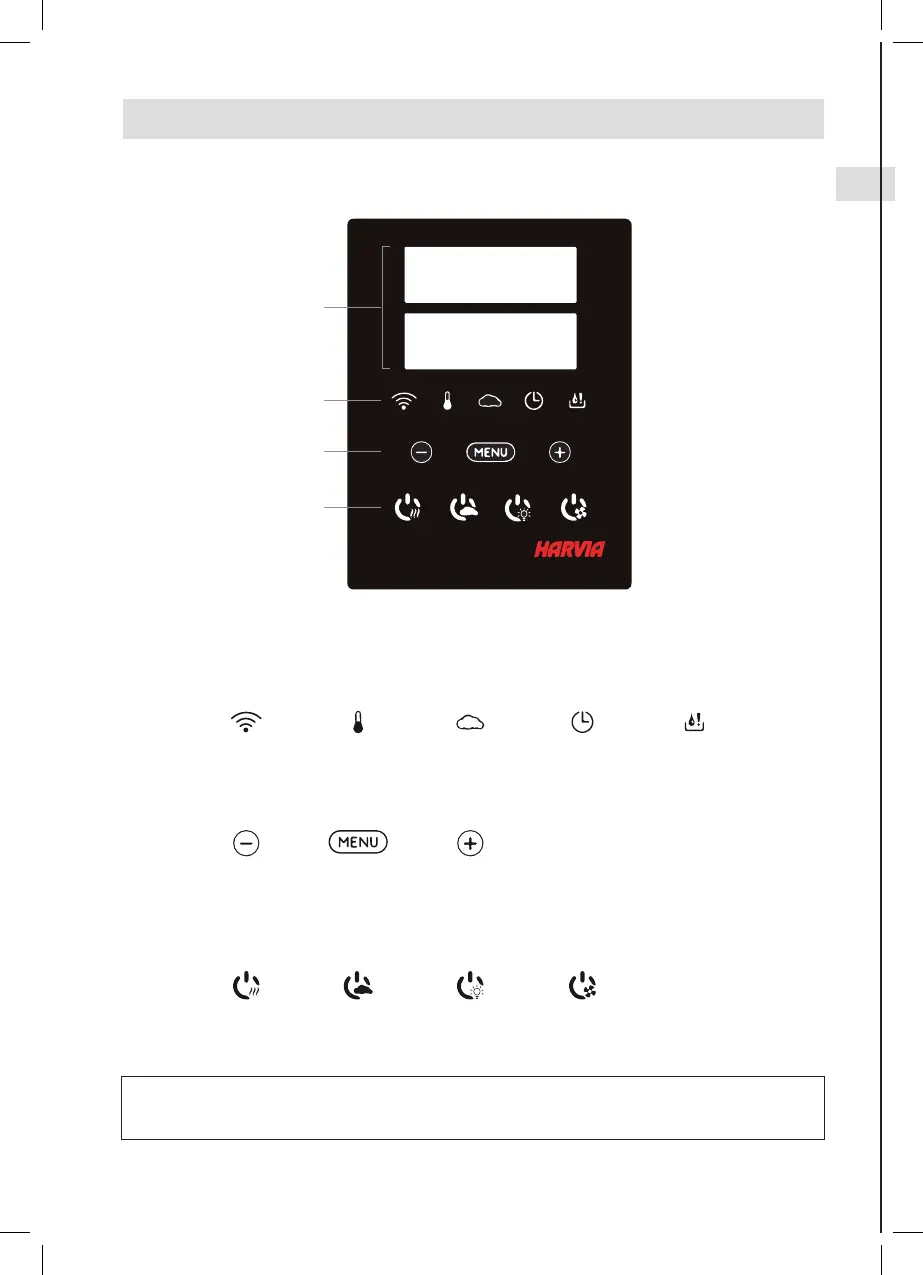
2.1. Control Panel Indicator lights and buttons
A
B
C
D
Note! Available buttons depend on the features of the controlled device (» 1a).
2. INSTRUCTIONS FOR USE
A) DISPLAY
B) INDICATOR LIGHTS
WiFi connection Temperature Humidity On-time Water level
warning
C) MENU AND NAVIGATION BUTTONS
*Press and hold to
make the value
change faster.
Value decrease* Mode change Value increase*
D) OPERATING BUTTONS
Heater
ON / OFF
Steamer
ON / OFF
Lighting
ON / OFF
Fan
ON / OFF
 Loading...