41
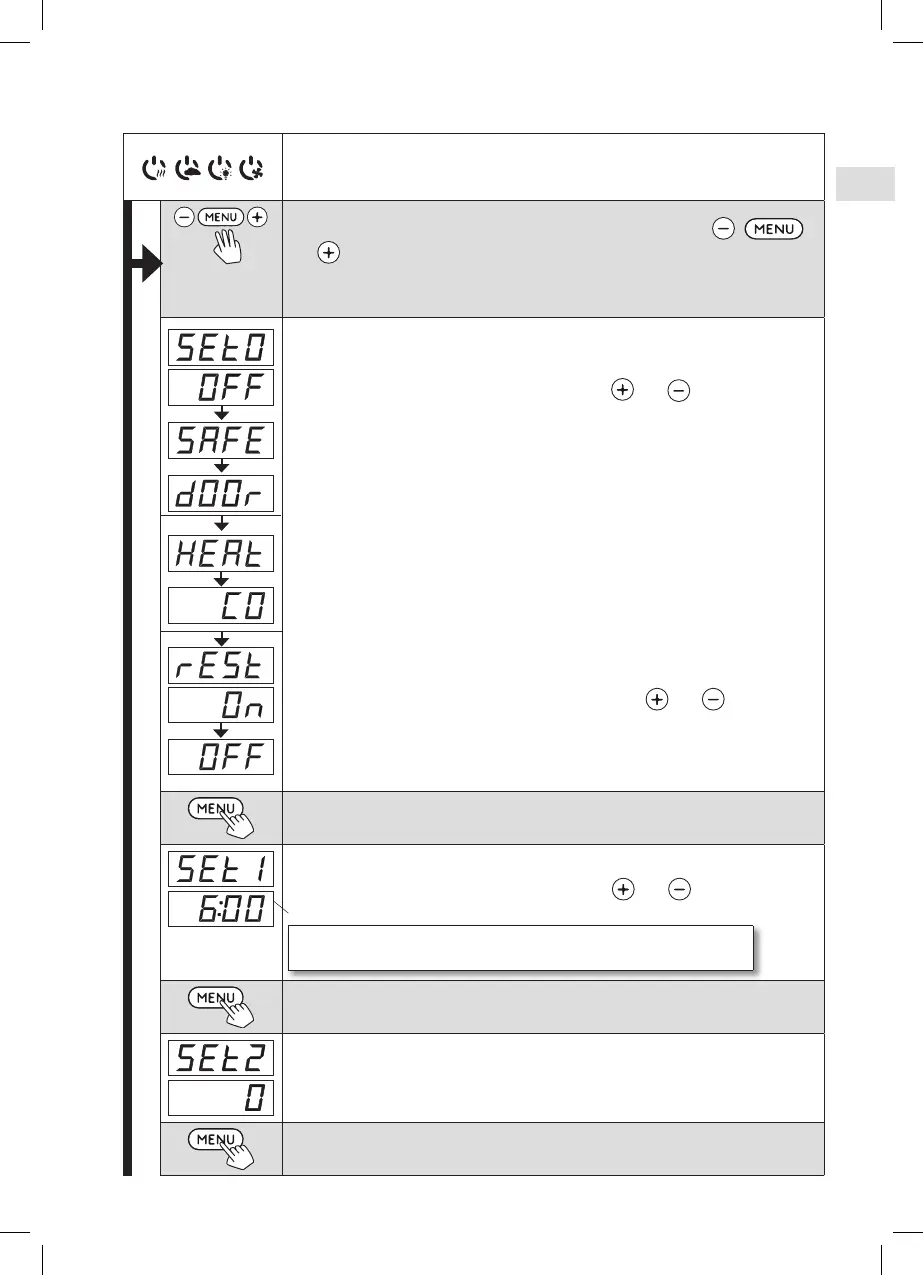
Open the settings menu by simultaneously pressing the buttons ,
and . Press for 5 seconds.
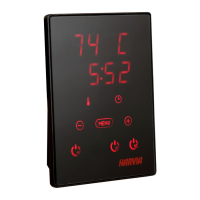
Note! The buttons do not glow when the control unit is in standby mode.
Setting the remote use
The remote use setting can be changed with the and buttons. The
options are ”OFF” (remote control disabled), ”SAFE” (safety switch) and ”door”
(door switch).
(See section 3 for further information).
Confirm the selection with the MENU button.
Select either heater HEAt or combi (=heater and steamer, CO) to be controlled
remotely.
Confirm the selection with the MENU button.
Setting pause time (6 h)
Enable or disable the pause time feature with buttons and . Pause
time must be enabled, if the control unit is remotely started by an automated
schedule (e.g. a weekly timer).
Press the MENU button to access the next setting.
Maximum on-time
The maximum on-time can be changed with the and buttons. The
range is 1–12 hours (factory setting 6 hours).
Example: the heater will be on for 6 hours from the start.
(Remaining on-time can be changed » figure 3a).
Press the MENU button to access the next setting.
Sensor reading adjustment
The reading can be corrected by +/- 10 units. The adjustment does not affect
the measured temperature value directly but changes the measuring curve.
Press the MENU button to access the next setting.
Control unit standby
I/O buttons’ background lights glow on the control panel.
2.6. Additional settings
 Loading...