Switch Wireless
From the User Config menu, select Switch Wireless, then press ENTER.
The network SSID and profile type are displayed. Press ENTER to toggle between the adhoc and infrastructure
profiles.
NOTE: For more information on wireless setup, see pg. 30.
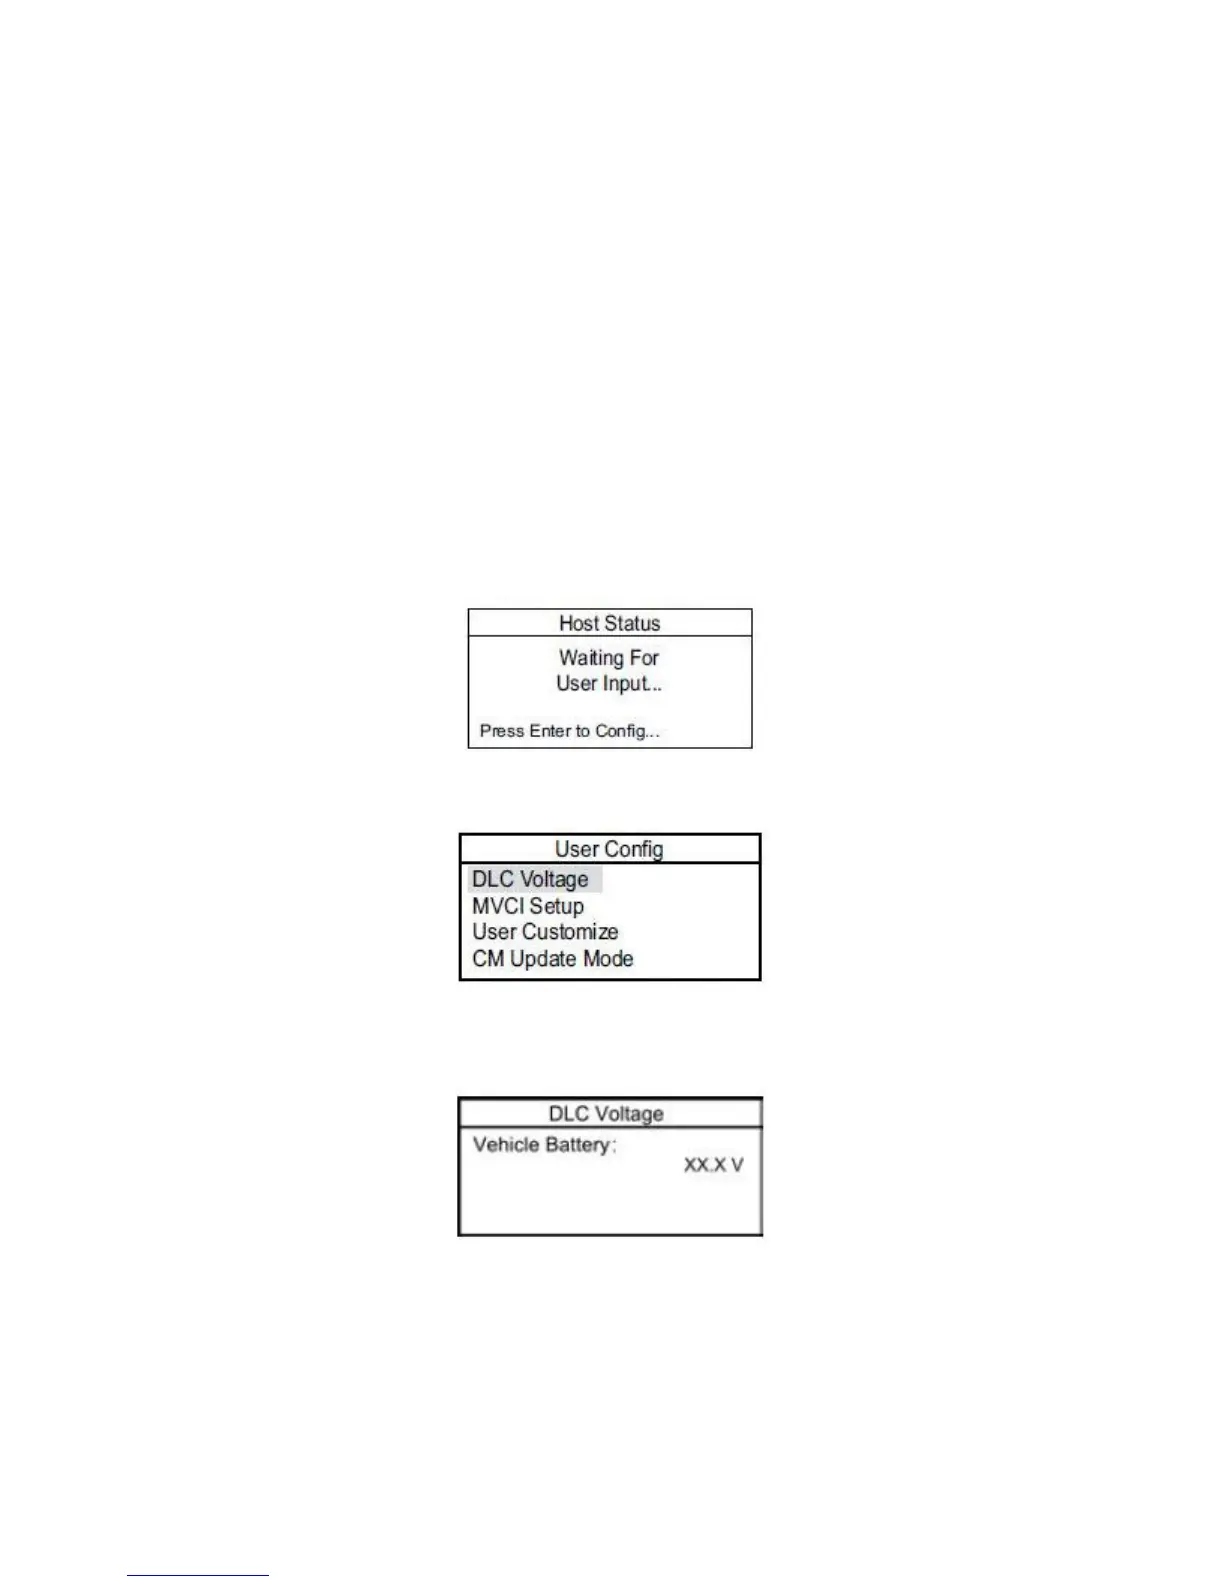
DLC Voltage
The DLC Voltage screen checks the vehicle’s 12V battery voltage. To do this:
1. Power up the MVCI by connecting it to the vehicle diagnostic link connector (DLC) and turning the ignition
switch to ON (II). After the MVCI boots up, press ENTER to access the User Config screen.
NOTE: Make sure the vehicle’s 12V battery is fully charged. If the battery has a low state-of-charge, this may
affect communication with the MVCI.
2. Select DLC Voltage.
3. Wait for the MVCI to display the vehicle’s battery voltage. If the vehicle battery is below 12.1V, check the
vehicle’s battery using a Honda-approved battery diagnostic tool like the ED-18 or the GR8.
NOTE: The voltage shown is not accurate if the MVCI is plugged into the external power adapter.
19
 Loading...