68
MAN0530 Issue 09 October 03 Searchline Excel
2104M0506
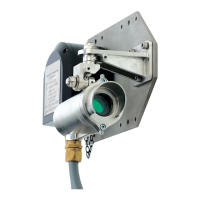
4. CROSS-DUCT EXCEL
4.5.5 Commissioning
This stage is similar to section 3.7.6 for the Open-Path Excel, except that there is no alignment
adjustment required for the Cross-Duct Excel.
The commissioning process consists of the following steps:
• Connect the Handheld Interrogator to the gas detector
See section 3.7.6.2. Full details of the SHC1 Handheld Interrogator can be found in
Appendix A.
• Power up the gas detector and set the interrogator for operation with Excel
See Section 3.7.6.3.
• Set the Excel real time clock
See Section 3.7.6.4.
• Initialise the Excel gas detector
See the following section.
4.6 INITIALISING THE EXCEL GAS DETECTOR
(1) Switch on the Handheld Interrogator.
(2) Check that the Handheld Interrogator displays Excel as the operating mode as it powers up.
If not, select CHANGE MODE from the main menu, and use the and keys to select Excel.
(3) Select CALIBRATE from the Main menu.
Press the and keys on the keypad to navigate through the menu options..
(4) Press on the interrogator keypad to display the calibrate menu
(5) Select INSTALL from the calibrate menu.
(6) Press on the interrogator keypad and the following is displayed:
System Type
Duct Mount
The gas detector type cannot be changed.
(7) Press on the keypad and the current path length setting in metres is displayed, e.g.
Path Length
2.5
(8) Set the path distance (in metres, to the nearest 0.1metre) between the mounting plate
and the retro-reflector.
Use the and keys on the keypad.
Note: Do not double the distance, enter only the duct width.
>
>
>
>
 Loading...