Model
8642AjB
Adjustments
How
All
Auto-Adjust
Procedures Begin
At
the
beginning
of
each
Auto-Adjust
routine
you are requested
to
enter
dnta.
The
Module
Tabs
in
Section
8
contain
the
Auto-Adjust Procedures, but for
the
first time lIser,
the
beginning
of
the
Auto-Adjust
routines
is
given below with
some
added
explanation.
I.
Connect
the
required
equipment
to
tile
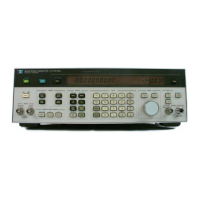
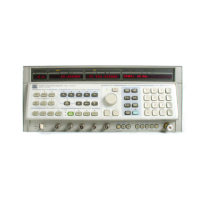
HP
8642
via
HP-IB.
2.
Verify
or
change
the
HP-IB addresses
of
the
external
equipment
as previollsly
shown
in Auto-
Adjust
Routines.
3. On
the
HP 8902
(or
HP
890 I
B)
insure that: the
HP
1I722 Cal
Factors
have
been
loaded
into
memory,
and
the
RF
Power
mode
has been
Zeroed
and
Calibrated.
4.
Key in:
PNST
PRESETI
on
the
HP
8642.
5.
Key in:
ISHIFTllspcq
~
to
enter
Service Mode.
6.
Key in:
@]
@]
~
to
make the H P 8642 a system controller.
7.
Key in:
@]@]
[!:§
to
initiate the Auto-Adjust mode.
"A BIG HOWDY FROM
HP
.GO"
and
"WELCOME
TO
SELF-CAL
.G1"
will
appear
on
the
display momentarily.
(From
now
on
the
Back Space key, when llsed
during
a
data
entry
prompt,
will
abort
the
Auto-Adjust Routine.)
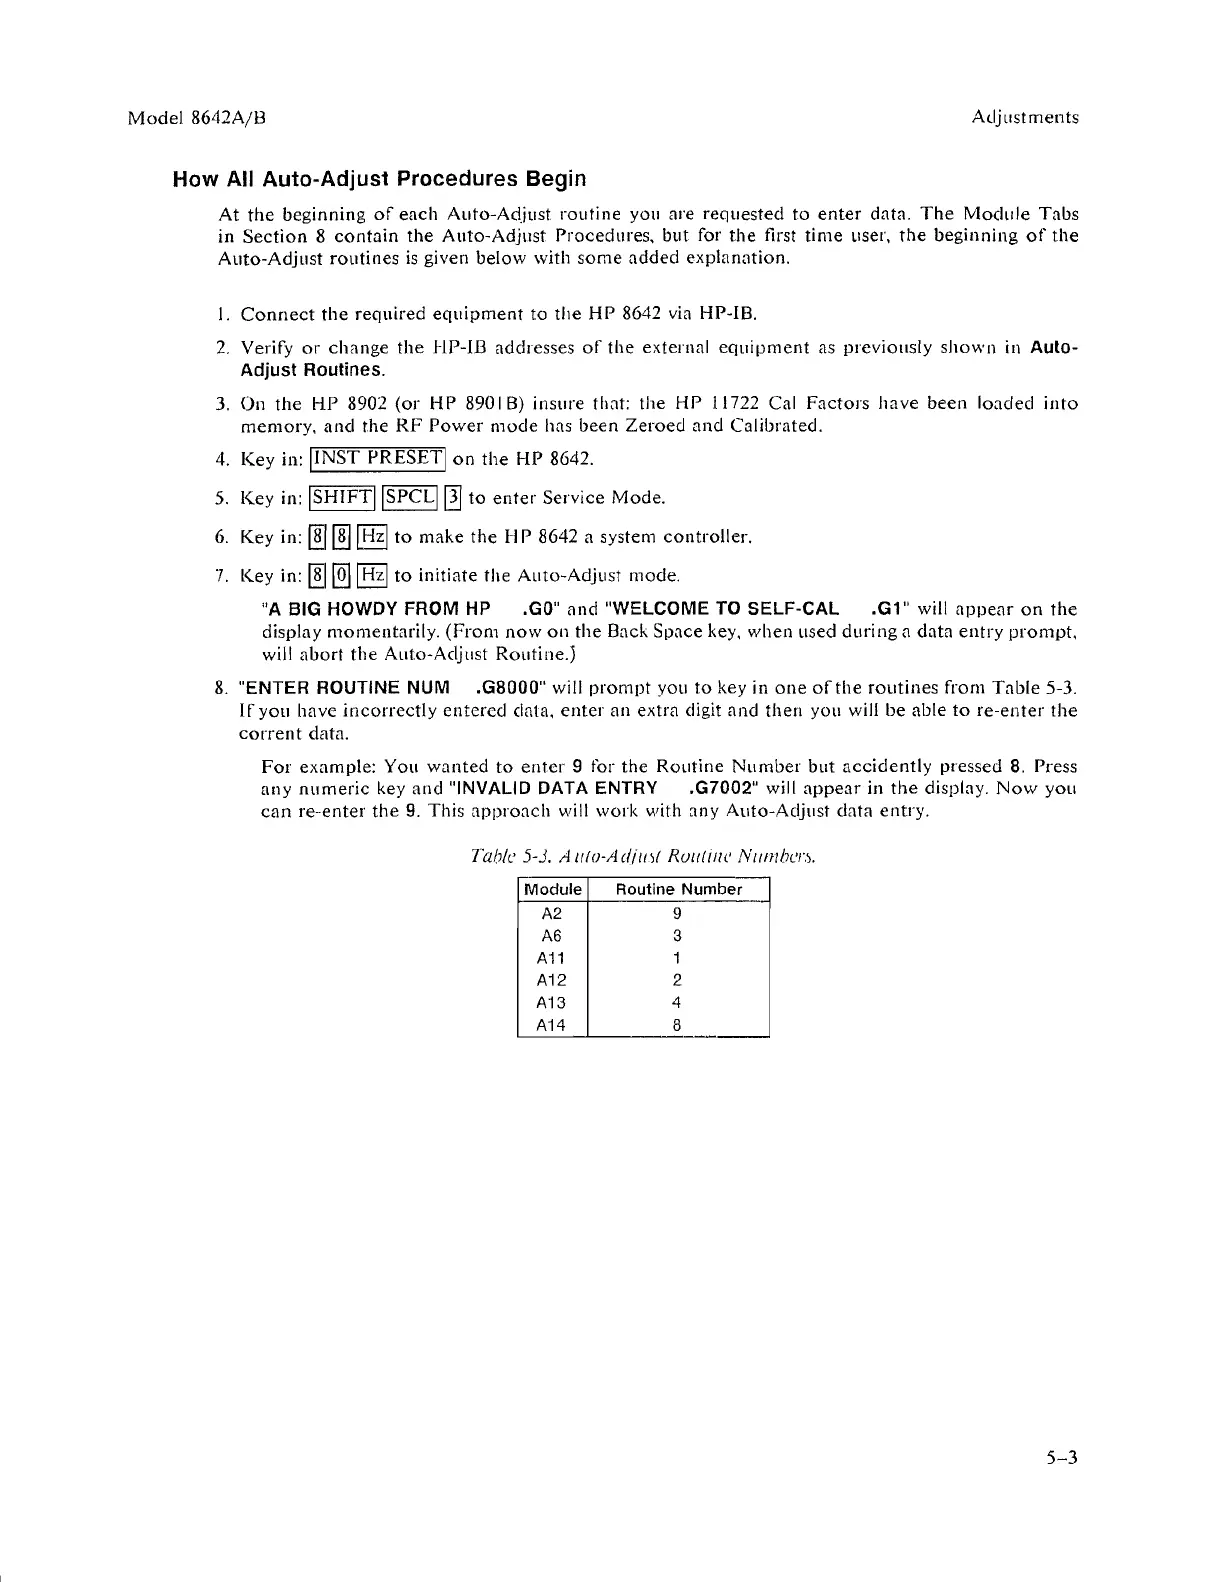
8.
"ENTER ROUTINE NUM .G8000" will
prompt
you
to
key in
one
of
the
routines
from
Table
5-3.
If
you have
incorrectly
entered
data,
enter
an extra digit
and
then
you will
be
able
to
re-enter
the
corrent
data.
For
example: You
wanted
to
enter
9 for the
Routine
Number
but
accidently
pressed 8. Press
any
numeric
key
and
"INVALID DATA ENTRY .G7002" will
appear
in
the
display.
Now
you
can
re-enter
the
9.
This
approach
will work with any Auto-Adjust data entry.
Table 5-3. A
lI{o-AdiIO{
RUII{II/('
Nlfll/bcl'.).
Module
Routine
Number
A2
9
A6
3
A11
1
A12
2
A13
4
A14
8
--
5-3
 Loading...