3. If installed, disconnect the tube set.
4. Disconnect all peripheral cables from the servers and chassis.
5. Label the drives before removing them. The drives must be returned to their original location.
6. Remove all drives.
7. Remove all power supplies.
8. If installed, remove all server blanks.
9. Remove all servers.
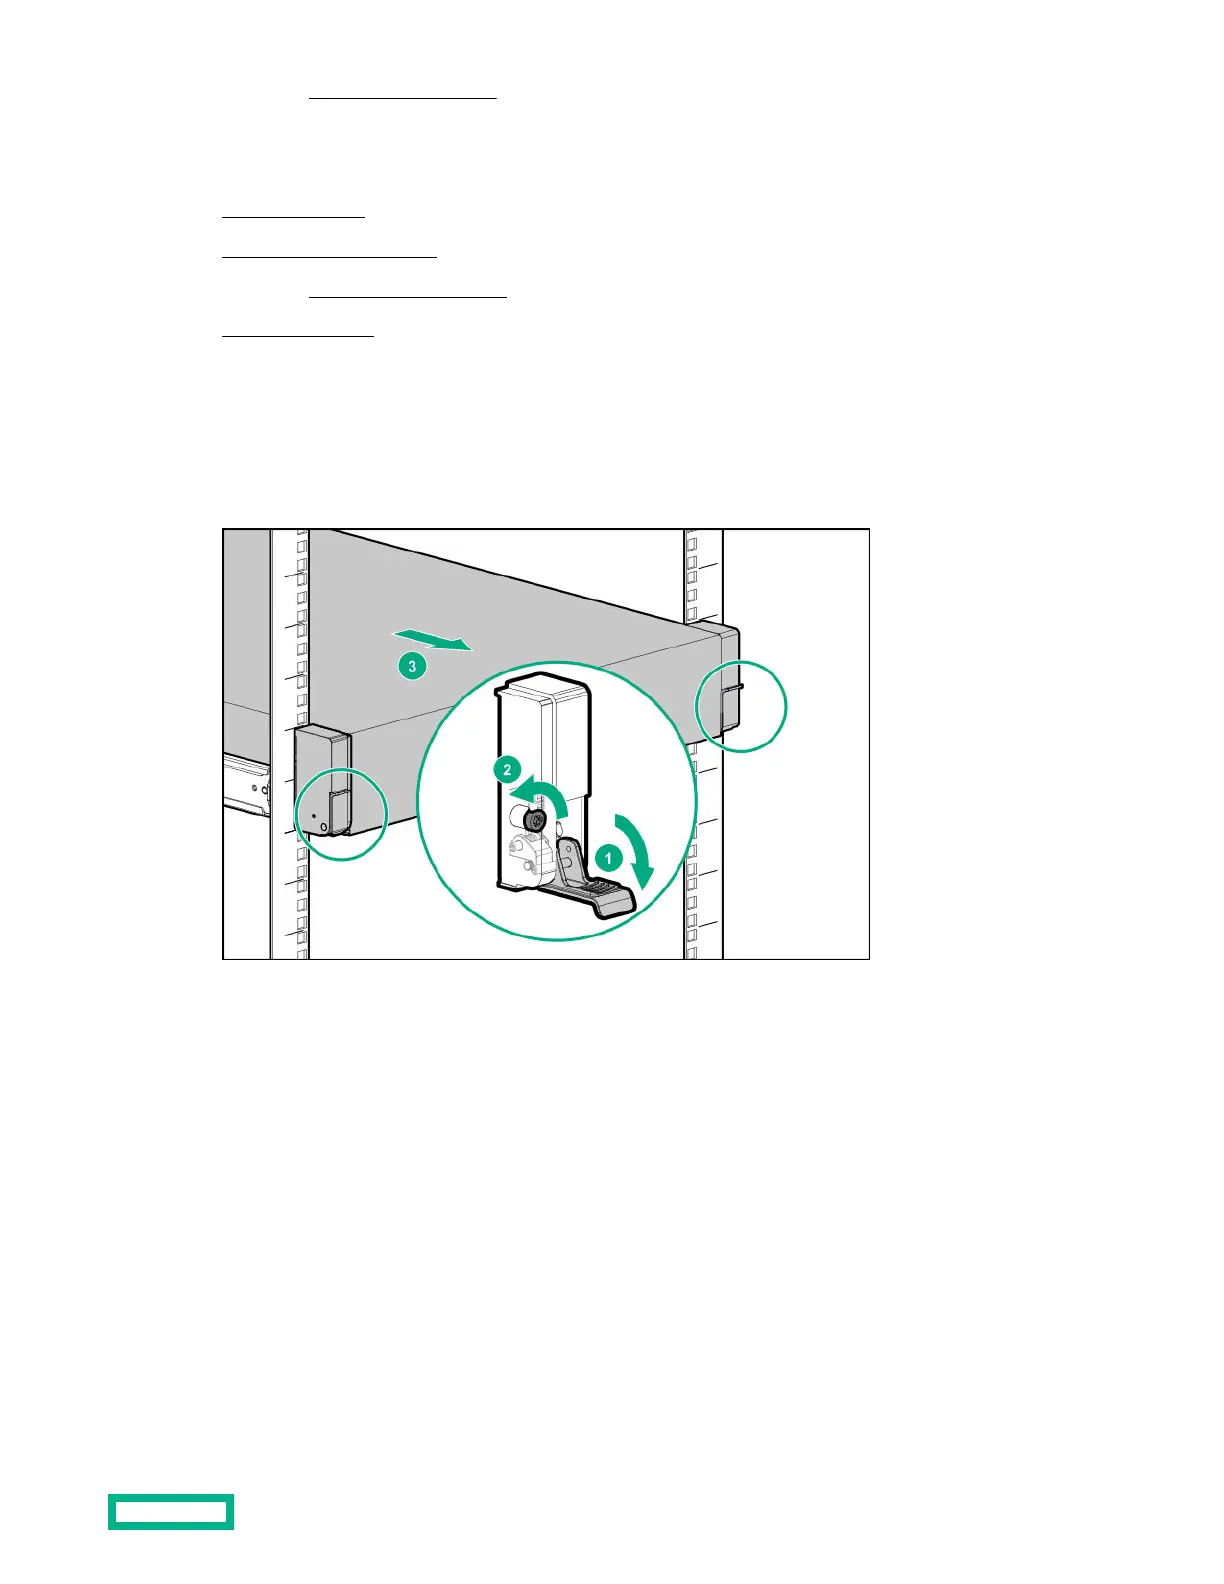
10. Extend the chassis from the rack:
a. Open the bezel ear latch (callout 1).
b. Loosen the bezel ear screw (callout 2).
c. Use the bezel ear latches to pull the chassis out of the rack until the rack rail lock is engaged (callout 3).
11.
Remove the chassis from the rack:
a.
Press and hold the chassis release latches (callout 1).
b.
Slide the chassis out of the rack (callout 2).
Removal and replacement procedures
30

 Loading...