Removing and replacing the RCM board
Prerequisites
Before you perform this procedure, make sure that you have the following items available:
• T-10 Torx screwdriver
• T-15 Torx screwdriver
Procedure
1.
Power down the servers.
2. Remove all power:
a. Disconnect each power cord from the power source.
b. Disconnect each power cord from the chassis.
3. If installed,
disconnect the tube set.
4.
Disconnect all peripheral cables from the servers and chassis.
5.
Remove the chassis from the rack.
6.
Remove the access panel.
7.
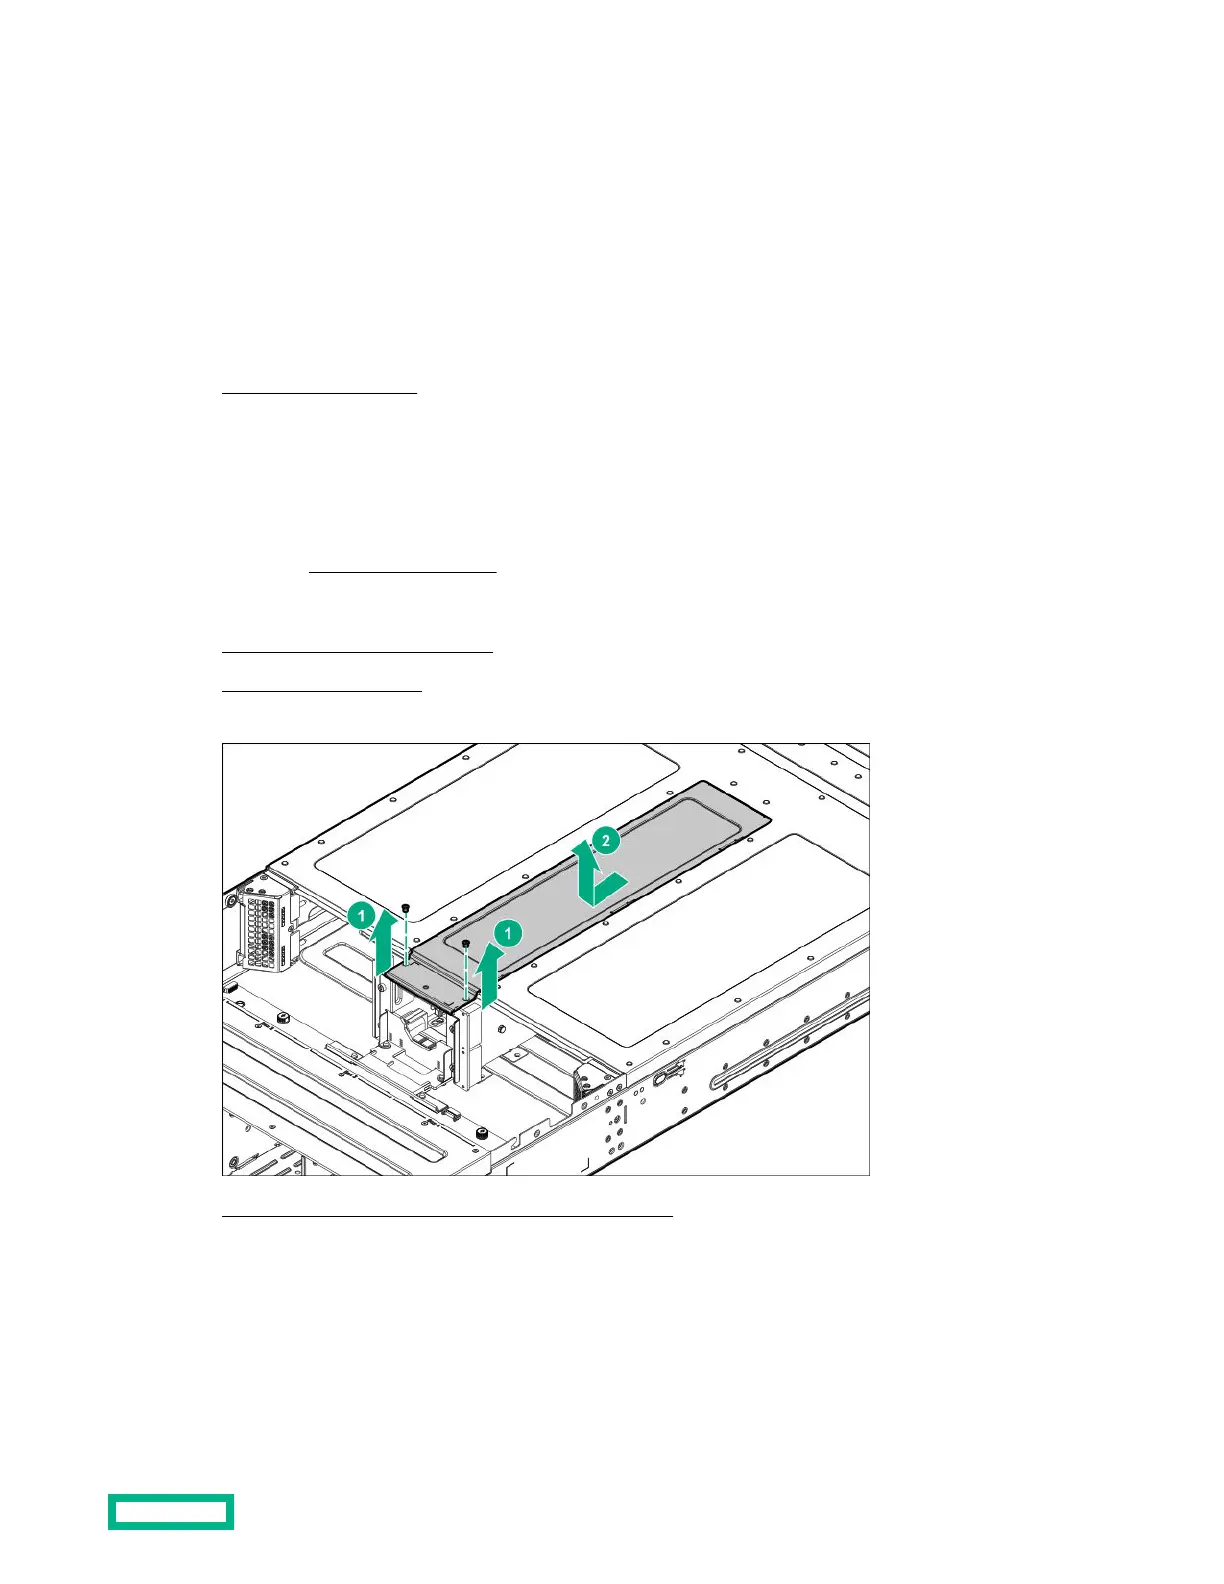
Remove the PDB cover screws (callout 1), and then remove the cover (callout 2).
8. Disconnect the RCM sideband cable from the RCM board.
9. Loosen the RCM tray thumbscrew.
Removal and replacement procedures
66

 Loading...