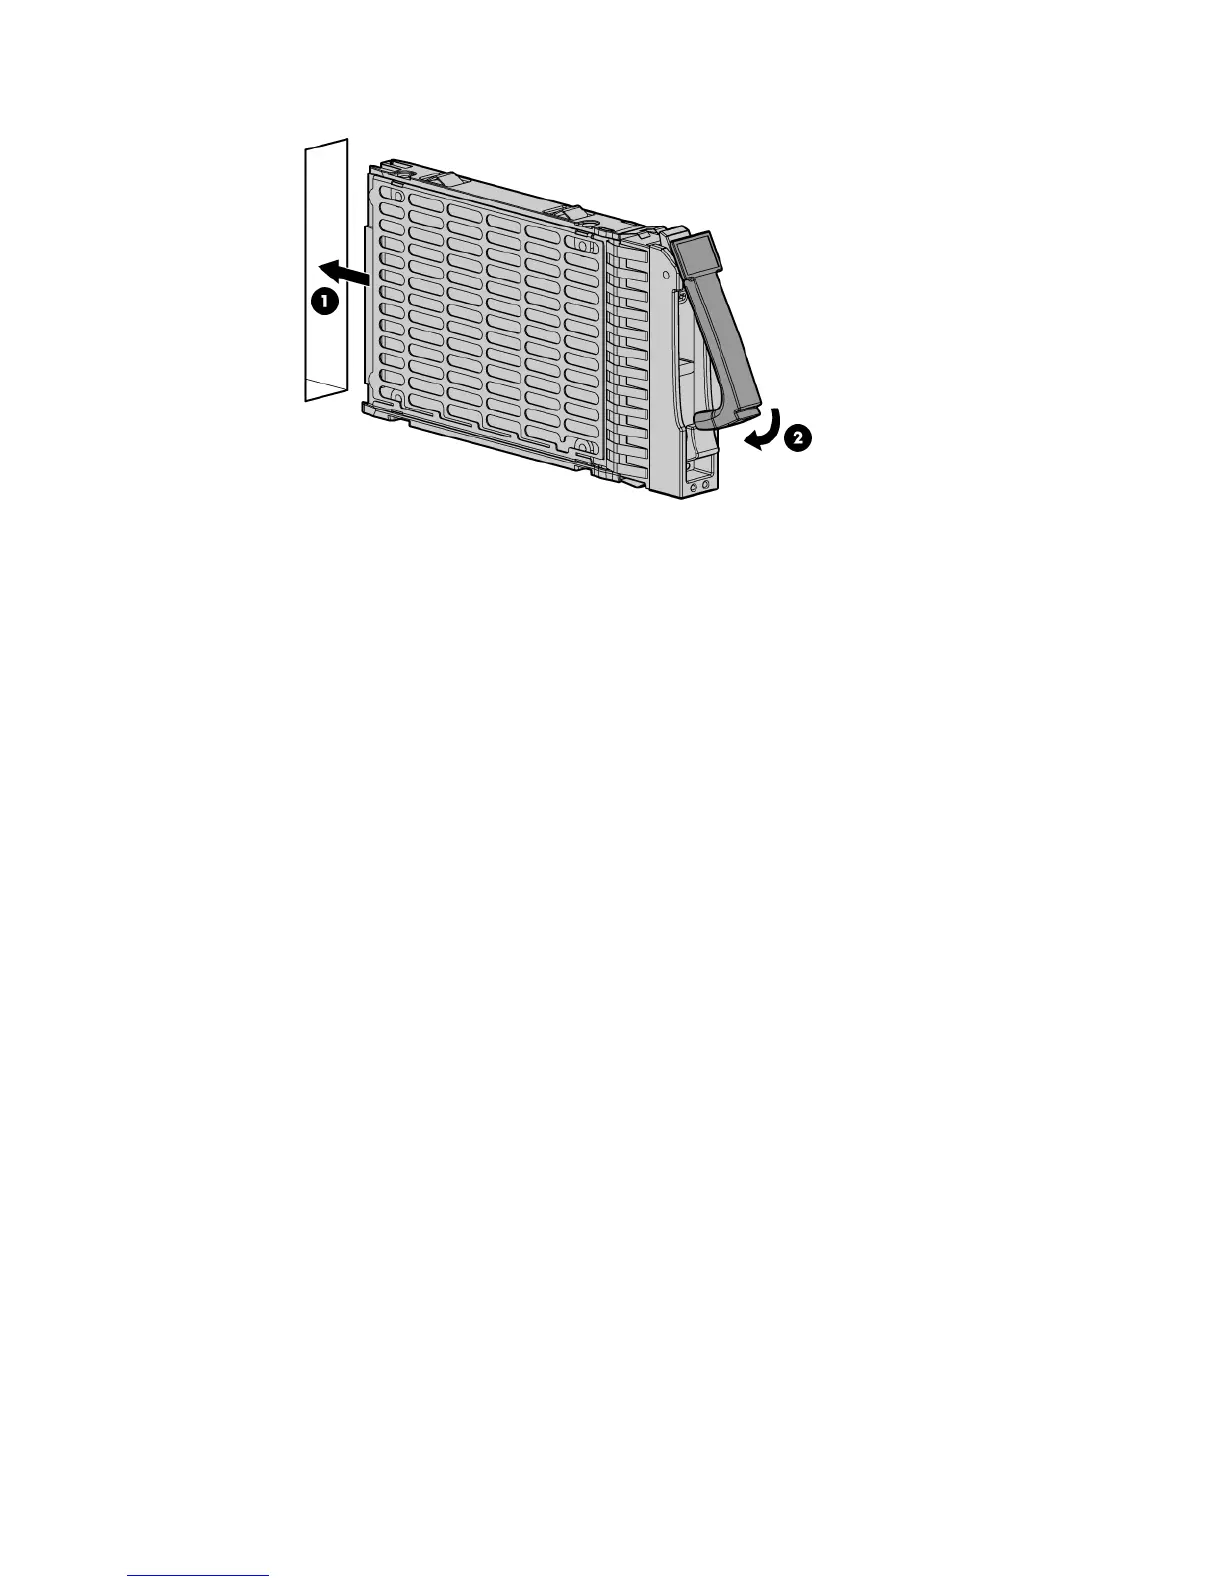
4. Close the lever to lock the drive into place.
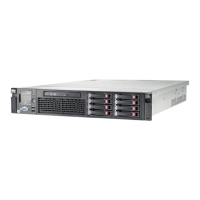
Installing internal components
Removing the access panel
1. Unlock the cam on the access panel latch (if necessary) by turning the lock on the access
panel latch counter-clockwise with a Torx T-15 or flathead screwdriver.
2. Pull up on the access panel latch. This causes the access panel to slide back about 2 cm (0.75
in).
3. Remove the access panel by lifting it straight up and off the server blade.
After the access panel is off, you can do the following:
• Add an additional processor (“Installing a processor and heatsink module”).
• Add additional memory DIMMs (“Installing DIMMs”).
• Add additional mezzanine cards (“Installing mezzanine cards”).
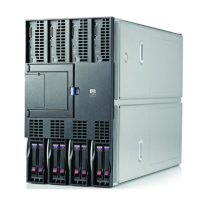
20 Installing the server blade into the enclosure
 Loading...