12
Installing the switch
CAUTION:
Keep the tamper-proof seal on a mounting screw on the chassis cover intact, and if you want to open the
chassis, contact the local agent of HP for permission. Otherwise, HP shall not be liable for any
consequence caused thereby.
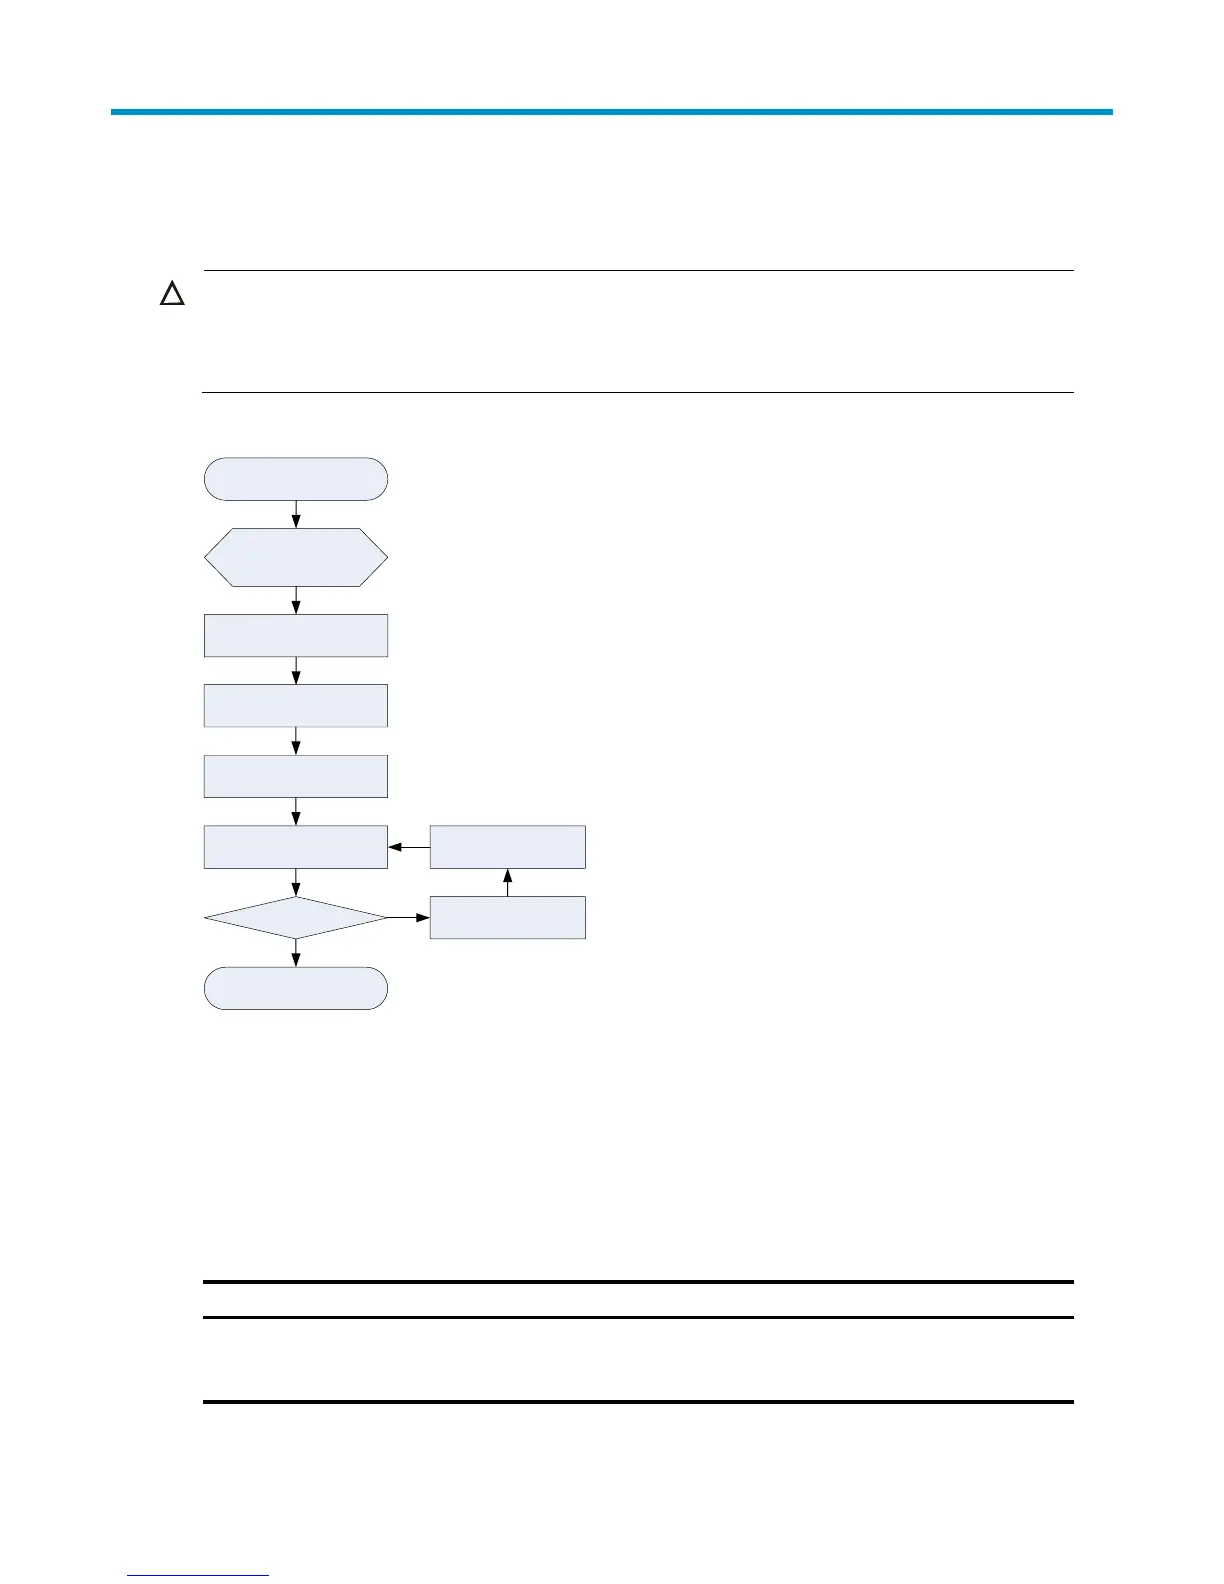
Figure 16 Hardware installation flow
Ground the switch
Install the switch
to a specific
position
Start
Connect the power cord
Verify the installation
Power on the switch
Operating properly? Power off the switch
Troubleshoot
the switch
No
Yes
End
Installing the switch
Selecting an installation method
The A3100 v2 Switch Series supports multiple installation methods. You can select one as needed.
Table 7 A3100 v2 Switch Series installation methods
A3100-24 v2 SI
A3100-24 v2 EI
Installing the switch into the
19-inch rack (Rack mounting by
using front mounting brackets)
Front mounting bracket. See callout A in
Figure 17 (supplied with the switch).
 Loading...