35
Installing an SFP transceiver module
NOTE:
This section only briefly describes the installation and operation guidelines for an SFP transceiver module.
For more information, see
Pluggable SFP/SFP+/XFP Transceiver Modules Installation Guide
.
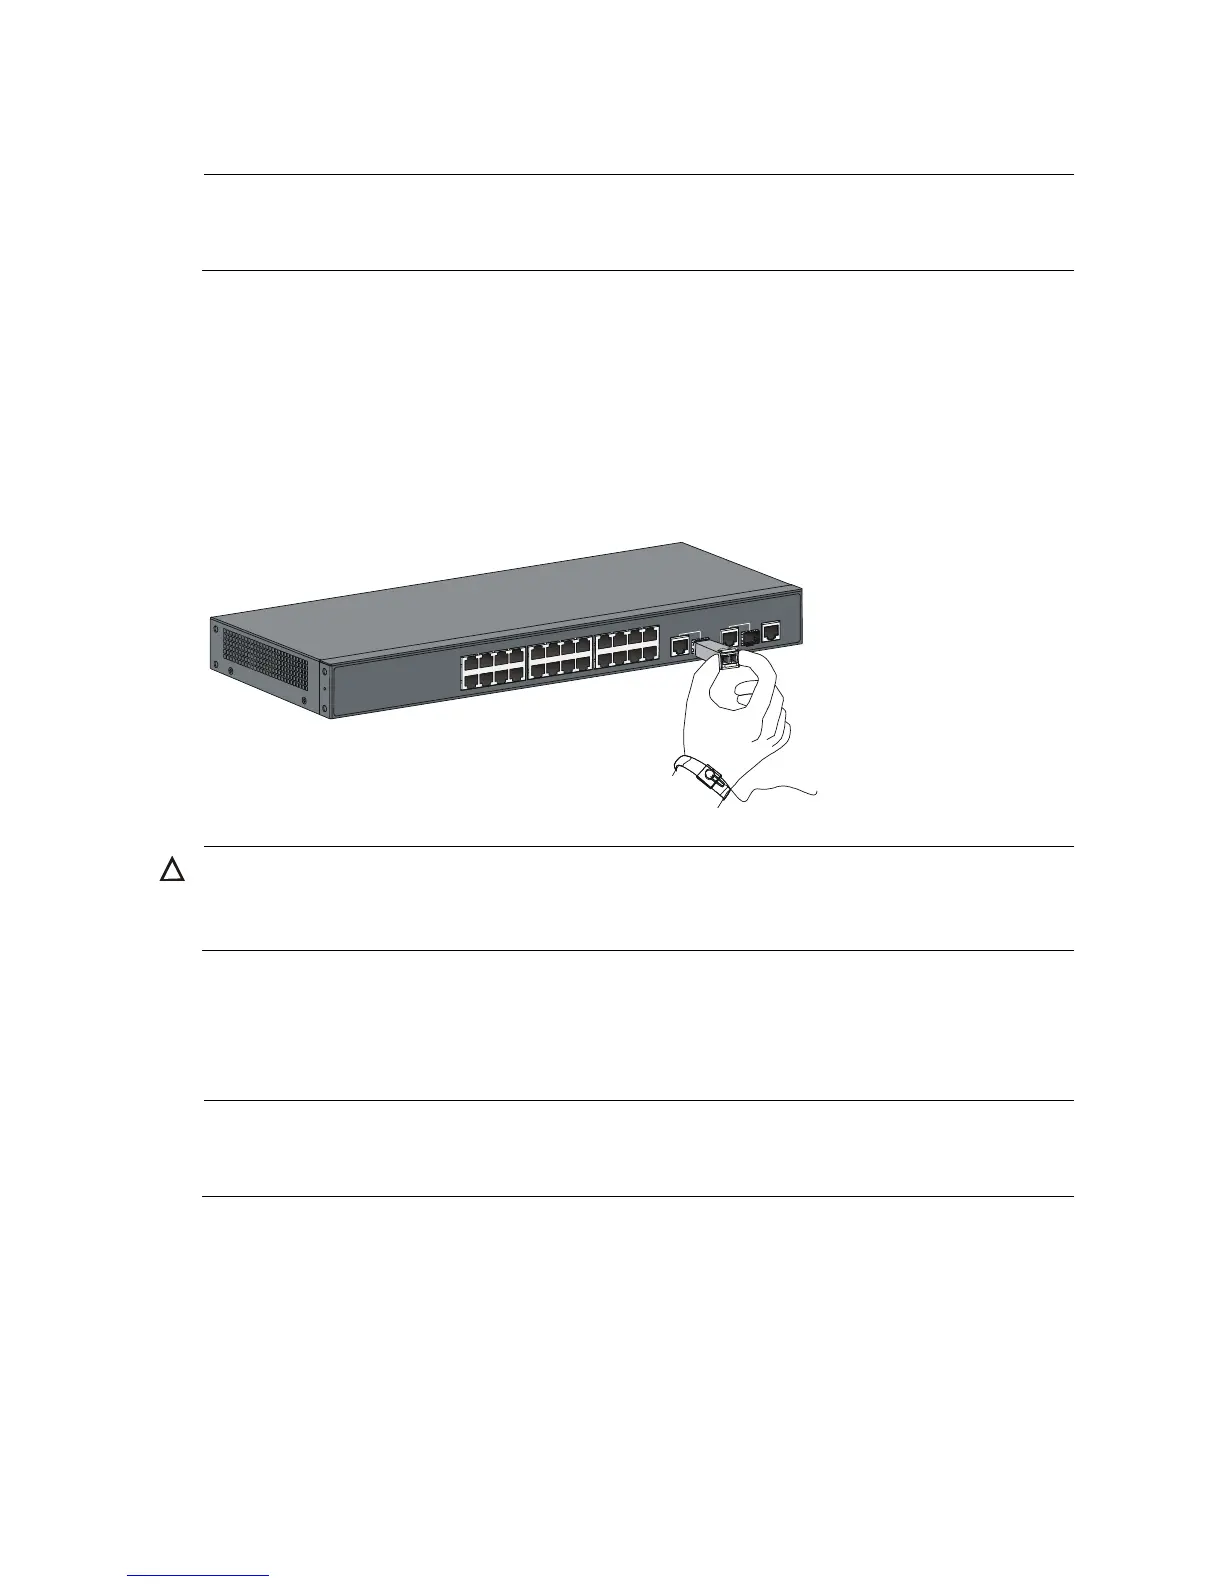
To install an SFP transceiver module:
1. Wear an ESD-preventive wrist strap and make sure it makes good skin contact and is well grounded.
2. Unpack the SFP transceiver module. Do not touch the golden finger of the module.
3. Pivot the clasp of the transceiver module up so that it catches a knob on the top of the module.
4. Squeezing both sides of the module, gently push the module into the slot until it has firm contact with
the slot (you can feel that the top and bottom spring tabs catch in the slot). See Figure 43.
Figure 43 Install an SFP transceiver module
CAUTION:
Do not remove the dust plug on the SFP transceiver module before installing it.
Remove the fibers, if any, from the SFP transceiver module before installing it.
Connecting an optical fiber connector to an SFP transceiver
module
NOTE:
For more information about optical fibers and fiber connectors, see
HP A-Series Switches Transceiver
Modules User Guide
.
The SFP transceiver modules of the A3100 v2 Switch Series use LC connectors. See Figure 44.
 Loading...