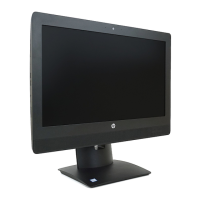
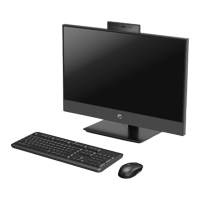
Rear enclosure and display assembly
IMPORTANT: Removing the rear enclosure is a very involved process. To successfully disassemble, be sure
to follow all steps in the correct order. If you break the clips or otherwise damage the rear cover during
removal, a replacement cover is available. If you have to replace the cover, be sure to remove the webcam
from the old cover and install on the new cover.
To remove the rear enclosure and main chassis:
1. Prepare the computer for disassembly (see Preparing to disassemble the computer on page 19).
2. Remove the stand (see Stand on page 19).
3. Remove the rear port cover (see Rear port cover on page 24).
4. Remove the speaker cover (see Speakers on page 43).
5. Remove the system board (see System board on page 40).
6. Remove the four screws (1) that secure the webcam carrier to the computer.
7. Move the webcam carrier aside so you can access the screw underneath (2).
8. Remove the screw from under the webcam.
Rear enclosure and display assembly 47
 Loading...


