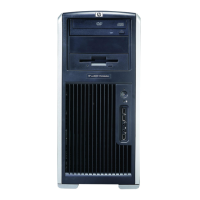
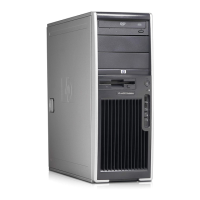
Chassis Indicator LEDs
Power LED and Sound
Activity
Diagnosis and Service Action
3. If fan is plugged in and seated properly, but is not spinning, the problem may be in the
processor fan. Contact HP for assistance
4. Verify that the fan assembly is properly attached. If problems persist, there may be a
problem with the processor heatsink. Contact HP for assistance.
Blinks red/beeps three times,
once per second, then a two-
second pause
CAUTION Disconnect AC power from the workstation before reseating or replacing
components because there is power to the system board even when the workstation
is powered down.
CPU not installed.
1. Check to see that the processor is present.
2. Reseat the processor.
Blinks red/beeps four times,
once per second, then a two–
second pause
CAUTION Disconnect AC power from the workstation before reseating or replacing
components because there is power to the system board even when the workstation
is powered down.
Power supply failure.
1. Open the access panel and ensure the following connections are secure on the system
board:
●
24–pin main power
●
8–pin CPU
●
4–pin memory
2. Locate faulty device by removing all devices and then reinstalling one at a time until
workstation fails. Replace the device causing the failure. Continue adding devices to
ensure all are functioning properly.
3. Verify power supply functionality.
a. Disconnect AC power.
b. Remove all internal power supply cables from the system board.
c. Plug in AC power.
●
If the power supply fan spins and the BIST* LED lights, then the power supply
is good. Replace the system board.
●
If the power supply fan does not spin or the BIST* LED does not light, replace
the power supply.
Blinks red/beeps five times,
once per second, then two-
second pause
CAUTION Disconnect AC power from the workstation before reseating or replacing
components because there is power to the system board even when the workstation
is powered down.
Pre-video memory error.
1. Ensure DIMMs are loaded in correct slots.
2. Reseat DIMMs.
3. Replace DIMMs one at a time to isolate faulty module.
Table 5-2 Diagnostic LED codes (continued)
108 Chapter 5 System diagnostics and troubleshooting ENWW
 Loading...
