LP-605 Rev. 000 Rel. 009 Date 8.16.18
18
B. Backow Preventer
Use a backow preventer specically designed for water heater
installations. This valve should be installed on the cold water ll
supply line per local codes.
Ensure the cold water inlet and hot water outlet pipes are
not reversed. Doing so will cause the water heater to operate
improperly and void warranty. Ensure the hot and cold lines are
connected properly.
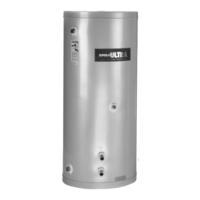
C. Potable Expansion Tank
A potable hot water expansion tank is required to oset heated
water expansion. In most city plumbing systems, the water meter
has a no return or back ow device built into the system to prevent
back owing of water into city mains. Some local codes require
back ow preventers on all incoming water supplies. The hot water
expansion tank must be listed for potable water use. The expansion
tank should be located on the cold inlet piping close to the water
heater.
Expansion Tank
1. Ensure that the expansion tank is sized to correctly handle heater
and system water volume and temperature.
Undersized expansion tanks cause system water to be lost from
the relief valve, causing make-up water to be added. Eventual
heater failure can result due to excessive make-up water addition.
SUCH FAILURE IS NOT COVERED BY WARRANTY.
The expansion tank must be suitable for hot potable water
systems.
2. The expansion tank must be located as shown in Applications, this
manual, or following recognized design methods. See expansion
tank manufacturer’s instructions for details.
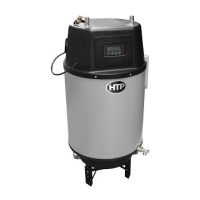
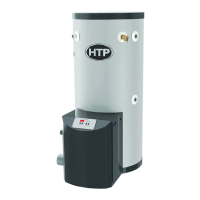
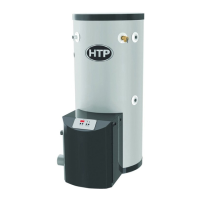
D. Piping the Water Heater
Use both thread tape and pipe dope to connect to the ¾” domestic
water inlet and outlet. Tankless isolation valves between the city
water supply and tank inlet are recommended for ease of service.
Use at least the MINIMUM pipe size for all water heater loop piping
This is to avoid the possibility of inadequate ow through the
water heater. Using less than the required minimum pipe size and
piping could result in system problems, property damage, and
premature water heater failure. Such problems ARE NOT covered
by product warranty.
Figure 10 - Installing the Water Pipes
 Loading...