English - 97
5. REPAIR INSTRUCTIONS
5.17 Replacing the sensors
Dismantle the body and chassis.
5.17.1 Front and rear loop sensors
1. Remove the cable from the sensor to be
replaced.
2. Unscrew the screw, torx 20, and lift out the
sensor.
3. Fit the new sensor. Do not tighten the screws too
tight.
4. Check that the loop sensors work.
5. Fit the chassis and body.
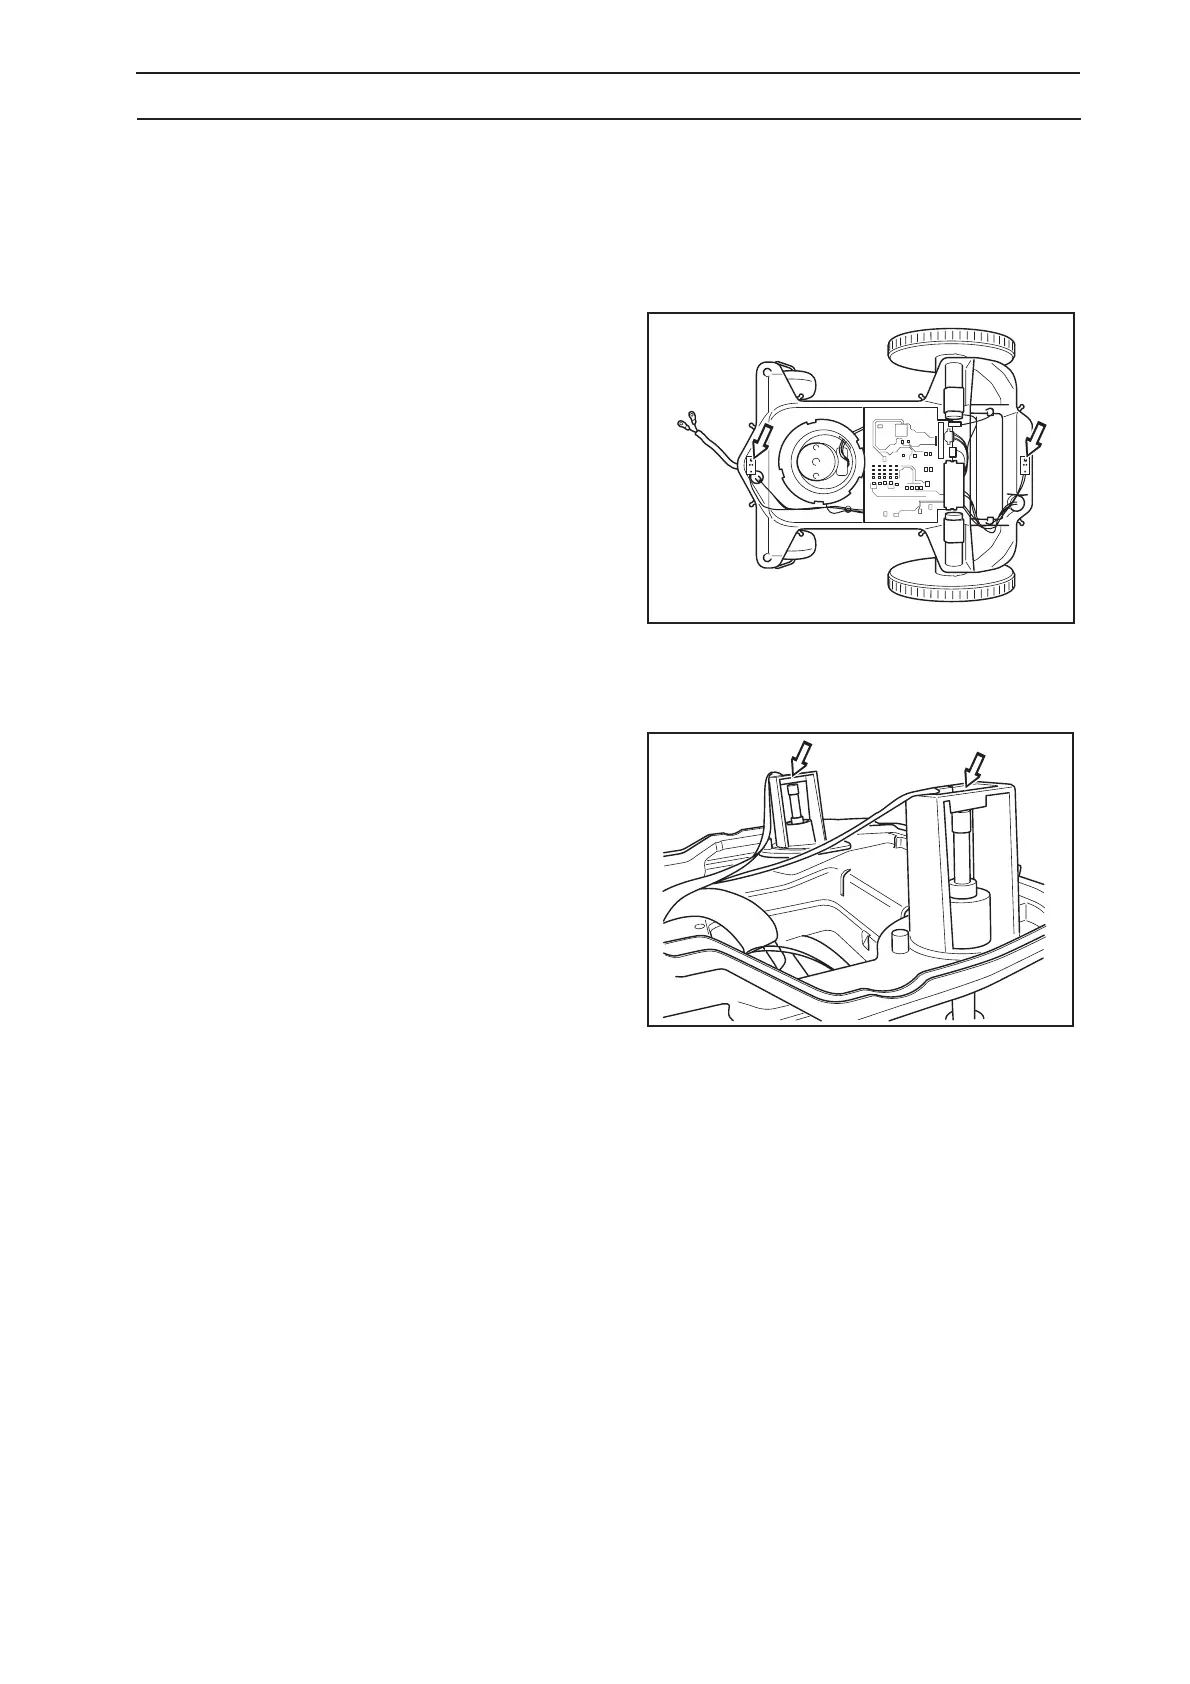
5.17.2 Collision sensors
1.
Remove the cable from the sensor to be
replaced.
2. Remove the sensor to be replaced by pressing
one of the catches, holding the sensor,
backwards and at the same time hold the upright
to the side. Exercise care so that the catch
holding the collision sensor is not broken off.
3. Fit the new sensor.
4. Check that the collision sensor works.
5. Fit the chassis and body.
If the collision sensor still does not work after
replacement, this may be due to the magnet in the
upright not being located correctly. Try to turn the
magnet. Also check that the upright is straight. The
collision sensor is deactivated when the upright is
straight.
If a collision sensor is permanently activated due to a
fault, the fault message Left collision sensor defect or
Right collision sensor defect is displayed.
6. Check that the mower has the correct setting for
the component version. If a mower that is fitted
with white collision sensors (mowers produced
from 2003 or 2004) changes to black collision
sensors (mowers produced from 2005 and
onwards) the settings must be changed. This is
done in Autocheck under the menu
Tools-Machine version.
 Loading...