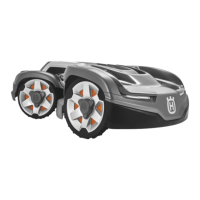
3. Press the clip underneath the body to release the
headlight.
4. Disconnect the headlight cable from the body.
5. Install the new headlight and connect the cable to
the body.
6. Install the top cover and the body in opposite
sequence.
6.11 To replace the buzzer
1. Remove the body. Refer to
To remove and install
the body on page 20
.
2. Remove the upper chassis. Refer to
To remove and
install the upper chassis on page 20
.
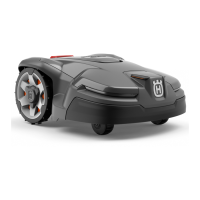
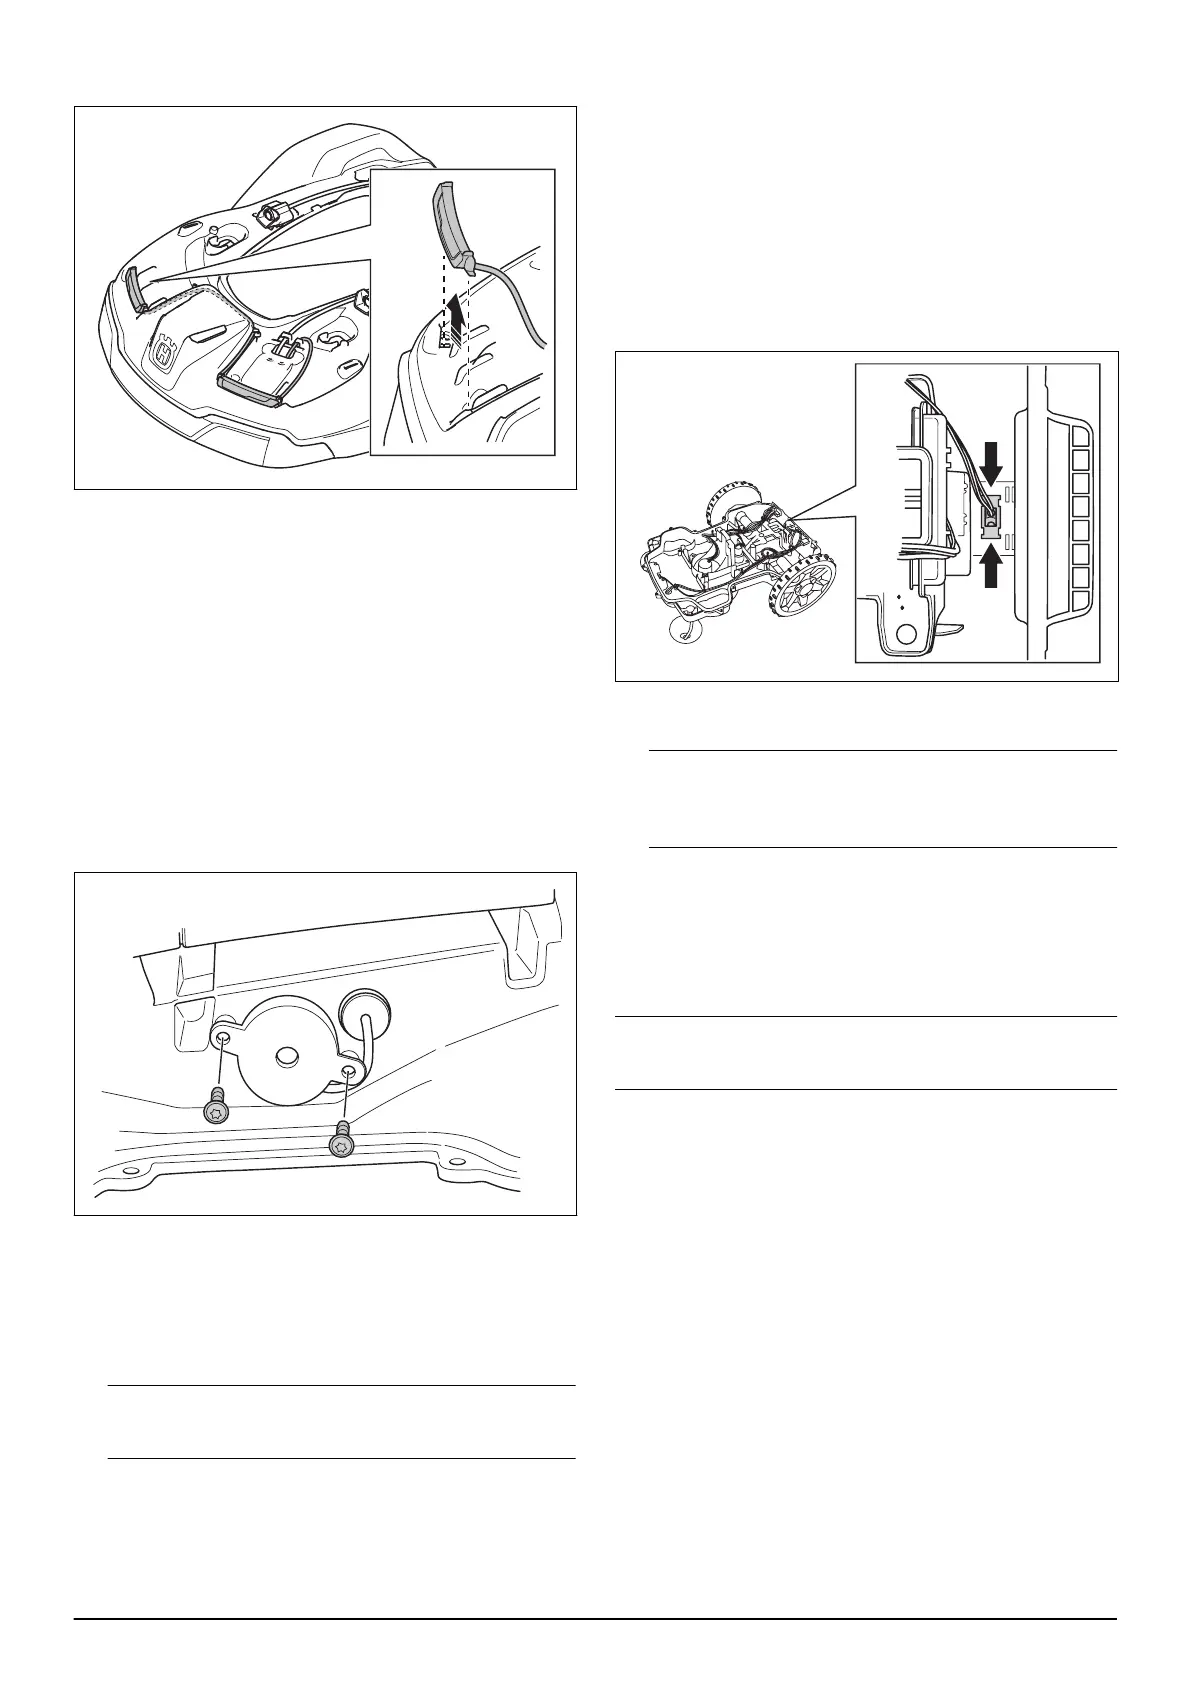
3. Remove the 2 screws that holds the buzzer.
4. Disconnect the cables connected to the buzzer from
the HMI circuit board.
5. Pull out the rubber grommet and remove the buzzer
with the connected cable .
6. Install in opposite sequence.
Note: Make sure that the grommets seal correctly
against moisture.
6.12 To replace the main switch
1. Remove the body. Refer to
To remove and install
the body on page 20
.
2. Remove the upper chassis. Refer to
To remove and
install the upper chassis on page 20
.
3. Remove the main circuit board. Refer to
To replace
the main circuit board on page 28
.
4. Press the clips together to remove the main switch
and press it out through the opening in the lower
chassis.
5. Install the new main switch together with the new
gasket into the opening.
Note: Make sure that the main switch is installed
with the digit 1 is positioned to the left and 0 to the
right, seen from behind.
6. Press the main switch into the opening. Make sure
that it is correctly attached and completely sealed.
7. Install in opposite sequence.
6.13 To clean and replace the ventilation filter
Note: The ventilation filter needs to be cleaned regularly
and must be replaced if damaged.
1. Remove the body. Refer to
To remove and install
the body on page 20
.
2. For 420/430X/430XH/440/450X/450XH:
a. Pull the front display cover forward to remove it.
24 - Repair instructions 1191 - 001 -

 Loading...