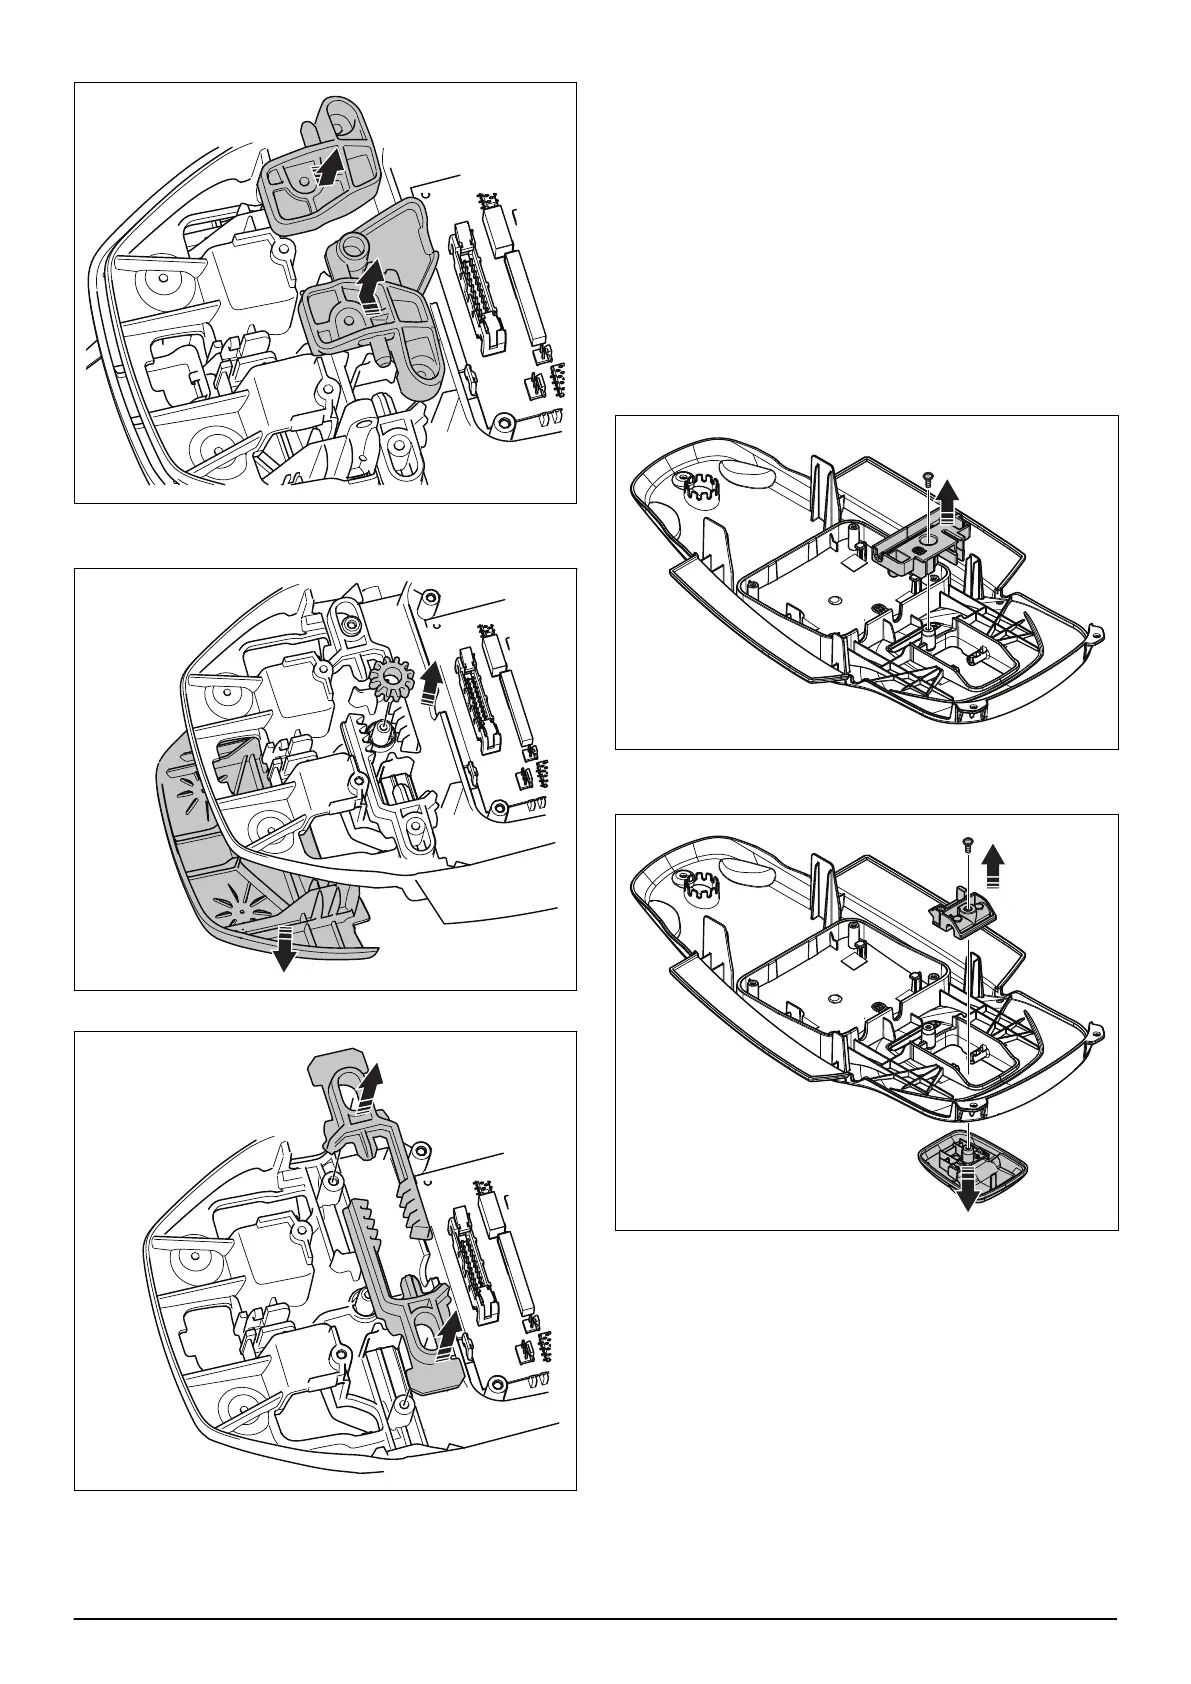
6. Remove the holders.
7. Remove the cogwheel. The stop button will release
on the rear side.
8. Remove the lock kit.
9. Replace the lock kit or the stop button.
10. Install in opposite sequence.
6.17 To replace the START/STOP button
520/550/550H
This section gives information on how to remove all
parts. For service or to replace a spare part, all steps
may not be necessary.
1. Remove the body. Refer to
To remove and install
the body on page 20
.
2. Remove the upper chassis. Refer to
To remove and
install the upper chassis on page 20
.
3. Disconnect the cable from the HMI circuit board and
remove the cable glands.
4. Remove the screw and remove the housing.
5. Remove the screw and remove the support for the
START/STOP button.
6. The START/STOP button will be released.
7. Install the new START/STOP button.
8. Install in opposite sequence.
1191 - 001 - Repair instructions - 27

 Loading...