200 HyPrecision Predictive waterjet pump Operator Manual 810120
9 – Installation
Installation
Install the pump
These instructions are for a typical installation. In could be necessary to install the components in a different
order.
Parts, tools, and materials
When the unit is in position, use adjustable wrenches to level the unit. There are 2 nuts on each leveling foot on
the corners of the frame. Use the lower nut to set the height. The upper nut tightens against the pump frame to
keep the leveling foot from moving.
Install the external heat exchanger (optional)
An external heat exchanger is optional.
Parts, tools, and materials
HyPrecision P-15/P-30 pumps have a 3/4-inch hose with a 1-1/4-inch hex fastener on the fitting.
HyPrecision P-50/P-50S/P-60S/P-75S pumps have 1-inch hydraulic hoses with a 1-5/8-inch hex fastener.
1. Use the attached mounting bars to secure the heat exchanger to the ground or on an elevated platform.
2. Locate the wiring access hole in the bottom of the electrical enclosure.
3. Remove the wing nut holding the hole plug.
WARNING
Make sure that all connections, fasteners, locking devices, hoses, and fittings are tight.
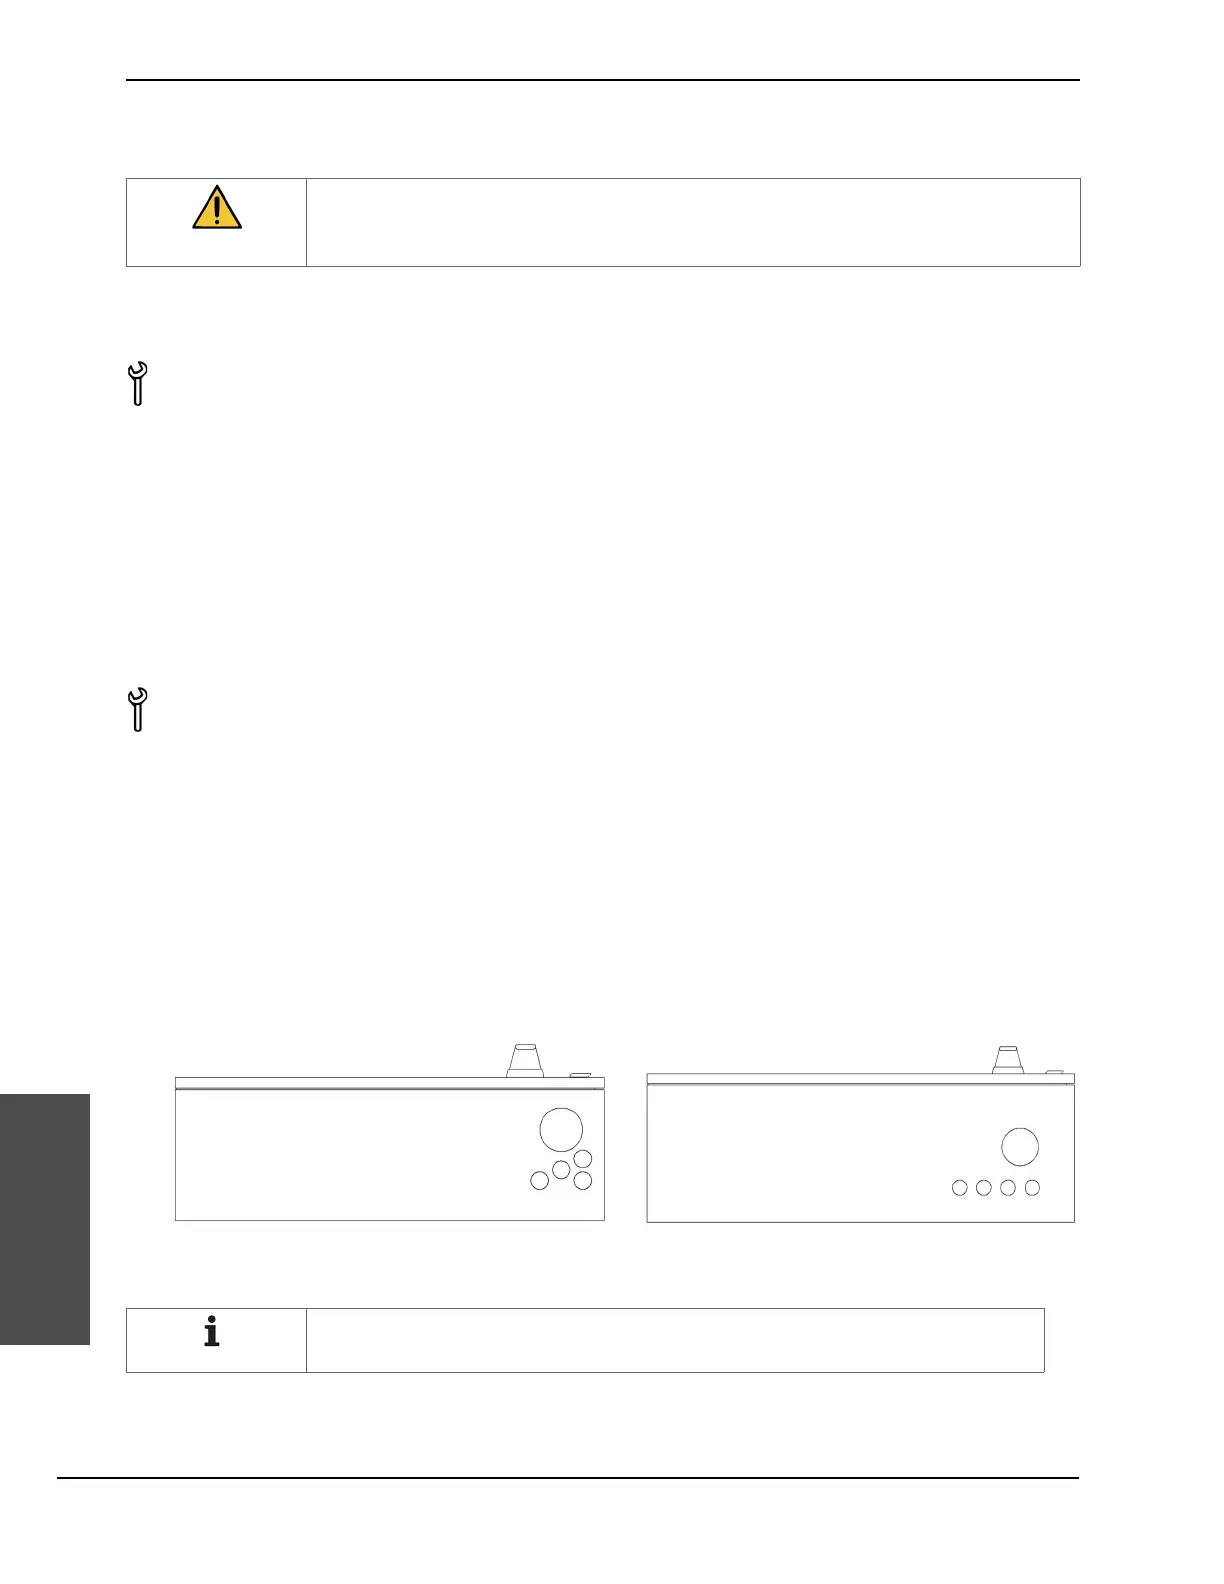
HyPrecision P-15/P-30/P-50 pump HyPrecision P-50S/P-60S/P-75S pump
Keep the plug and the wing nut to use if the pump is stored or shipped.
Two 1-1/8-inch open-ended wrenches
Level
1-12092 24 mm cord grip
24 mm or 15/16-inch open-ended wrench
(for the cord grip base)
1-1/16-inch open-ended wrench
(for the sealing locknut)
 Loading...