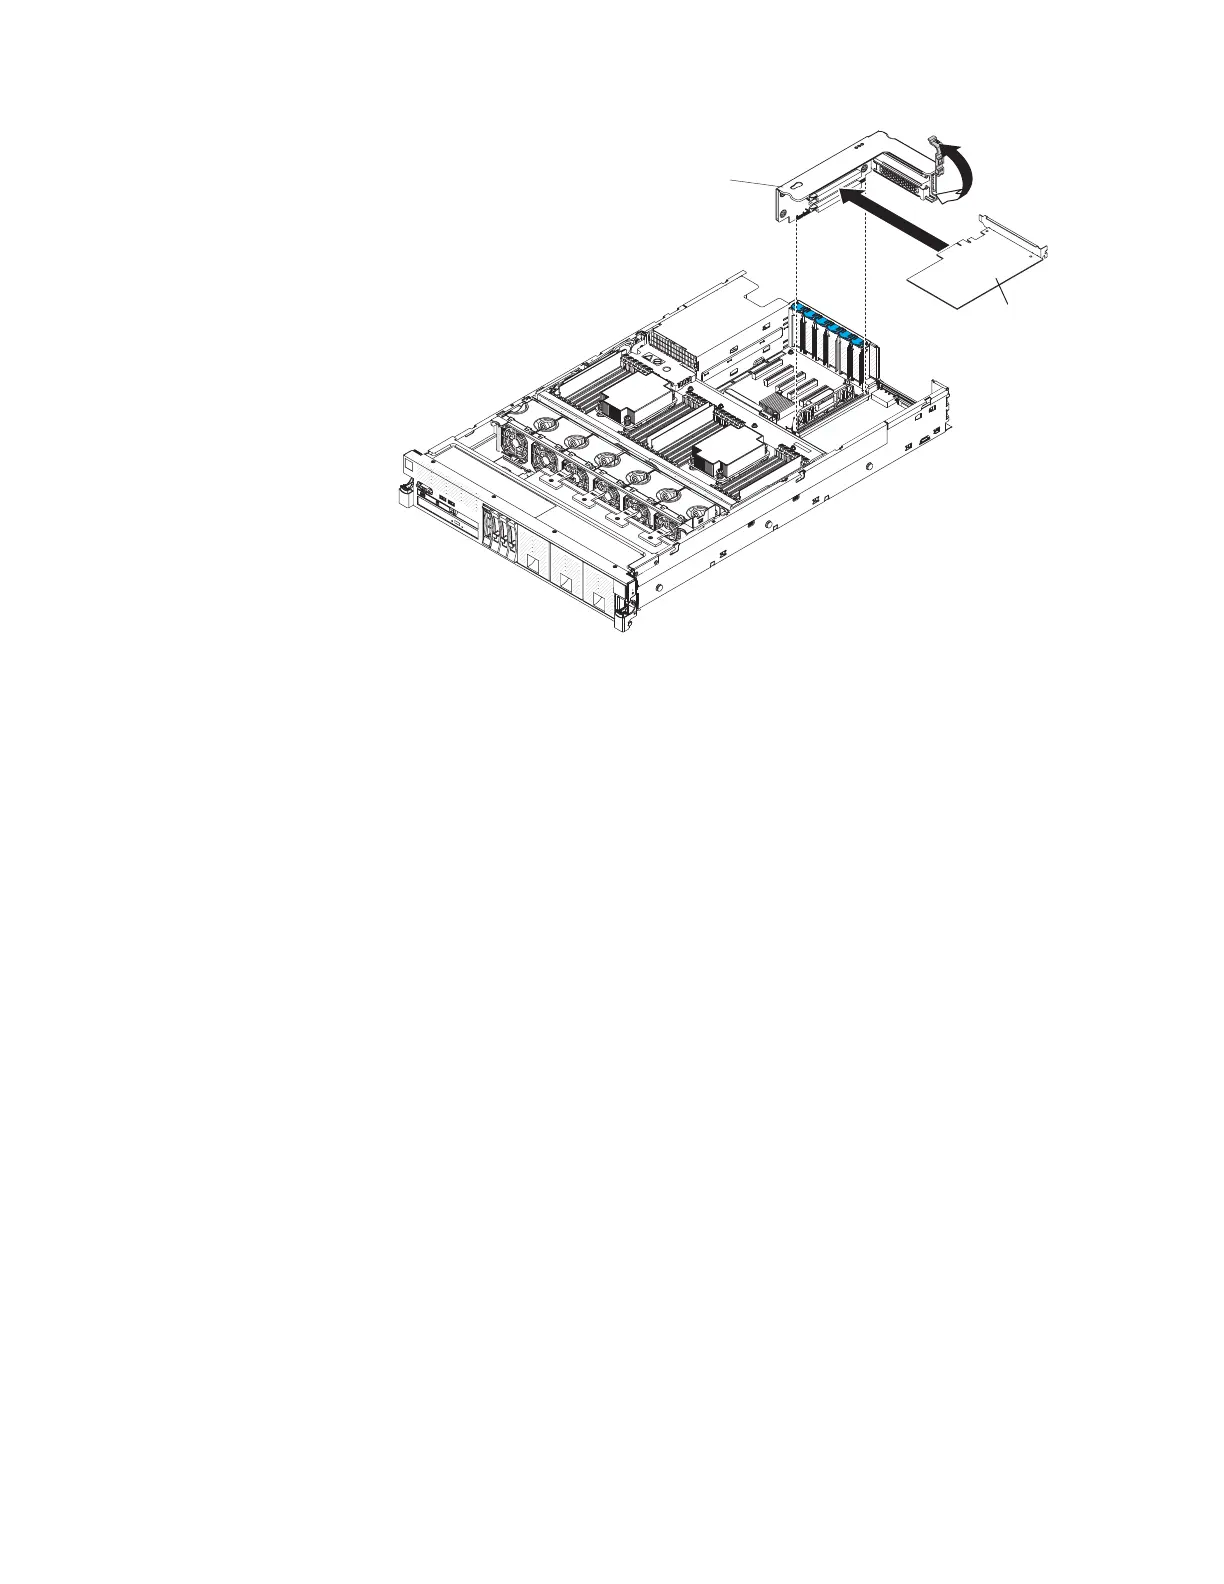
PCI riser-card assembly
Adapter
e. Close the adapter retention latch to secure the adapter in place.
f. Install the riser-card assembly in the server (see “Replacing a PCI riser-card
assembly” on page 284).
5. Connect any external cables to the adapter, if necessary.
6. Perform any configuration tasks that are required for the adapter.
7. Install the cover (see “Replacing the server top cover” on page 227).
8. Slide the server into the rack.
9. Reconnect the power cord and any cables that you removed.
10. Turn on the peripheral devices and the server.
Removing 2.5-inch and 1.8-inch hot-swap drives
This information provides instructions on how to remove 2.5-inch and 1.8-inch
hot-swap drives.
About this task
To remove a hot-swap drive, complete the following steps.
Attention:
v To avoid damage to the drive connectors, make sure that the server cover is in
place and fully closed whenever you install or remove a drive.
v To make sure that there is adequate system cooling, do not operate the server for
more than 2 minutes without either a drive or a filler panel installed in each bay.
Procedure
1. Read the safety information and installation guidelines, see “Safety” on page vii
and “Installation guidelines” on page 35.
2. Removing a 2.5-inch hot-swap drive:
a. Slide the release latch (orange) up gently to unlock the drive handle
236 System x3750 M4 Types 8722 and 8733: Installation and Service Guide
 Loading...