1
2
2
15
16
14
13
12
11
10
9
8
7
6
5
4
3
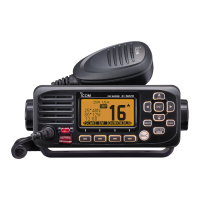
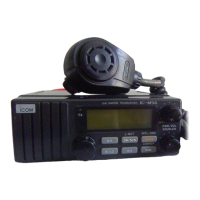
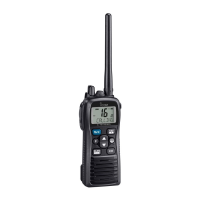
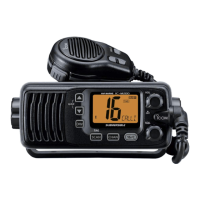
PANEL DESCRIPTION
2
■ Front panel
q CHANNEL UP/DOWN KEYS [▲]/[▼]•[U/I/C]
z Selects the operating channels, Set mode
settings and so on. (p. 4, 12)
z Selects one of 3 channel groups in sequence
when both keys are pushed. (p. 5)
w POWER/VOLUME CONTROL [VOL]
Rotate to turn the transceiver ON and OFF and
adjusts the audio volume level. (p. 6)
e SQUELCH CONTROL [SQL]
Rotate to set the squelch level. (p. 6)
L Rotate until the noise just disappears.
r CHANNEL 16/CALL CHANNEL KEY [16/C]
z Push to select Channel 16. (p. 4)
z Hold down for 1 second to select call channel.
(p. 4)
t CHANNEL KEY [CHAN]
While pushing, push [16/C] to edit the channel
name. (p. 7)
y SCAN KEY [SCAN]•[TAG]
z Push to start or stop a scan. (p. 10)
z Hold down for 1 second to set or clear the
displayed channel as a TAG channel. (p. 10)
u DUALWATCH/TRI-WATCH KEY [DW]
Push to start or stop Dualwatch or Tri-watch.
(p. 11)
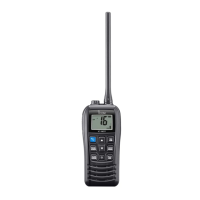
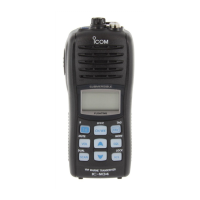
■ Microphone
q PTT SWITCH [PTT]
Hold down to transmit, release
to receive. (p. 6)
w CHANNEL UP/DOWN KEYS
[▲]/[▼]
Push either key to change the
operating channel, Set mode
settings and so on.
(p. 4, 12)
e TRANSMIT POWER KEY
[HI/LO]
z
Push to toggle between high and low power. (p. 6)
z While holding down, turn ON the transceiver to
toggle the Microphone Lock function ON or OFF.
(p. 8)
Speaker
q
w
Function display (p. 3)
ertyu
q
w
e
 Loading...