14
CHAPTER 3
CHAPTER 3 - UNIT PREPARATIONS
3.5. Stud Walls - Installation
1. Locate the studs in the general area of the boiler
installation.
2. Place the wall-mounting bracket on the wall
centering the mounting slots with the stud centers
and ensuring the upper edge of the bracket is away
from the wall.
3. Level the bracket, while maintaining it’s centering
with the studs and use a pencil to mark the location
of the mounting slots.
4. Remove the bracket from the wall and drill a /”
diameter by 3” deep hole in the center of each
mark. For applications using metal studs and /
16”
toggle bolts, drill the required clearance hole.
5. Reposition the bracket on the wall and align with
the mounting slots/holes. Insert the two lag screws
provided (or toggle bolts for metal studs) through
the mounting slots/holes and loosely tighten.
6. Level bracket and tighten screws (bolts for metal
studs) securely making sure not to over-tighten to
avoid damaging drywall or plaster.
3.6. Wall Bracket Installation - Solid Walls
1. Locate the general area of the boiler installation.
2. Place the wall-mounting bracket on the wall ensuring
the upper edge of the bracket is away from the wall.
3. Level the bracket and use a pencil to mark the
location of the mounting slots on the wall.
4. Remove the bracket from the wall and drill a /8”
diameter by 1-/
8” deep hole in the center of each
mark.
5. Install the provided anchors ush or slightly recessed
in the drilled holes with threaded side facing down.
6. Reposition the bracket on the wall and align with
the mounting slots/holes. Insert the two bolts with
washers through the mounting slots/holes and
loosely tighten.
7. Level bracket and tighten bolts securely.
3.7. Boiler Mounting
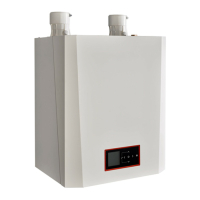
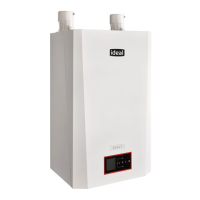
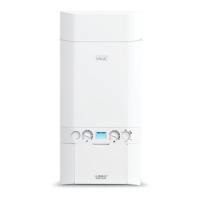
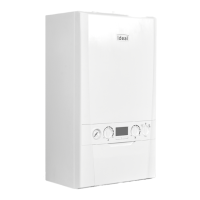
1. Obtain assistance in lifting the boiler onto the wall
bracket.
2. Install the boiler making sure the boiler mounting
lip located along the upper edge of the rear jacket
panel engages the wall-mounting bracket. Ensure
the boiler is seated properly and is secure.
3.4. Wall Mounting Guidelines
The wall-mounting bracket is designed for stud spacing
of approximate 12 inch or 16 inch on centers. For
unconventional stud spacing, a solid / secure mounting
surface must be provided for installation of the bracket.
1. For applications using wood studs, install the
bracket using the lag screws provided with the
boiler. Ensure both lag screws are installed securely
in the studs.
2. For applications using metal studs, install the
bracket to the studs using /
16” toggle bolts and
washers.
3. DO NOT mount or attempt to mount the wall
bracket to hollow sheet rock or lath walls using
anchors. Only install boiler to studs or equivalent
wood structure.
4. For applications using solid walls (rock, concrete,
brick, cinder block, etc.), install the wall bracket
using anchors (double expansion shields) and bolts
with washers provided with the boiler.
5. The boiler is too heavy and bulky for a single
person to lift and attempt to mount; a minimum of
2 people are required for mounting the boiler.
Use extreme care not to drop the boiler or cause
bodily injury while lifting or mounting the boiler
onto the wall bracket. Once mounted, verify that
the boiler is securely attached to the bracket and
wall. Failure to comply with the above guidelines
can result in substantial property damage, serious
injury, or death.
WARNING
 Loading...
