thermocouple output is between 8 and 15 mV closed
circuit.
The pilot flame is factory set and no adjustment is
possible. If the pilot flame is incorrect refer to Frame 7 of
the 'Servicing' instructions.
9. Check that the electricity supply and all external controls
are ON.
10. Set the boiler thermostat control knob to position '6' and
check that the burner cross lights smoothly from the pilot
flame.
11. Test for gas soundness around the boiler gas
component joints, using leak detection fluid.
12. Operate the boiler for ten minutes to stabilise the burner
temperature.
13. Check the burner setting pressure against the relevant
values quoted in Table 2, Page 2.
14. If the burner setting pressure requires adjustment, turn
the pressure adjusting screw (F) as required
(CLOCKWISE to DECREASE).
15. Set the boiler thermostat control knob to OFF. Remove
the pressure gauge tube and tighten the sealing screw in
the pressure test nipple. Relight and check for gas
soundness at the pressure test nipple.
16. Refit the controls casing pod and tighten the two front
fixing screws.
17. Close the pod door.
INSTALLATION
COMMISSIONING AND TESTING
22 COMMISSIONING AND TESTING
22 FITTING THE CASING
13
23 INITIAL LIGHTING
8. Check the appearance of the pilot flame to ensure that it
envelopes the tip of the thermocouple and is
approximately 25mm (1 in) long. Check that the
1. Check that all drain cocks are CLOSED, and that the stop
valves in the flow and return lines are OPEN and that the
thermostat phial is in its pocket.
Determine the required heat input and fix the adhesive
arrow (supplied in the Hardware Pack) to the data plate on
the bottom right hand side of the back panel, indicating the
intended burner setting pressure heat input.
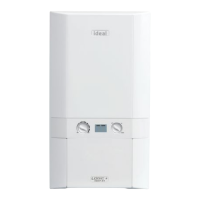
2. Check that the gas service cock (H) is ON and that the
boiler thermostat control knob (C) is OFF. Fit the boiler
casing (Frame 24) but do not fit the controls casing pod.
3. Loosen the screw in the burner pressure test nipple (E)
and connect a gas pressure gauge via a flexible tube.
4. Slide the gas control button (A) to the RIGHT until
resistance is felt and then release it. WAIT FOR THREE
MINUTES.
5. Push in and retain fully depressed the gas control button
(A). Press and release the piezo unit button (D) repeatedly
until the pilot is seen to light through the sightglass (B).
6. Hold the gas control button depressed for 15 seconds after
the pilot burner has ignited, then release.
7. If the pilot burner fails to remain alight at this stage, repeat
the procedure detailed above but wait longer than 15
seconds before releasing the gas control button.
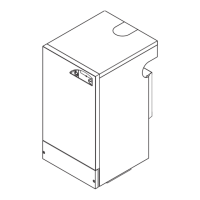
LEGEND
A Gas valve E Burner pressure test nipple
control button F Main burner pressure
B Sightglass adjuster
C Thermostat control knob G Inlet pressure test nipple
D Piezo unit ignition H Gas service cock
BOILER CONTROLS
Note: The gas service
cock is shown in the
OPEN position.
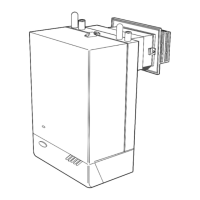
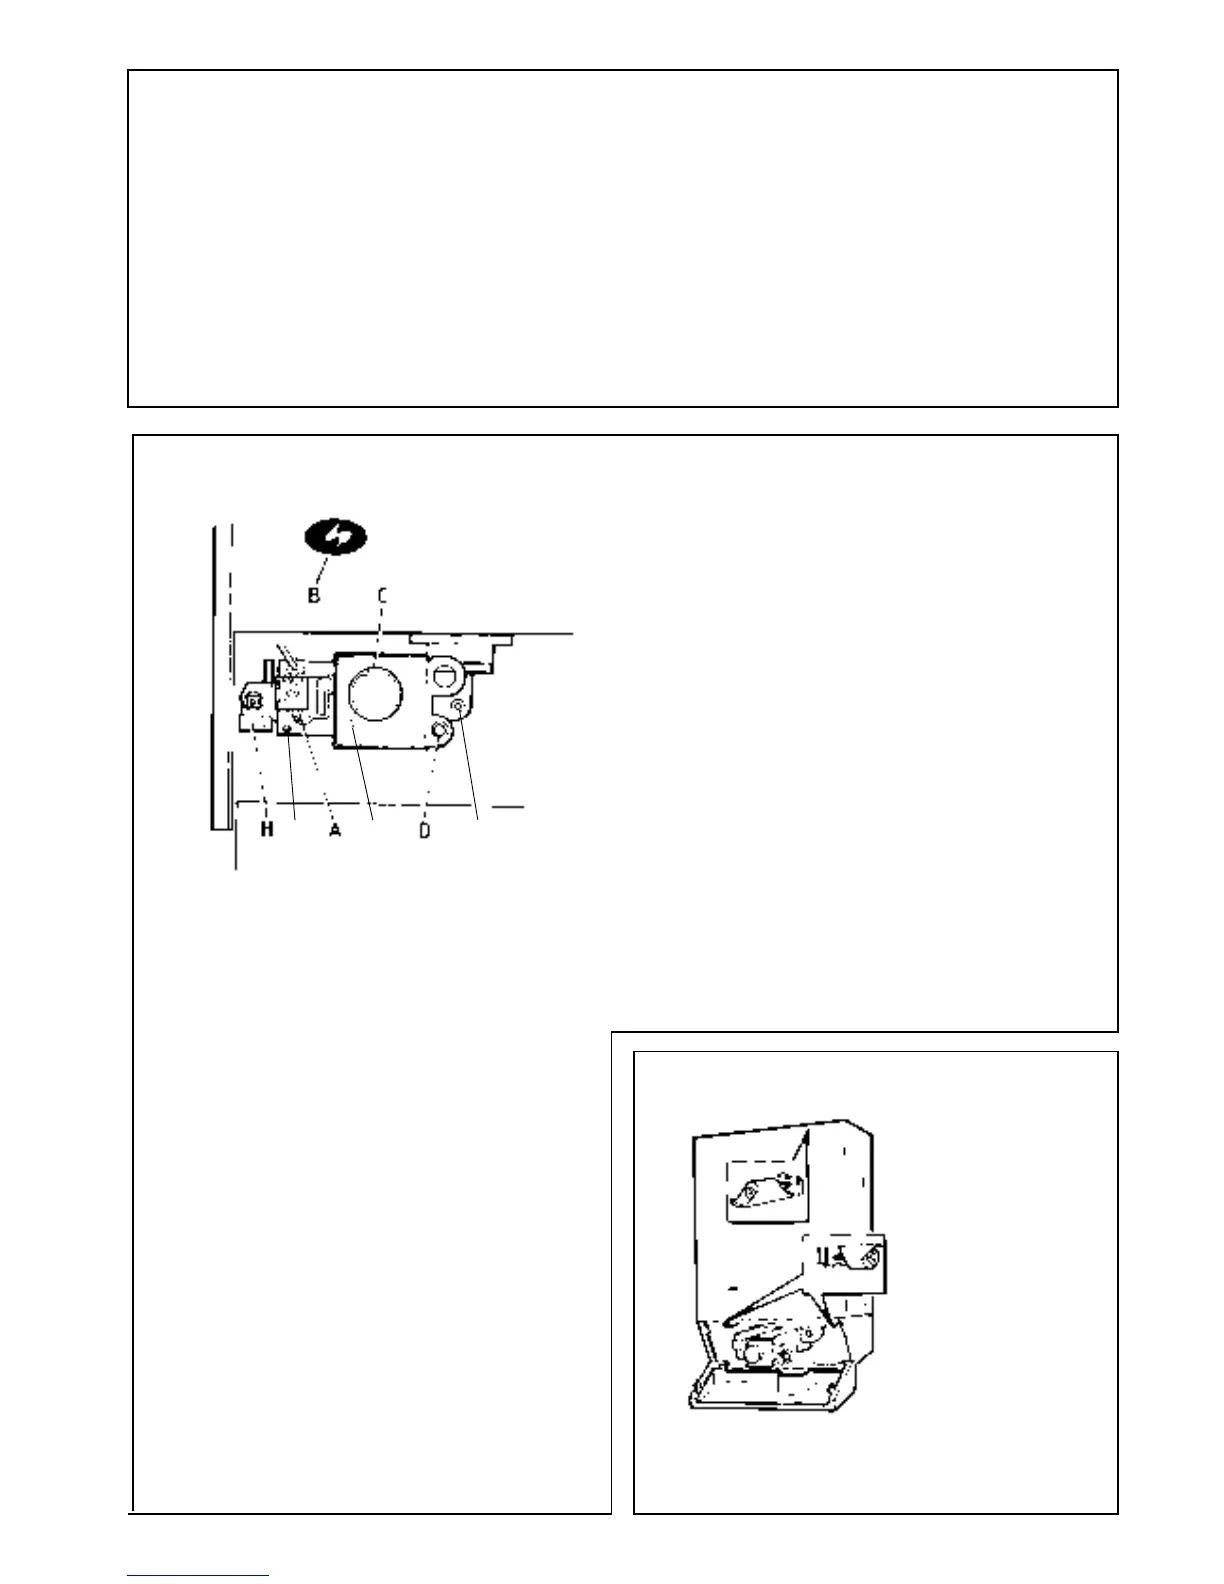
1. Check that the sealing strip is in place along the four rear
edges of the boiler
casing.
3. The casing must be sealed correctly. This MUST be
checked by ensuring that, at the top and bottom edges of
the casing, the seal is compressed over its complete
length.
2. Lift the boiler
casing up to the
boiler
assembly,
locate over the
upper support
bracket and
secure with the
3 captive
screws
G
F
E
(a) Electrical Installation
1. Checks to ensure electrical safety should be
carried out by a competent person.
2. ALWAYS carry out preliminary electrical system
checks, i.e. earth continuity, polarity, resistance to
earth and short circuit using a suitable test meter.
3. Refit the control box cover.
(b) Gas Installation
1. The whole of the gas installation, including the meter,
MUST be inspected and tested for soundness, and purged
in accordancewith the recommendations of BS. 6891.
2. Purging air from the gas installation may be expedited by
loosening the screws on the gas service cock and purging
until gas is smelled.
3. Retighten the screws and check for gas soundness.
WARNING. Whilst effecting the required gas soundness test
and purging air from the gas installation open all windows and
doors, extinguish naked lights and DO NOT SMOKE.
 Loading...