EasyManua.ls Logo

IKEA W10282555A User Manual

IKEA W10282555A
52 pages
To Next Page IconTo Next Page
To Previous Page IconTo Previous Page
Page #16 background imageLoading...
Page #16 background image
16
Install custom panel
8
Customer-supplied
panel
Align top
edges
Drill through
these holes
1³⁄₈ Screw
Install the two #8-18 x 1³⁄₈" screws from
the literature package in the top corners of the inner
panel. Tighten the six side screws reinstalled in Step 6.
6"
(15.2 mm)
Hex Head
Screw
Attach handle
5
Attach outer panel to back of customer-supplied custom
panel with the four #10-16 x ³⁄₈" hex head screws supplied
in the literature package. Attach the handle. The handle
should be centered on the front of the customer-supplied
custom panel in the area shown.
IMPORTANT: Screw heads must be flush with back of
customer-supplied custom panel.
Attach body panel
6
Customer-supplied
panel
Align top
edges
Reinstall
3 screws
each side
Install custom panel
7
Customer-supplied
panel
Align top
edges
Drill through
these holes
Attach the panel assembly to the door by reinstalling the
three screws on each side; do not tighten completely. This
reinstallation of the three screws will hold the panel
assembly in place on the door frame.
Align the top edge of the customer-supplied custom
panel with the top of the console.
Drill two ³⁄₃₂" pilot holes ¹⁄₂" (13 mm) deep, into the
customer-supplied custom panel, through the holes in the
top corners on the inner panel, as shown.
Mark line
3
(25.2 cm)
Top edge
Back
"
Measure 9²⁹⁄₃₂" (25.2 cm) from top edge and mark a line on
the back of customer-supplied custom panel. Position the
outer panel on the back of the customer-supplied custom
panel as shown, so that the top holes in the outer panel are
on the line, and both panels are centered side to side.
Mark pilot holes
4
Mark pilot
holes
Mark all four hole locations; remove outer panel. Drill ³⁄₃₂"
pilot holes ¹⁄₂" (13 mm) deep in customer-supplied custom
panel. Place the outer panel on the back of the customer-
supplied custom panel; align holes.

Table of Contents

Question and Answer IconNeed help?

Do you have a question about the IKEA W10282555A and is the answer not in the manual?

IKEA W10282555A Specifications

General IconGeneral
BrandIKEA
ModelW10282555A
CategoryDishwasher
LanguageEnglish

Summary

Dishwasher Safety

Tip Over Hazard

Warning about potential injury from pushing down on an open door before installation is complete.

Installation Requirements

Tools and Parts

Lists essential tools and parts needed for dishwasher installation.

Other Useful Items

Lists additional items that may be helpful during the installation process.

Parts Supplied

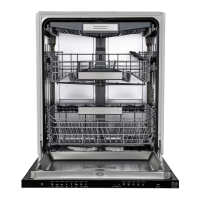
Identifies components provided with the dishwasher unit.

Parts Needed for First-Time Installation

Specifies additional parts required when installing the dishwasher for the first time.

Location Requirements

Drain Requirements

Electrical Requirements

Water Supply Requirements

Installation Instructions

Prepare Cabinet Opening - Existing Utilities

Guides preparation steps when utility hookups are already present in the cabinet.

Prepare Cabinet Opening - New Utilities

Guides preparation steps for cabinets requiring new utility hookups.

Power Supply Cord Installation (Option A)

Instructions for installing a power supply cord connection.

Direct Wire Installation (Option B)

Instructions for making a direct wire electrical connection.

Prepare and Route Water Line

Steps for preparing and routing the water supply line to the dishwasher.

Route and Connect Water Supply

Detailed steps for routing and connecting the water supply line, including flushing.

Install Drain Hose

Install Moisture Barrier

Instructions for installing a moisture barrier, typically under a countertop.

Prepare Dishwasher

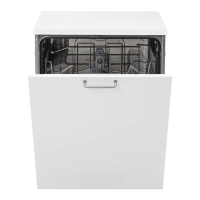
Steps for preparing the dishwasher unit before final installation.

Make Power Supply Cord Connection

Make Direct Wire Electrical Connection

Details the process of making a direct wire electrical connection.

Determine Cabinet Opening

Install the Door Handle

Custom Panel Dimensions

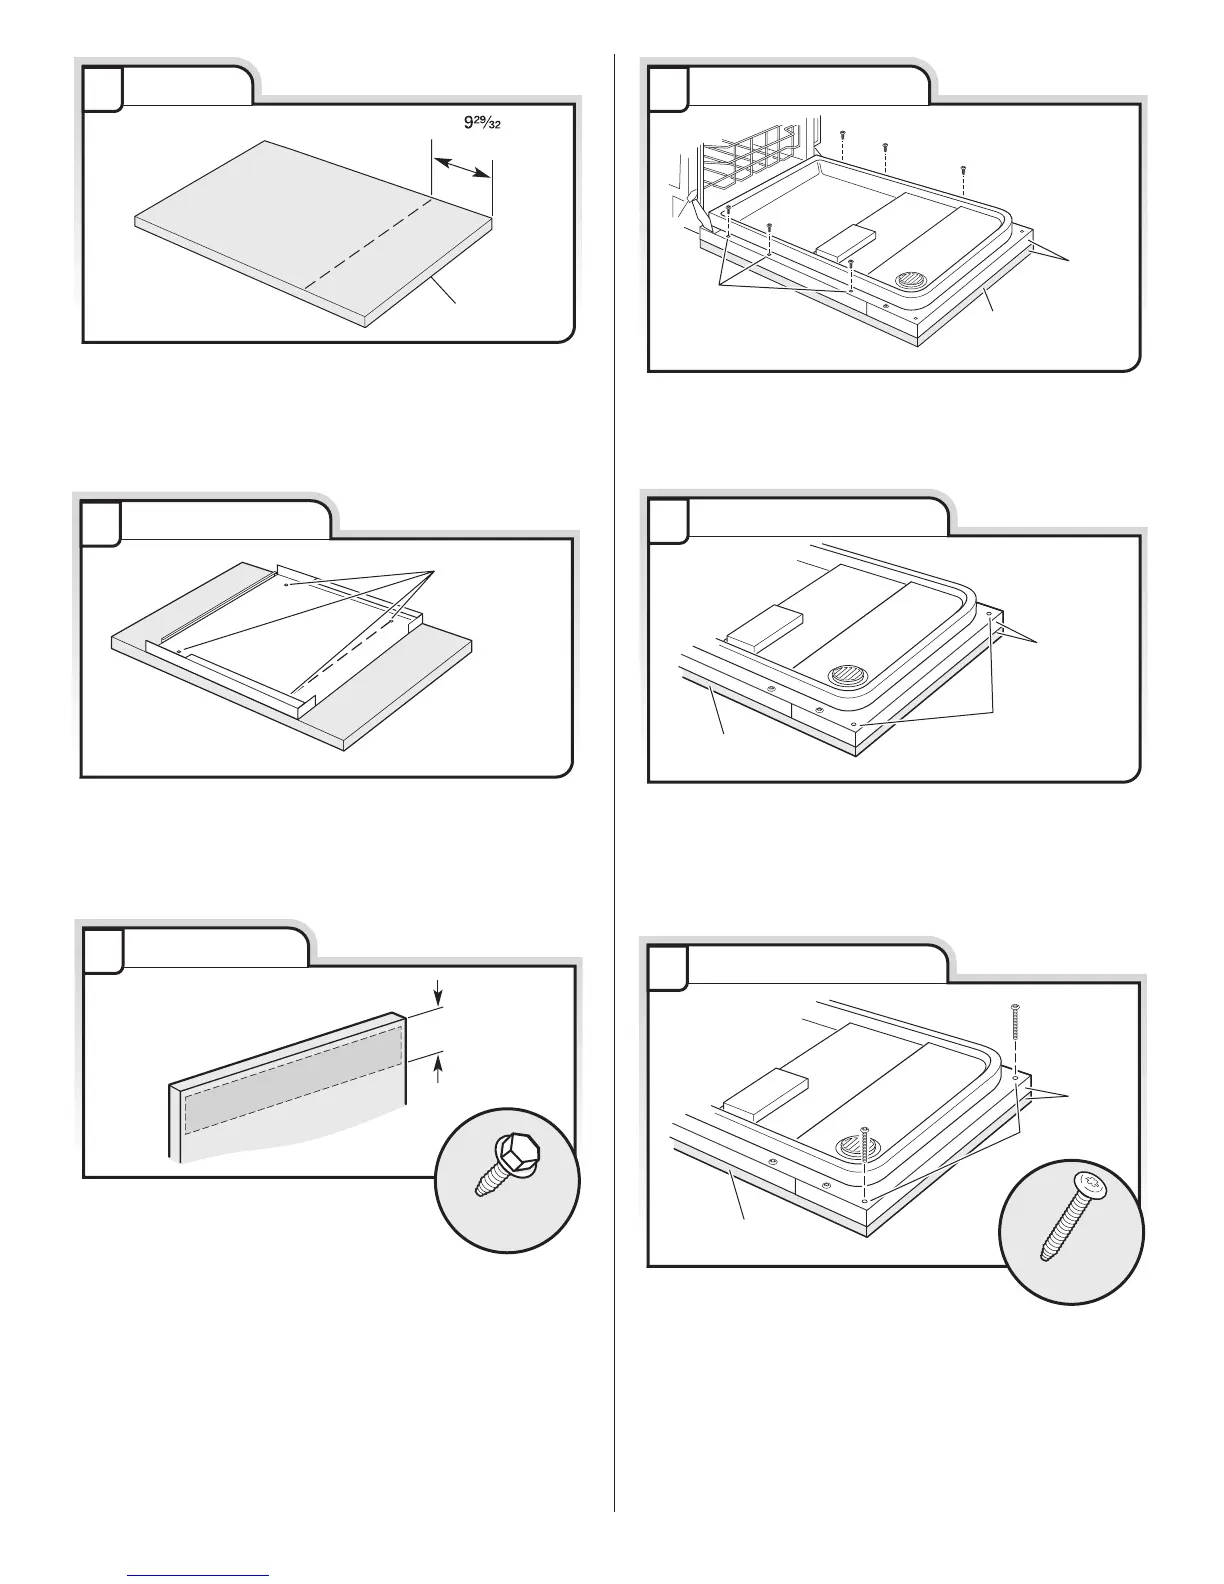
Provides dimensions for custom dishwasher door panels based on control panel location.

Install Custom Panel

Custom Panel Installation Steps

Detailed steps for marking, drilling, and attaching a custom panel to the dishwasher door.

Choose Attachment Option

Move Dishwasher into Cabinet Opening

Adjust Door Tension

Steps to adjust the dishwasher door spring tension for proper opening and closing.

Leveling and Alignment

Guides for ensuring the dishwasher is plumb, level, and aligned with cabinets.

Connect to Water Supply

Connect to Drain

Make Direct Wire Electrical Connection

Secure Dishwasher Wiring

Instructions for securing the dishwasher's wiring connections and terminal box cover.

Secure Dishwasher in Cabinet Opening

Dishwasher Mounting and Attachment

Steps for physically securing the dishwasher to the cabinet or countertop.

Complete Installation

Reinstall Access Panels

Steps for reinstalling the dishwasher's access and lower panels.

Power Supply Cord - Final Connection

Check Operation

If Dishwasher Does Not Operate

Additional Tips

Related product manuals