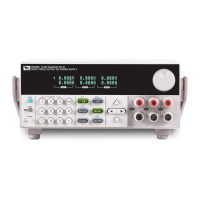
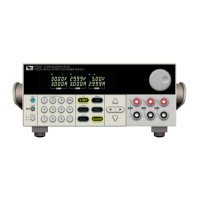
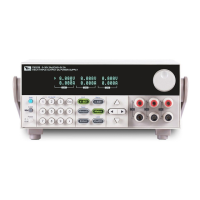
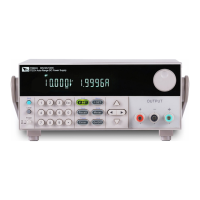
Remote Control
Copyright© Itech Electronic Co., Ltd. 7
connection. RS-232 interface can use all of the SCPI command to
programming.
NOTE
In the procedure, the RS-232 must be set consistently with the front panel Config menu
set. If you want to change, please press (Shift)+ (Menu) and access to
menu to change.
RS-232 data format
RS-232 data is a start bit and a stop bit 10 words. Start bit and the number of
stop bits cannot be edit. However, press (Shift)+ (Menu) and you
can choose the following parity item. Parity options are stored in nonvolatile
memory.
Baud rate
Press (Shift)+ (Menu), under the Config menu, you can select a
baud rate which is stored in nonvolatile memory:
4800/9600/19200/38400/57600/115200
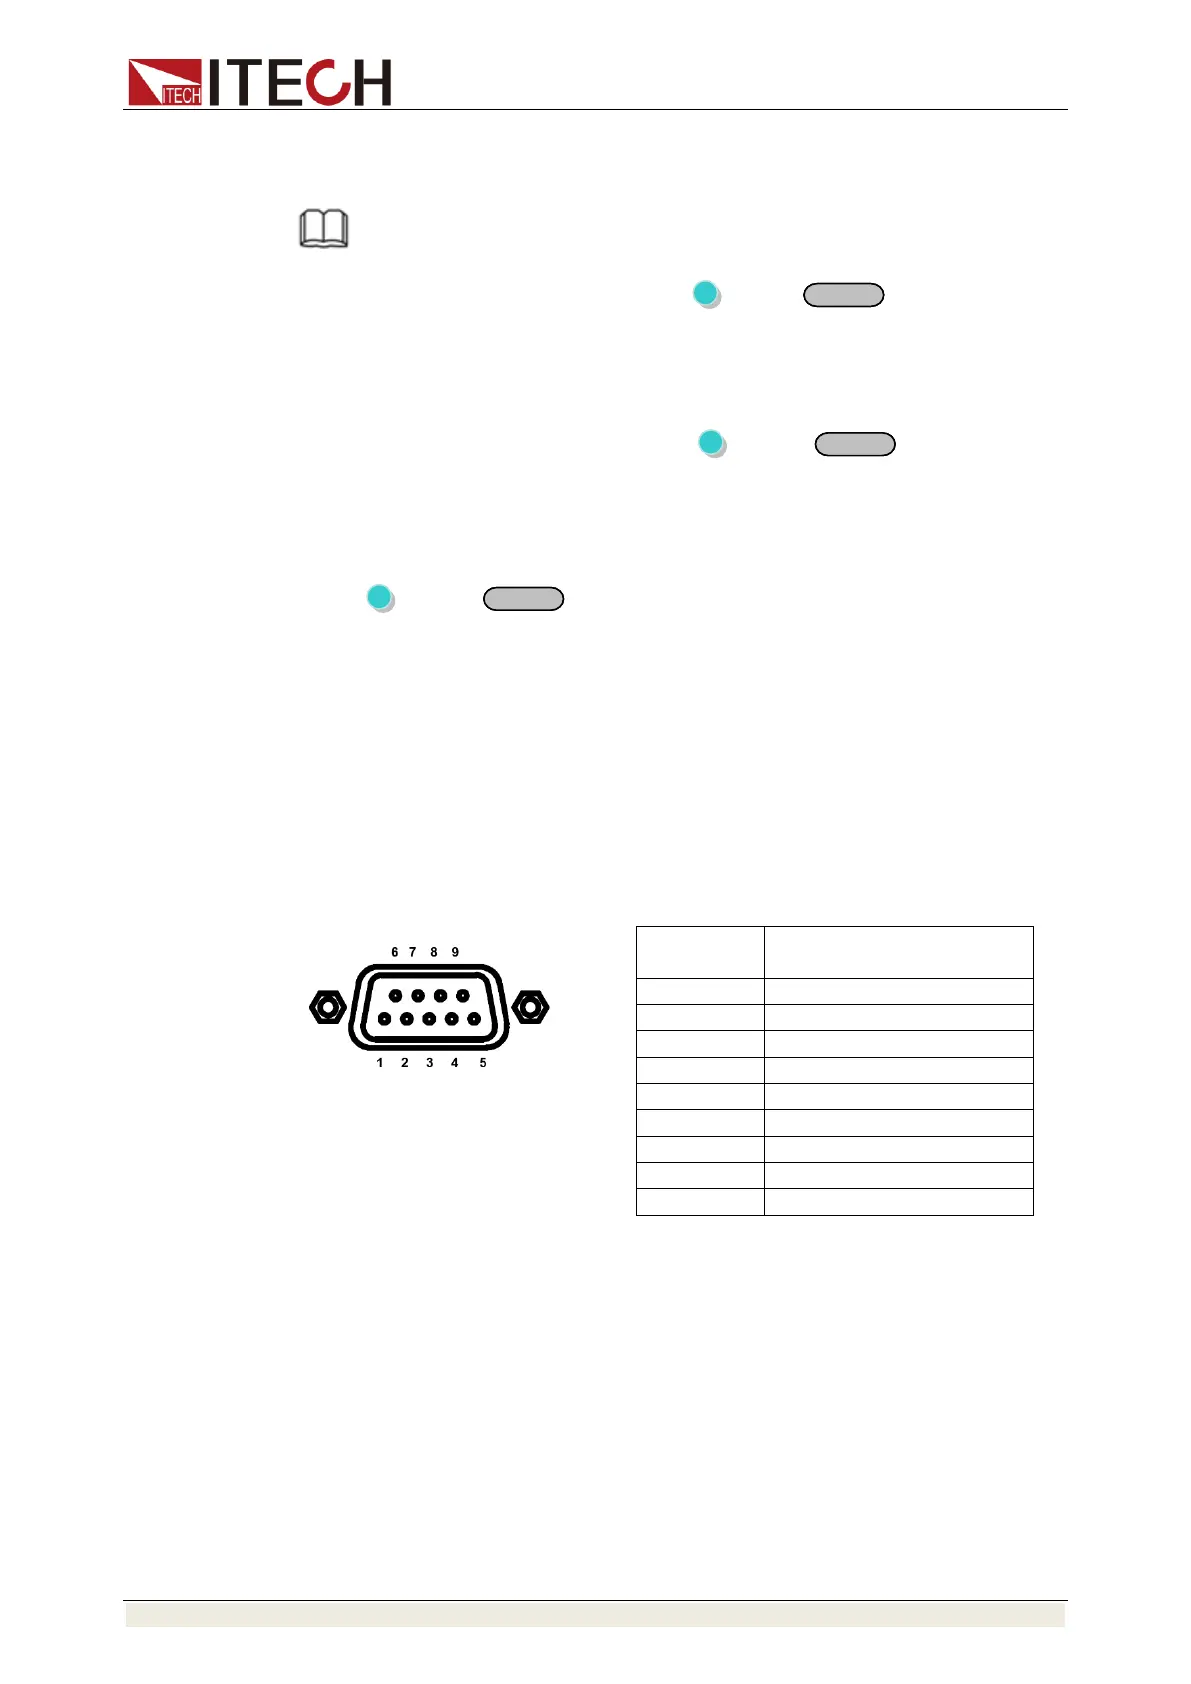
RS-232 connection
RS-232 serial port can connect with controller serial port by using a piece of
RS-232 cable with DB-9 interface (such as PC). The following table shows the
plug of the pin.
If your computer connects with RS-232 interface with DB-25 plug, you need a
cable and an adapter which one aspect of the matter is DB-25 plug the other
end is DB-9 plug.
RS-232 troubleshooting
If you are having trouble communicating over the RS-232 interface, check the
following:
⚫ The computer and the power supply must be configured for the same baud
rate, parity, number of data bits, and flow control options. Note that the
power supply is configured for 1 start bit and 1 stop bit (these values are
fixed).
⚫ The correct interface cables or adapters must be used, as described under
RS-232 Connector. Note that even if the cable has the proper connectors
for your system, the internal wiring may be incorrect.
⚫ The interface cable must be connected to the correct serial port on your

 Loading...