Quick Start
Copyright ©ITECH Electronic Co., Ltd. 10
2.7 Output Checkout
The following procedures check to ensure that the power supply develops its rated outputs
and properly responds to operation from the front board.
Voltage Output Checkout
The following steps verify basic voltage functions without load.
1. Turn on the power supply
2. Set the ouput current (≥0.1A)
3. Open the ouput
Press on/off button,the CV indicator lamp will be lit.
4. Open the Meter button
5. Set the ouput voltage
Set different voltage and check whether the VFD display voltage is approximate to the
setting voltage.
6. Ensure the output voltage can be adjusted from 0V to full rated value
Output current checkout
The following steps check basic current functions with a short across the power supply’s
output
1. Turn on the power supply.
2. Disable the output
Press key to ensure that the output is disabled.
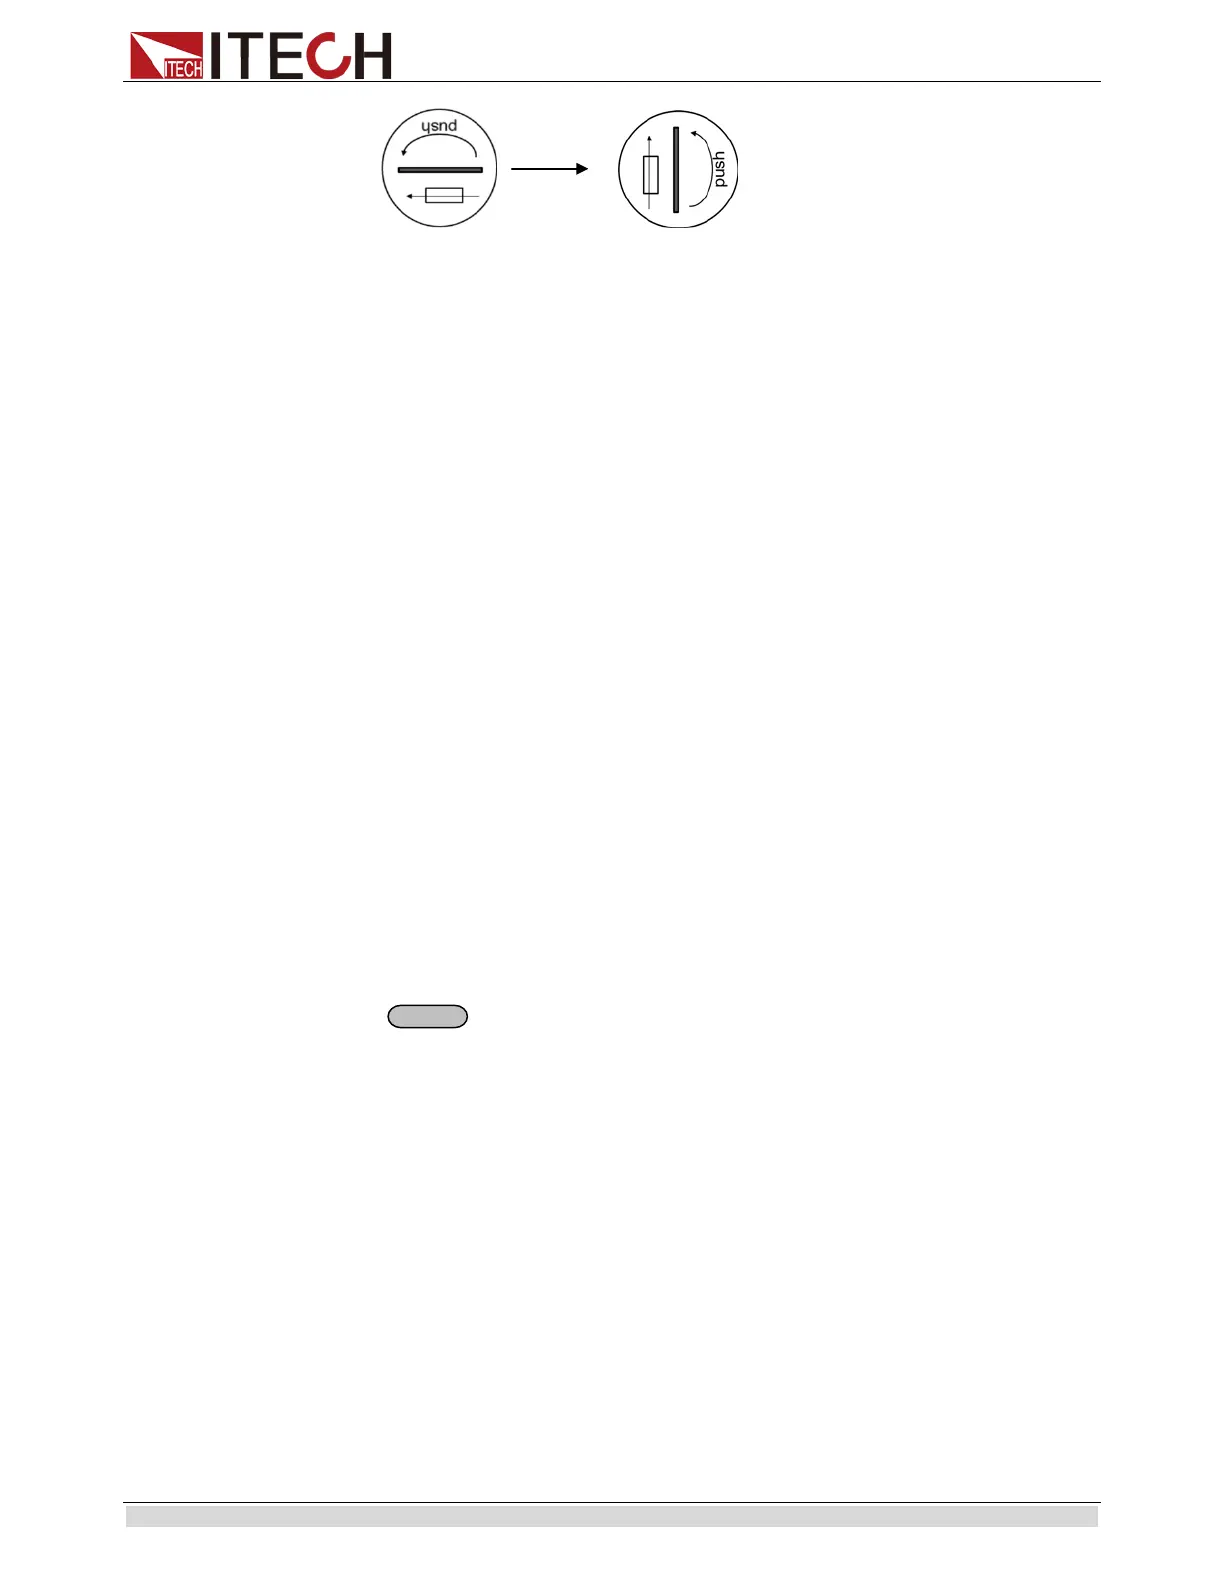
3. Connect a short across (+) and (-) output terminals with an insulated test lead.
Use a wire size sufficient to handle the maximum current.
4. Enable the output and open the Meter function button
To ensure the CC indicator lamp is lit
5. Adjust the current
Set different current values and check whether the voltage display is approximate to
0V,the display current value is approximate to the setting value
6. Ensure that the current can be adjusted from zero to the full rated value.
7. Turn off the power supply and remove the short wire from the output terminals.
The wires with closure discharge over 10 A should be used.
 Loading...