55
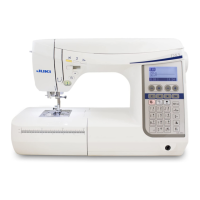
Sewing buttons
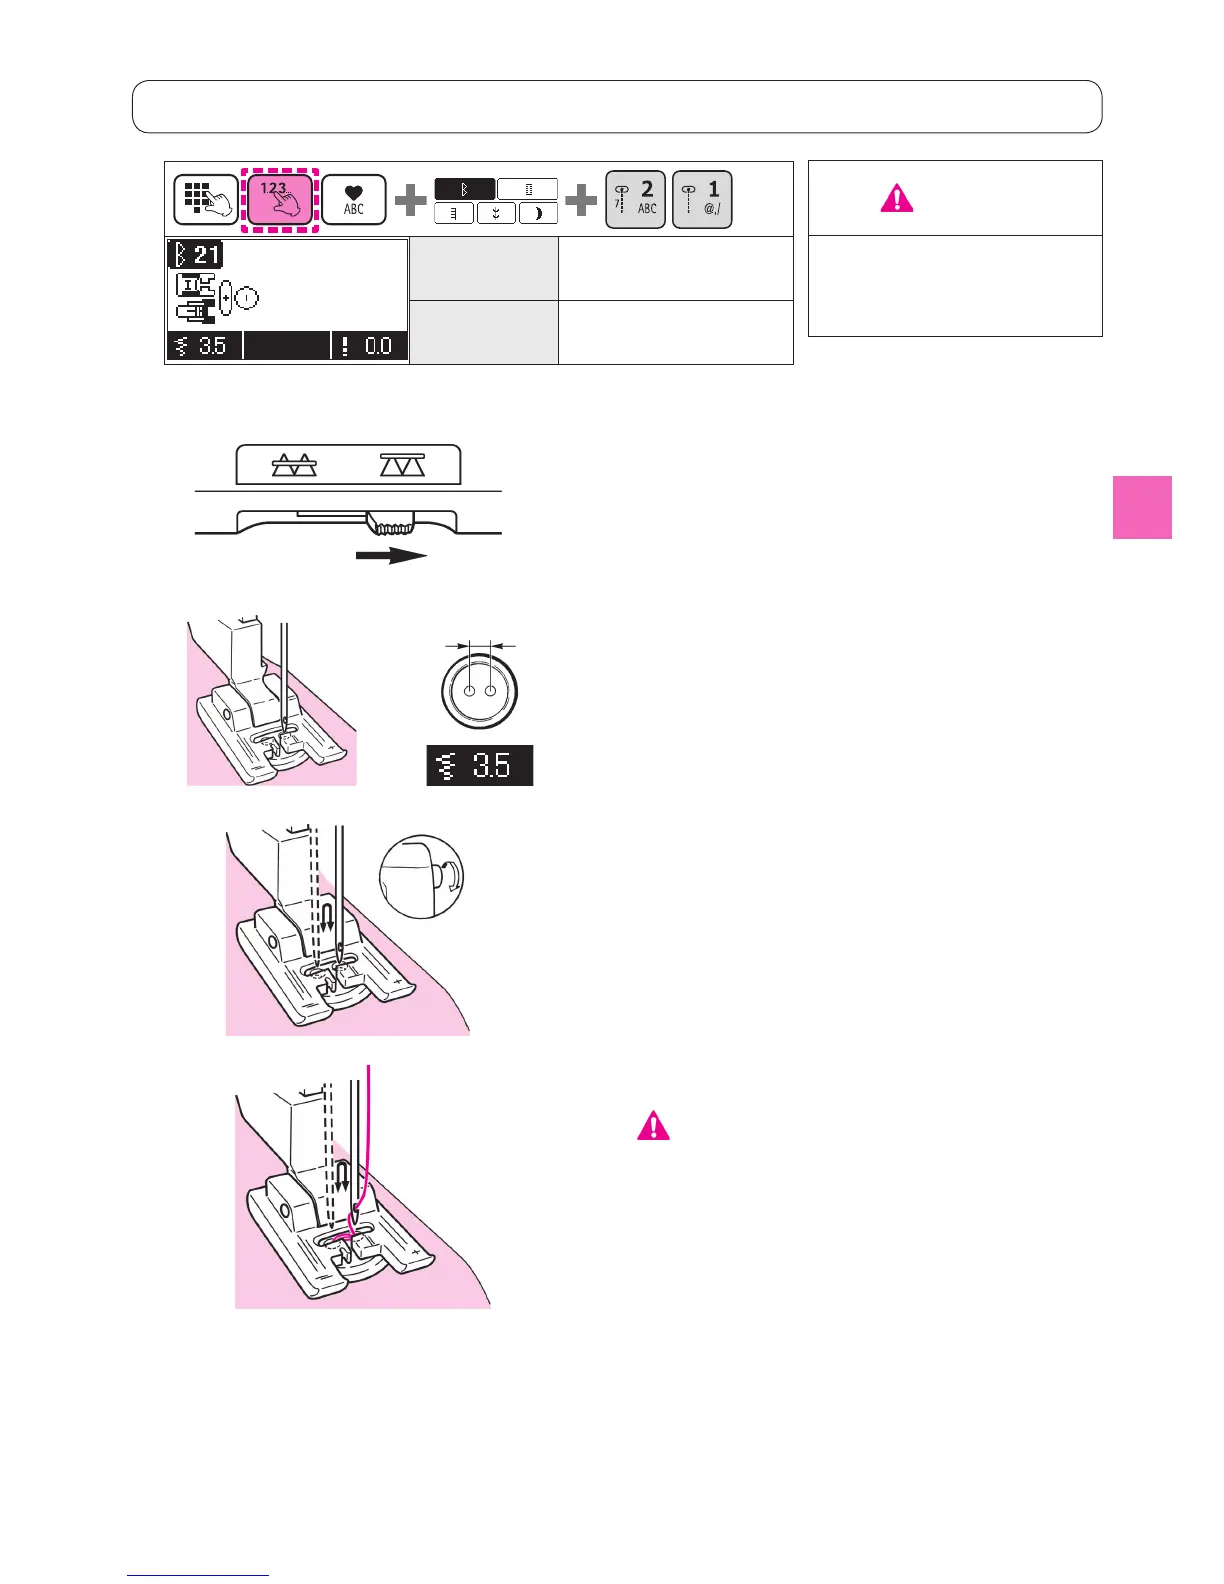
Pattern No. Practical 21
Presser foot
Manual buttonhole
presser foot (I)
* Do not use the automatic thread trimming function when sewing buttons.
1
Move the drop feed knob to the right hand
side.
Feed dog is now down.
2
Place a button under the presser foot and
adjust the zigzag width according to the
distance between holes in button.
3
Make sure that needle enters holes in
button, by turning hand wheel manually.
4
Carry out sewing while turning the
handwheel by hand.
If you pull the material, the button could be moved
from the correct position causing needle breakage.
Buttons can be sewn without fail by using the sepa-
rately-available button sewing presser foot (refer to
page 111).
5
Trim needle and bobbin threads by about
10cm (4 inches) long after sewing.
Make a knot to secure the stitches.
3.5 mm
Example)
Attention
Turn OFF the power switch
before replacing the presser
foot.
 Loading...