-
34
-
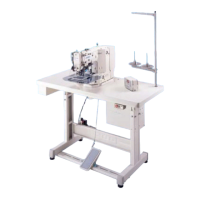
(3) Sewing operation
1) Turn the power ON.
2) Select the cycle pattern using ITEM SELECT
key
❻
. Select the cycle pattern number
with DATA CHANGE key
❼
.
3) Press READY key
❷
to light up SET
READY LED
. Then, the work clamp goes
up after travelling.
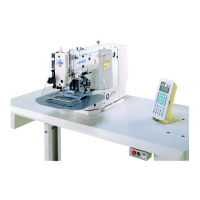
4) If the pattern shape is correct, start sewing.
5) The step of pattern numbers combined on a
sewing-by-sewing basis advances until one
cycle is completed. After the completion of
the cycle, the sewing machine returns to the
rst step of the cycle to permit sewing in rep-
etition.
❻
❻
❷
❼
⇔
➡
⇩
* When you want to return to the previous pat-
tern after the completion of sewing or to skip
the next pattern, press DATA CHANGE key
❼
while SET READY LED
lights up.
The pattern display changes and the work
clamp travels to the sewing starting point.
* Be aware that the contents of P1 to P50 used
for C1 to C99 will be changed if you change
the contents of P1 to P50 after the registra-
tion of C1 to C99.
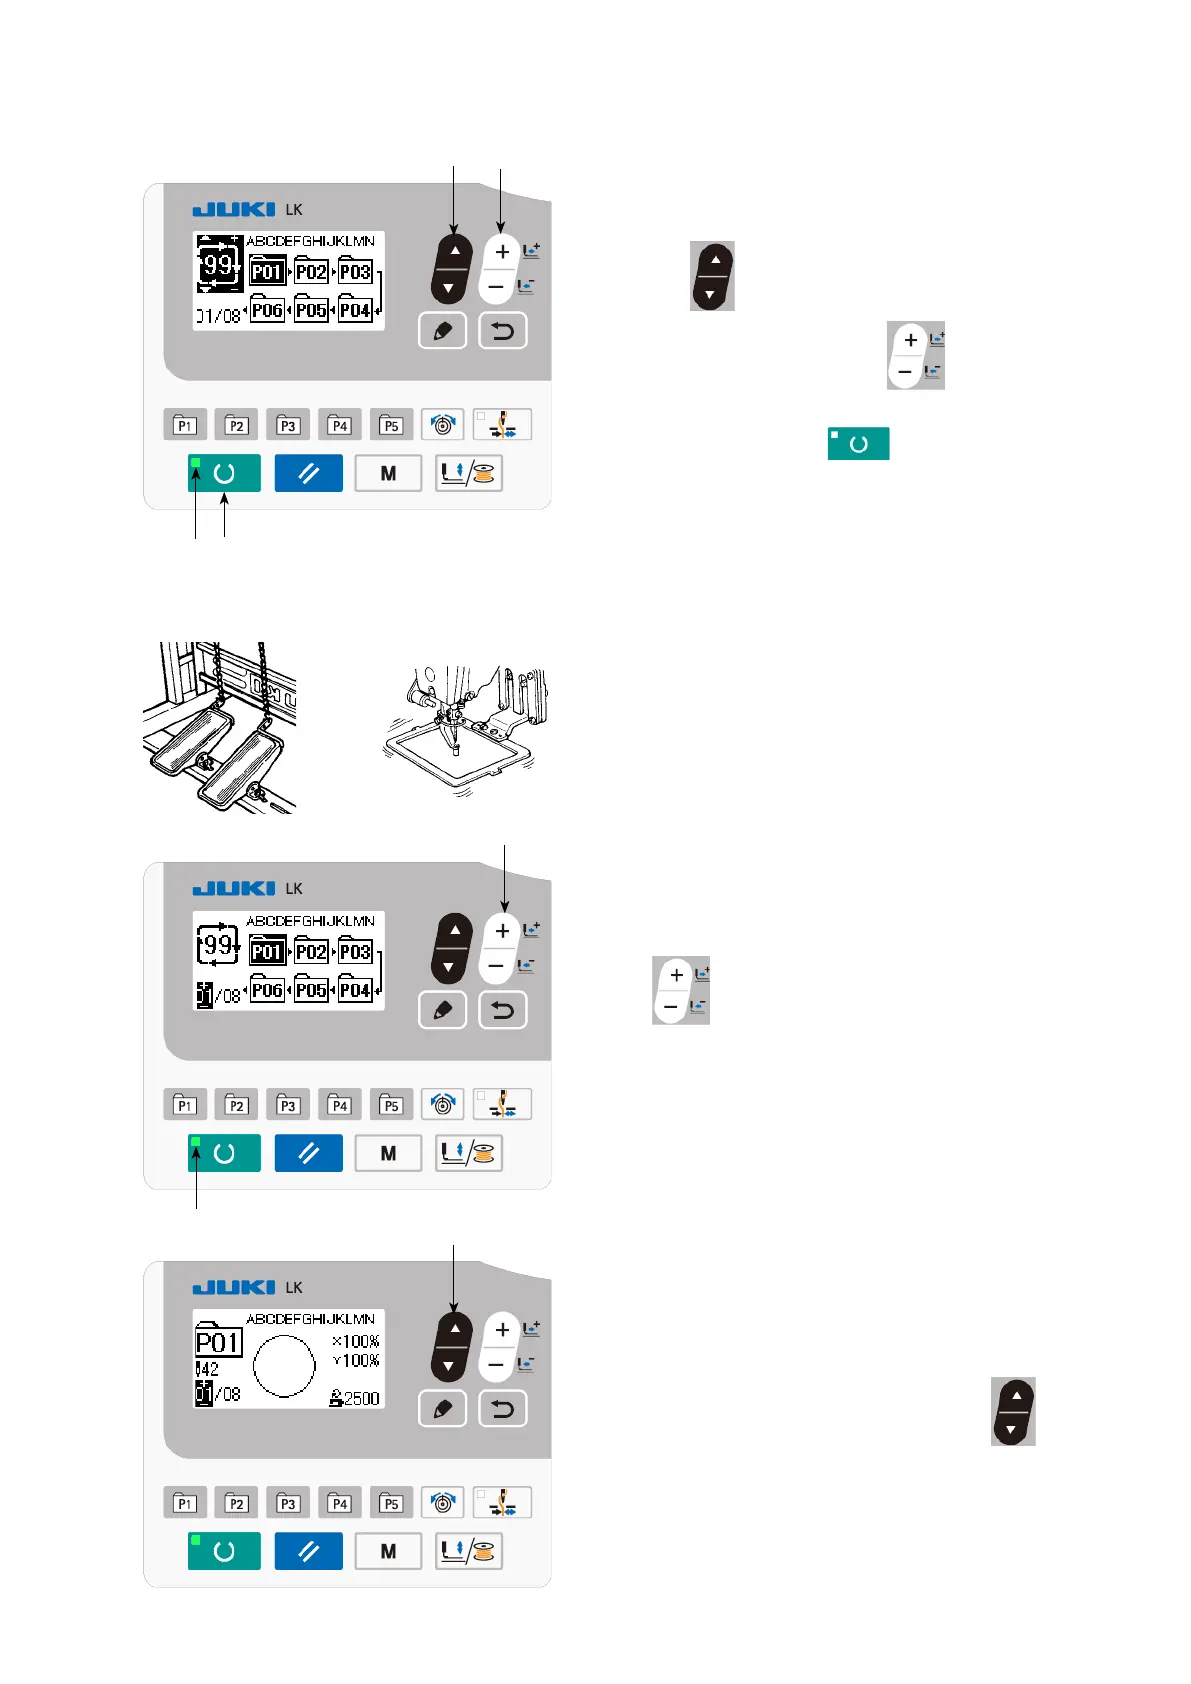
* Check the pattern shape on a pattern-by-pat-
tern basis. (Refer to
"5-5. Checking the
contour of a sewing pattern" p.23
.)
* When you press ITEM SELECT key
❻
on the sewing screen, the details of the pat-
tern to be sewn can be displayed.
❼
 Loading...