-
56
-
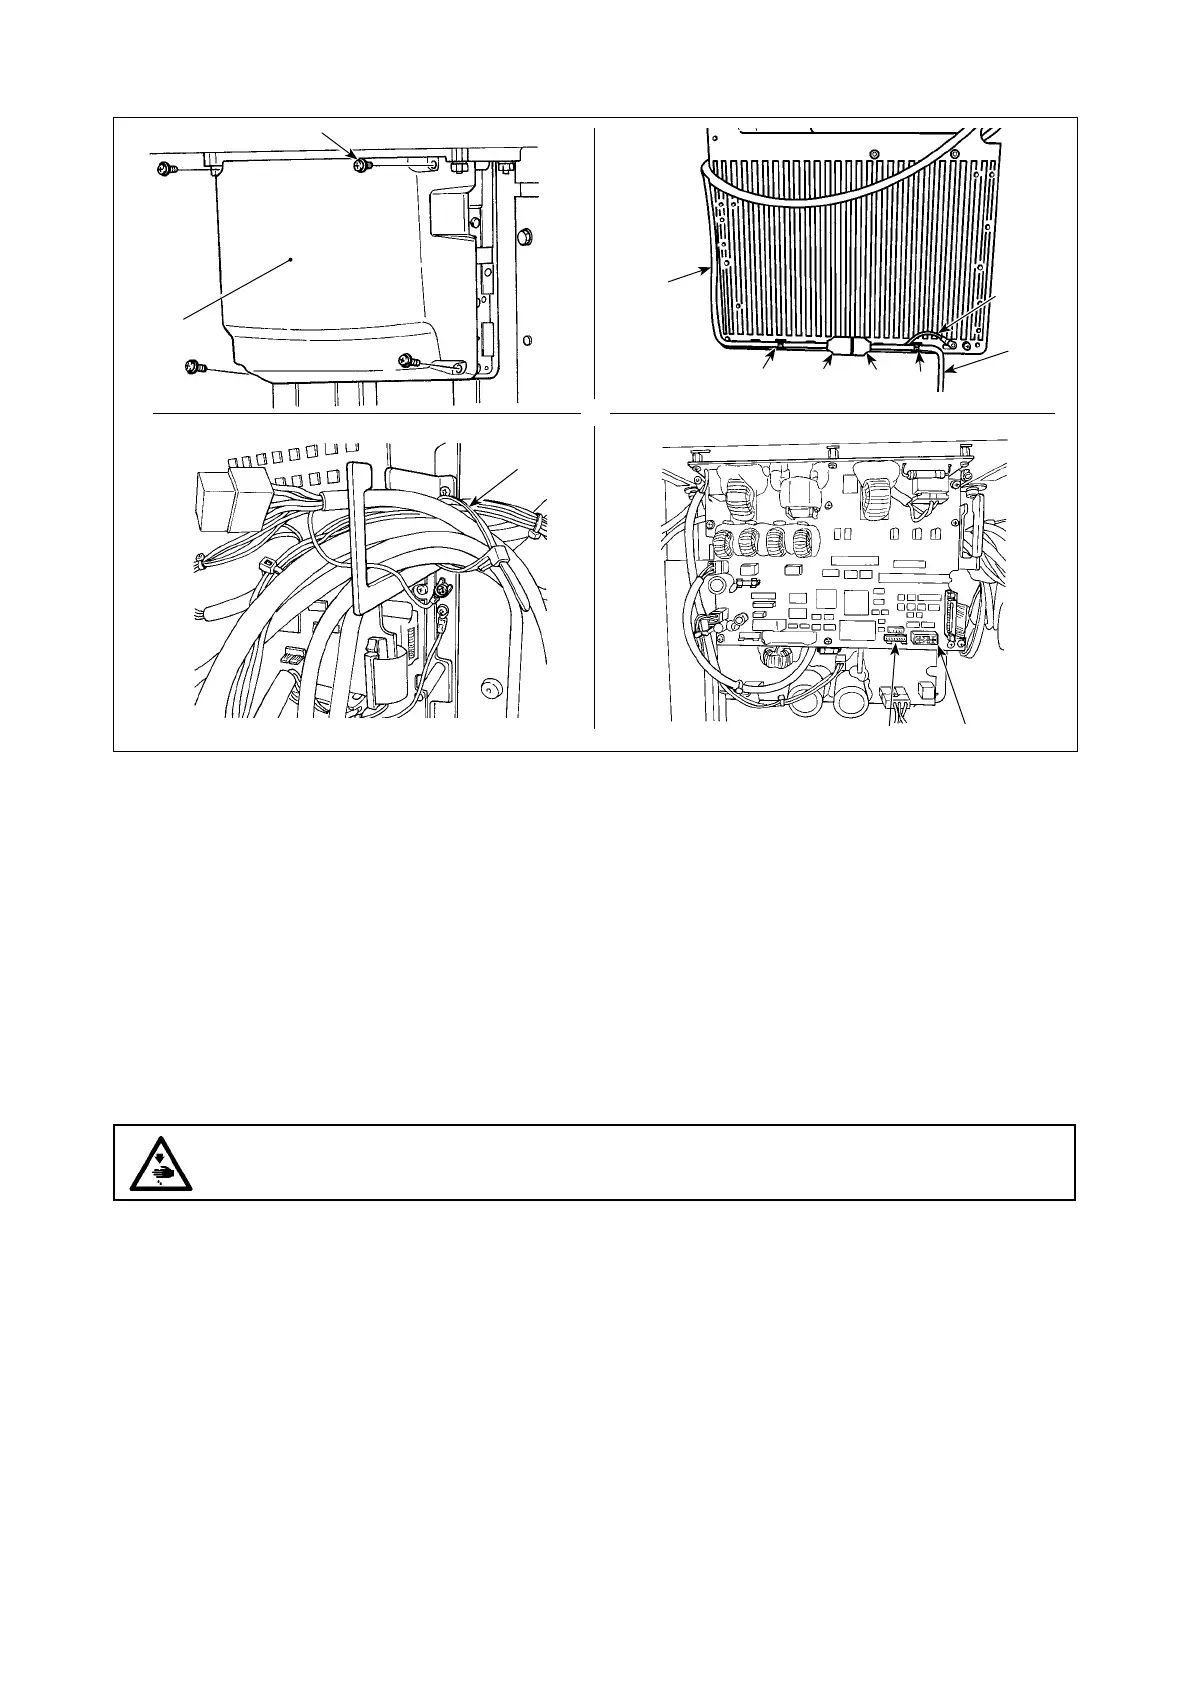
1) Loosen the four setscrews
❷
in the control box to remove cover
❶
.
2) Remove the standard pedal cord from J18 connector on the MAIN circuit board, and connect PK-57
change cable
❹
.
3) Connect PK-57 cord
❻
P34 and PK-57 conversion cable
❹
J71 on the rear face of the electrical
box. Then, secure them at two locations with adhesive clamp
❺
.
In addition, secure ground wire
❼
of PK-57 with a screw as illustrated in the gure.
PK-57 : Part No GPK570010B0
PK-57 change cable : Part No M90135900A0
Adhesive clamp : Part No E9607603000 (2 pcs.)
4) Loosen cable clip band
❸
. Bind and secure the foot pedal switch cable with the by clip band
❸
,
together with the other cables.
(2) Connection of PK-57
J18 White
DANGER :
It is very important to carefully connect the cables to the correct connectors on the PWB. Wrong
connection poses a great risk.
P34
J71
❻
❷
❶
❹
❺
❺
❼
❸
J26 White
 Loading...