– 112 –
B
WARNING :
To protect against possible personal injury due to abrupt start of the machine, be sure to start the
following work after turning the power o and ascertaining that the motor is at rest.
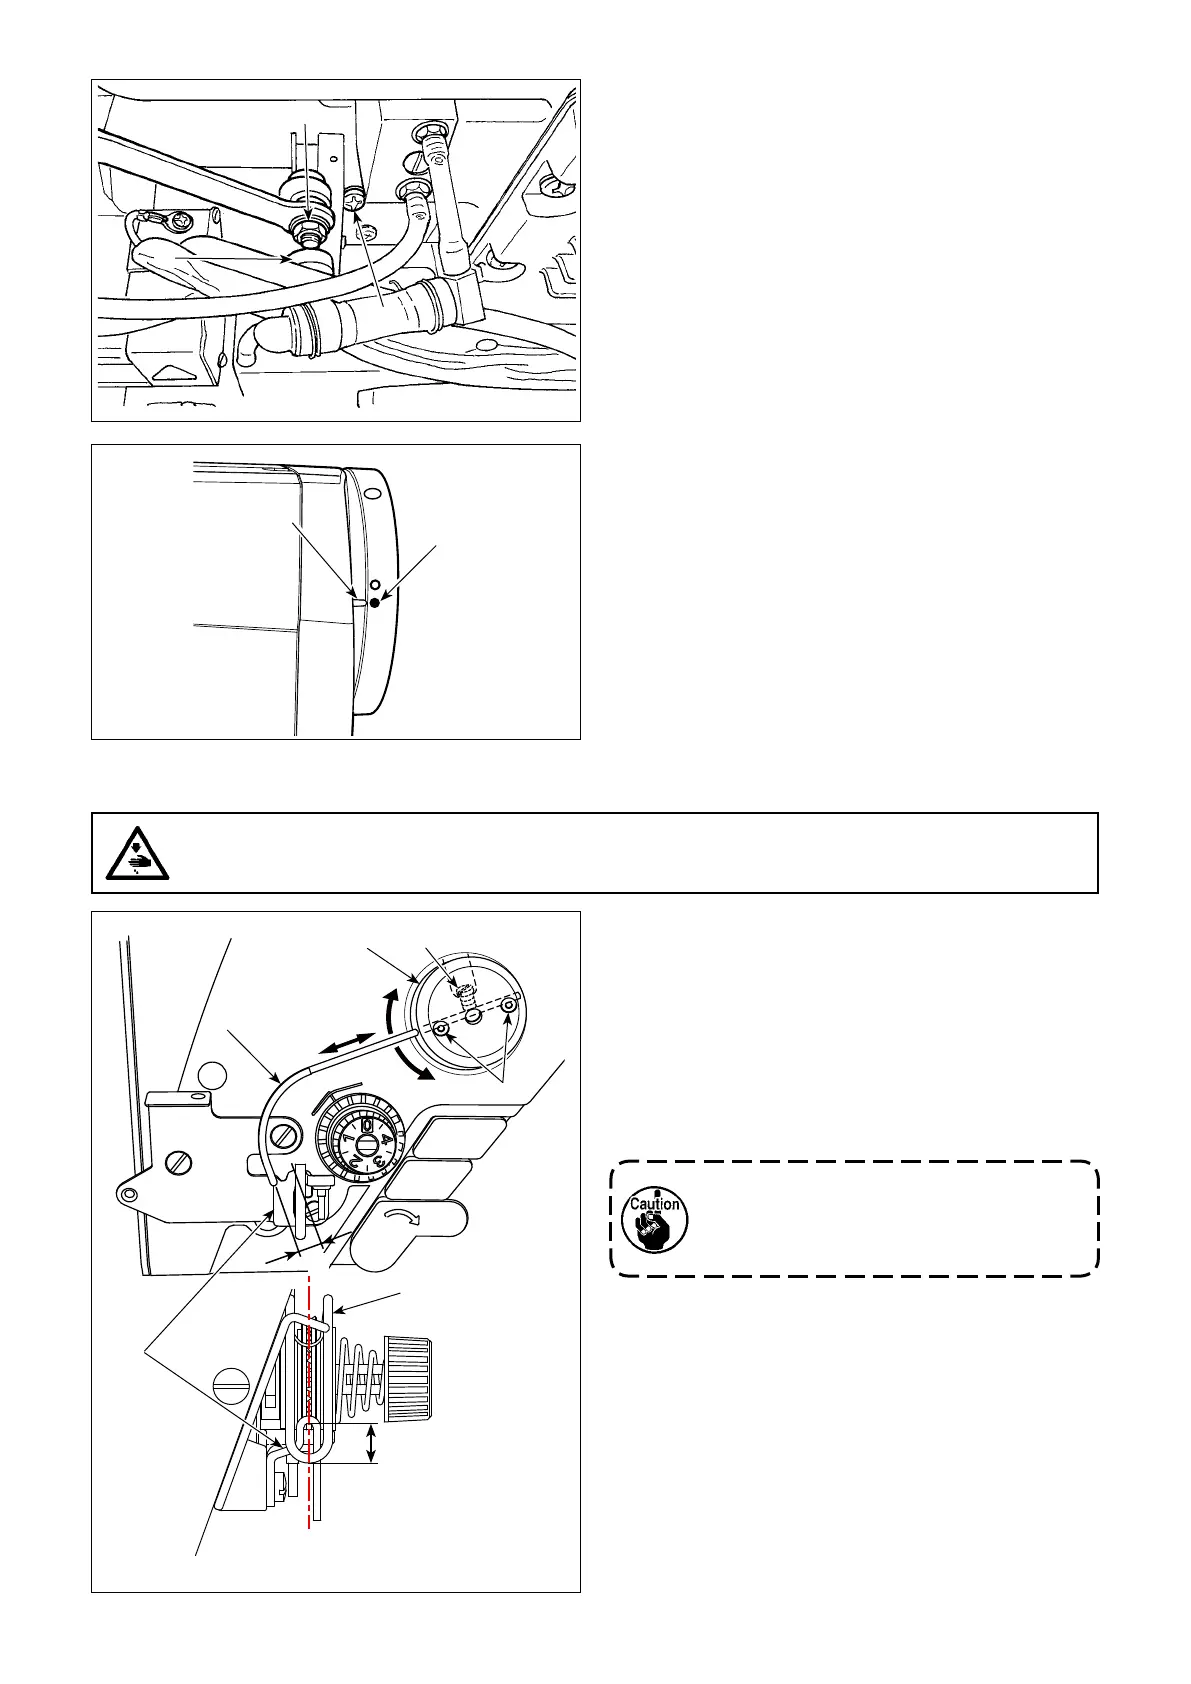
A (8 to 11mm)
Standard position of the feeding wire
1) Loosen screw
.
2) Turn the feeding wire together with feeding wire
installing base
, adjust the installing position of
the feeding wire so that a distance of
A
(8 to 11
mm) is provided between the top end of feeding
wire
and the guide portion of thread take-up
thread guide
, and tighten screw
.
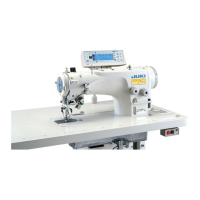
If the initial position of the moving knife is not
correct
Loosen the nut
, and move the moving knife to
the right or left until the pin
meets the marker dot
. Then, tighten the nut
.
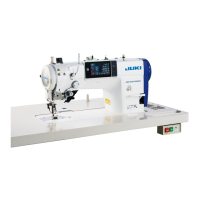
(2) Adjusting the thread trimming timing
Put roller
in the cam groove. Now, gradually turn
the handwheel in the reverse direction. The hand-
wheel will go no further when marker dot
en-
graved on the handwheel cover is aligned with red
marker dot
engraved on the handwheel.
To adjust the thread trimmer cam, align the red
marker dot on the handwheel cover with the red
marker dot on the handwheel, put the roller in the
groove of the thread trimming cam, and gradually
turn the handwheel in the direction opposite to the
direction of rotation of the hook driving shaft until it
will go no further. Now, tighten two screws
.
When turning OFF the feeding device :
The needle thread feeding device can be placed in
OFF by setting the memory switch No. 88 to 0 (zero).
When needle thread feeding amount is de-
sired to be increased :
•
Loosen setscrews
and adjust so that clear-
ance
B
is reduced.
•
Loosen setscrew
and when the whole feeding
wire installing base
is adjusted to the upward
direction (decrease the value,
A
), the feeding
amount can be increased.
7-6. Adjusting the needle thread feeding device
At this time, adjust so that the center of
U-shape portion of feed wire is almost
aligned with the center of U-shape por-
tion of thread guide.
Almost alignment of
U-shape portions

 Loading...