USB Menu Operations
By connecting a USB cable between this
unit and your computer, you can perform
operations such as file backups to
computer/disc or file
uploads to file-sharing
site using your computer.
Preparation:
0
Install the MediaBrowser software onto
the computer.
0
Disconnect the power supply.
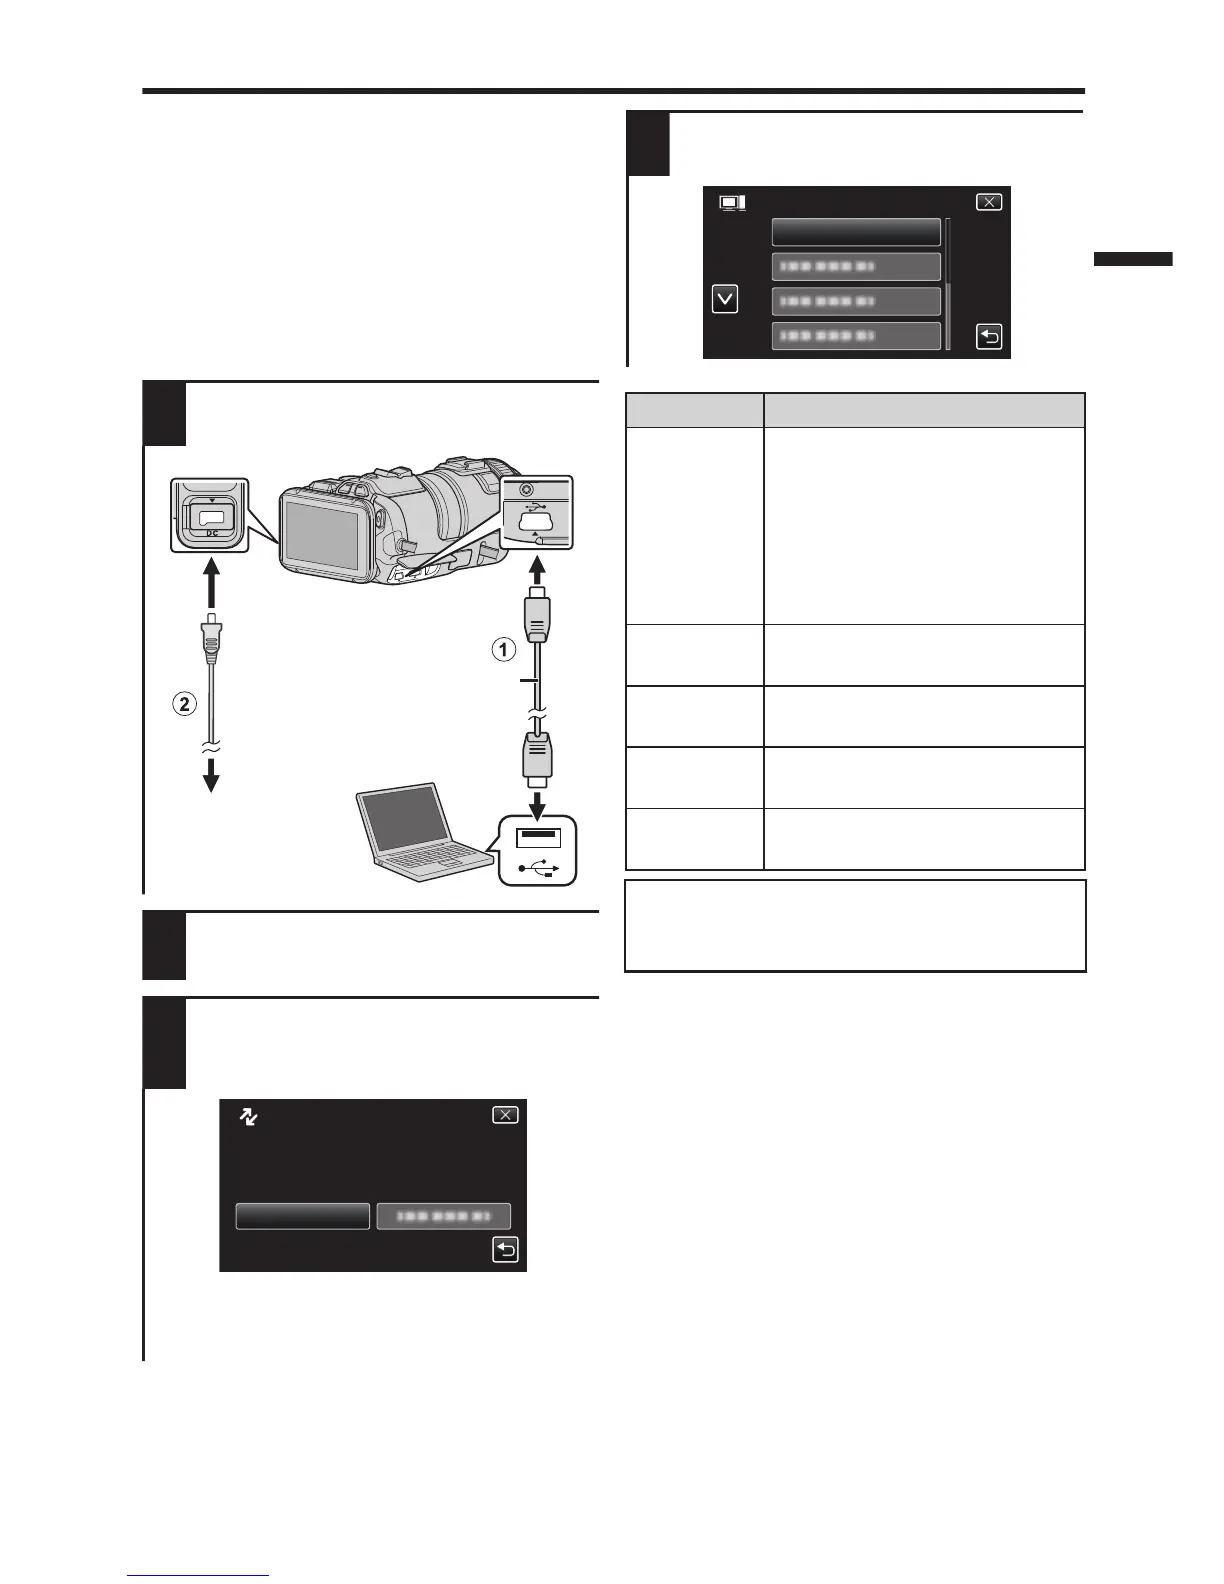
1
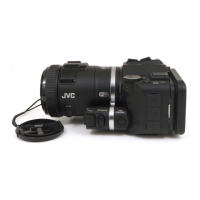
Connect the camera to the
computer with the USB cable.
.
To USB Connector
To AC Outlet
(110 V to 240 V)
AC Adapter
USB Cable
(Provided)
To DC
Connector
To USB
Connector
2
Turn on the camera by pressing the
M button.
3
The [SELECT DEVICE] menu appears.
Tap [CONNECT TO PC] on the camera’s
touch screen.
.
CONNECT TO PC
TYPE TO CONNECT
SELECT DEVICE
SELECT DEVICE
0
Tap [CONNECT TO OTHER] if the camera
is connected to a device other than a
computer.
4
The [CONNECT TO PC] menu appears.
Tap an option that best suits your needs.
.
PLAYBACK ON PC
CONNECT TO PC
Option Usage
PLAYBACK
ON PC
0
To play back your
recordings on the
computer.
0
To back up your
recordings on the
computer without using
the provided software.
CREATE
DISC
0
To save your recordings
on a disc.
DIRECT
DISC
0
To save all unsaved
recordings on a disc.
UPLOAD
0
To upload videos to file-
sharing sites.
BACK UP
0
To back up recordings on
the computer.
For detailed operations on the above options,
refer to the other sections in this guide or the
“Detailed User Guide”.
13
 Loading...