File Backup (Windows)
Preparation:
0
Install the MediaBrowser software onto
the computer.
0
Make sure that enough space is left in the
HDD of computer.
0
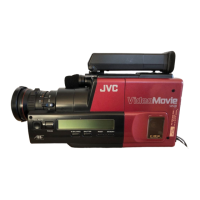
Disconnect the power supply.
1
Connect the camera to the computer
with the USB cable.
.
o
On the camera:
2
Turn on the camera by pressing the
M button.
3
Tap [CONNECT TO PC] on the
camera’s touch screen.
4
Tap [BACK UP] on the camera’s
touch screen.
.
NOTE
0
File
backup
is
only supported by
the provided software.
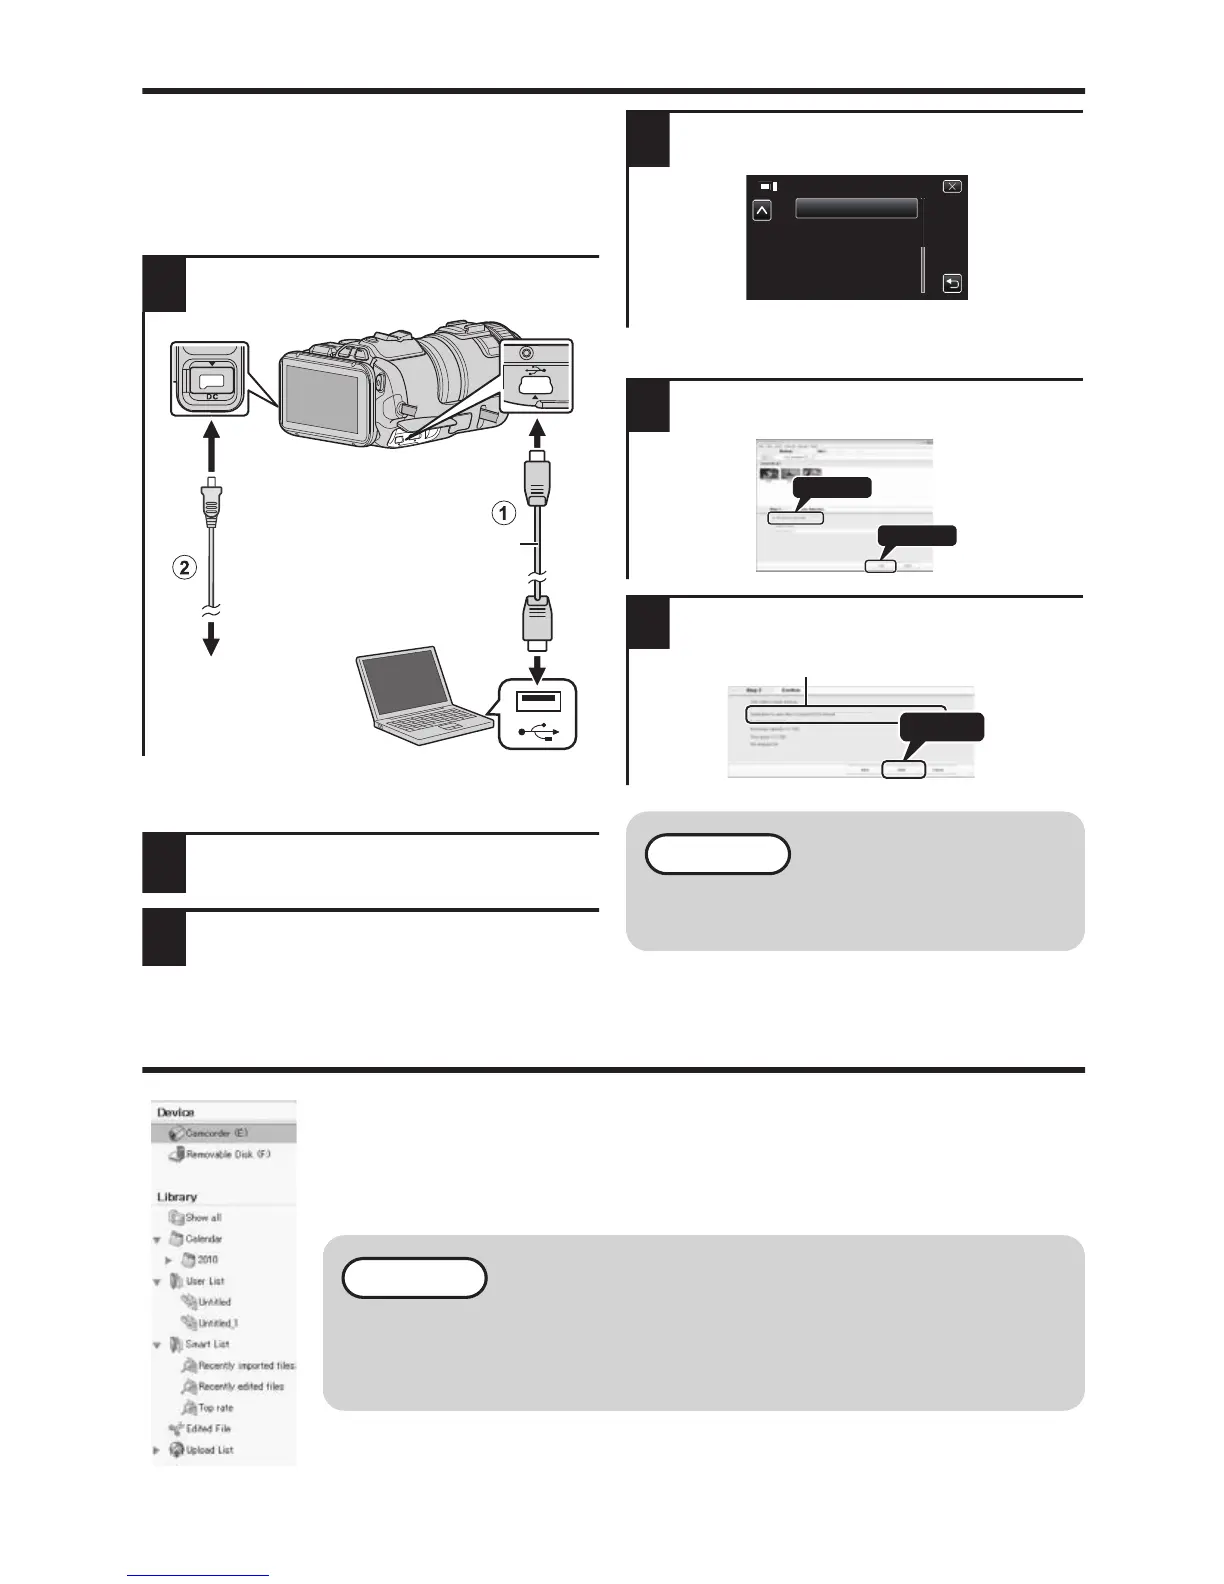
View Your Video (Windows)
0
To
view
video
that is still on your camera, click on Device>Camcorder
in the left side panel of MediaBrowser.
0
To view video that has already been archived to the computer, click
on Library>Calendar and then choose the date the video was
recorded.
NOTE
0
Choose Settings/Preferences to see the folder where
MediaBrowser stores your videos. You can also play back
your videos from this folder in most popular media players.
14
 Loading...