5
Customising TV Settings
30
3. Channel tuning will commence. This operation may take a few minutes.
The display will show the progress of the tuning and the number of
channels found.
4. If you select DTV + ATV and you want to skip the DTV tuning, press the
MENU button to interrupt the tuning half way. A pop-up screen will be
displayed, press the
button to select YES to confirm. You will then go
straight to ATV tuning. You may repeat the above step if you also want to
skip the ATV tuning.
5. During DTV tuning, your TV may have received signals from more than
one transmitter. If this has occurred, the Target Region Setting screen
will be displayed. Please refer to the section "Target Region Setting" on
page 22 for details.
6. After tuning is complete, the channels are arranged in a preset order. If
you wish to skip channels, modify the preset order or rename channels,
select Channel Edit under the Channel menu (refer to page 33 for
details).
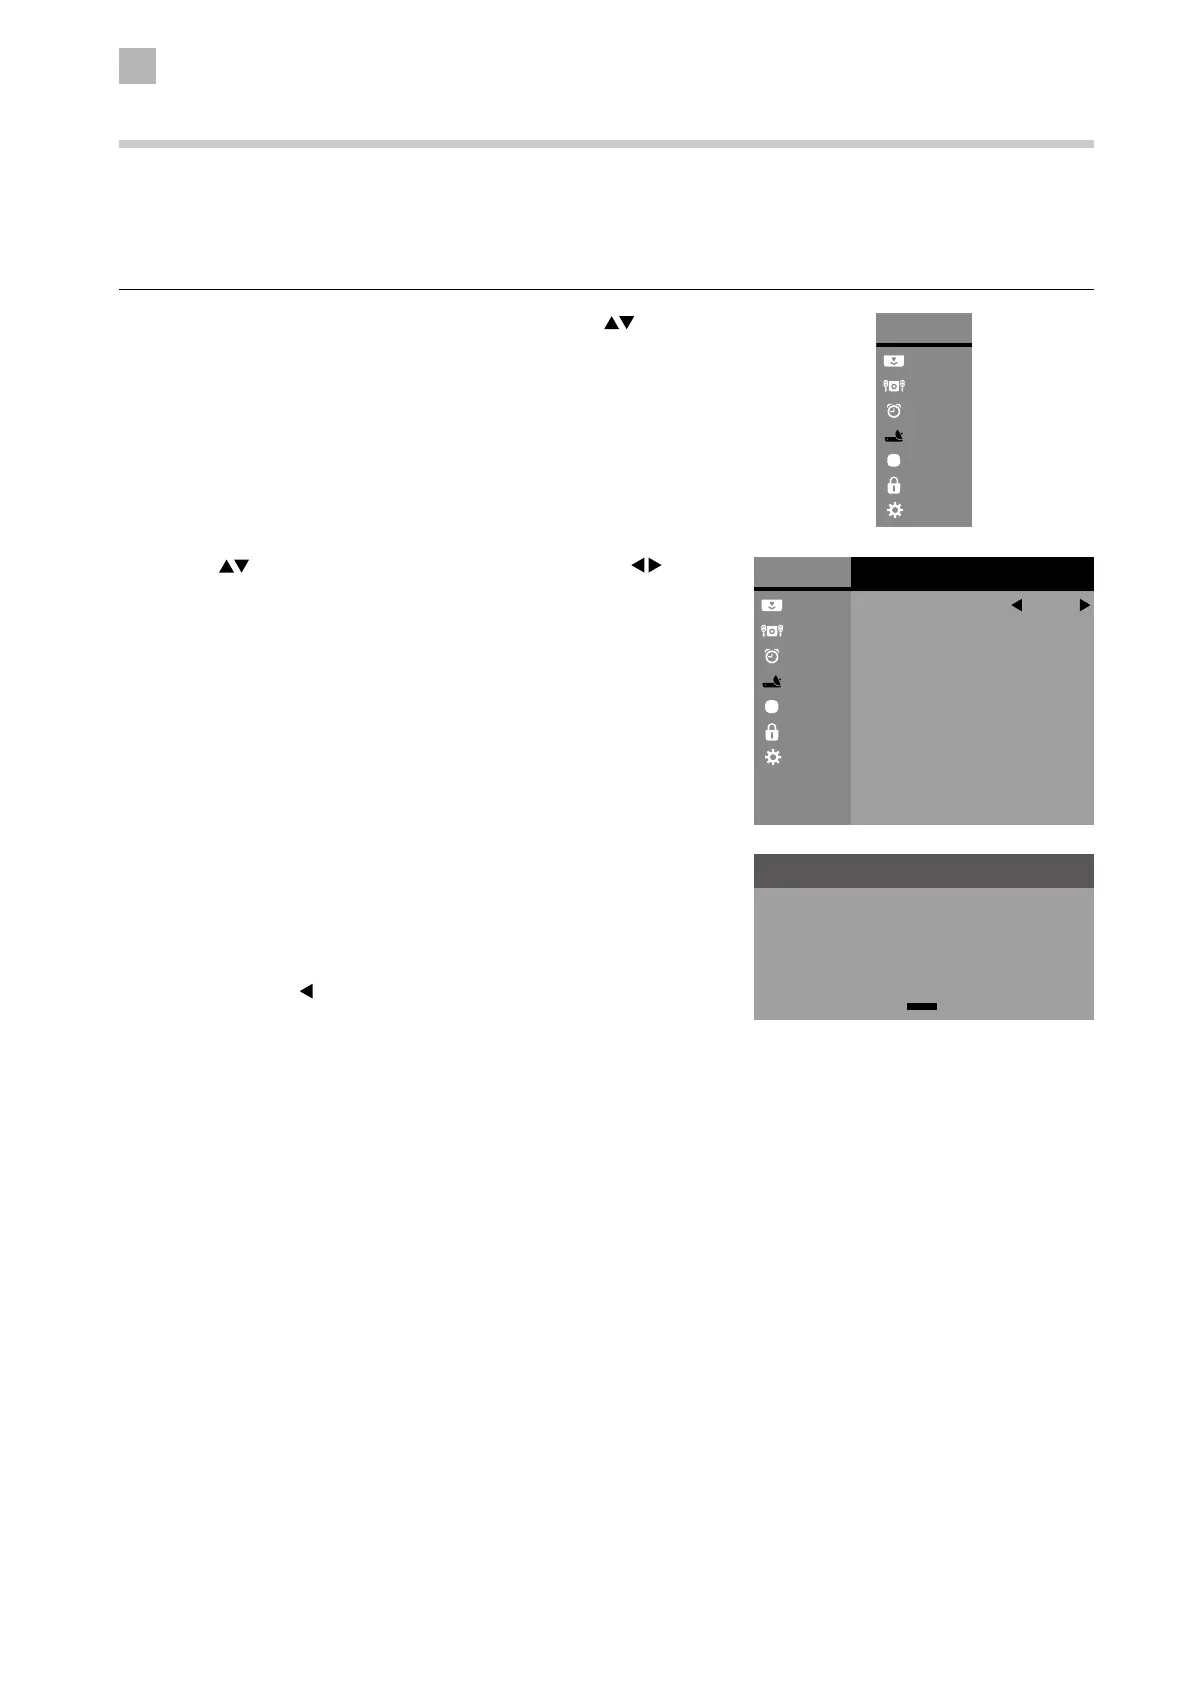
2. Press the
buttons to select Auto Tuning and then press the
buttons to select DTV / ATV / DTV+ATV. Press the OK button to confirm.
Channel Setting (TV, DTV or Radio Mode)
Auto Tuning
Use this to automatically find and store all available channels. This is normally recommended if some channels have been added
or removed by the broadcaster or if you have moved.
1. Press the MENU button to display the Main Menu. Press the
buttons
to select the Channel menu and then press the OK button.
Main Menu
Picture
Sound
Time
Channel
Option
Lock
System
Main Menu
Picture
Sound
Time
Channel
Option
Lock
System
Channel
CI Information
Auto Tuning
DTV Manual Tuning
ATV Manual Tuning
DTV Smart Retune
DTV
Recorded List
Schedule List
Channel Edit
Signal Information
Channel Tuning
TV Channel(s)
DTV UHF 36
DTV Channel(s)
Radio Channel(s)
Data Channel(s)
0
0
0
0
 Loading...