5
Customising TV Settings
48
2. Press the
buttons to select First Time Installation and then press
the OK button.
3. Press the
button to select “Yes”. The TV will turn off and restart after a
few seconds.
Press the
button to select "No" to cancel and return to the previous
menu.
2. Press the
buttons to select Standby Scan and then press the
buttons to select On / Off.
Standby Scan
When the TV is put into standby mode a standby scan will be performed, during this process the TV will scan for new channel
information and automatically update the channel list if any changes are found, both the visual and audio functions will be off,
once the scan is complete the TV will stay in standby mode.
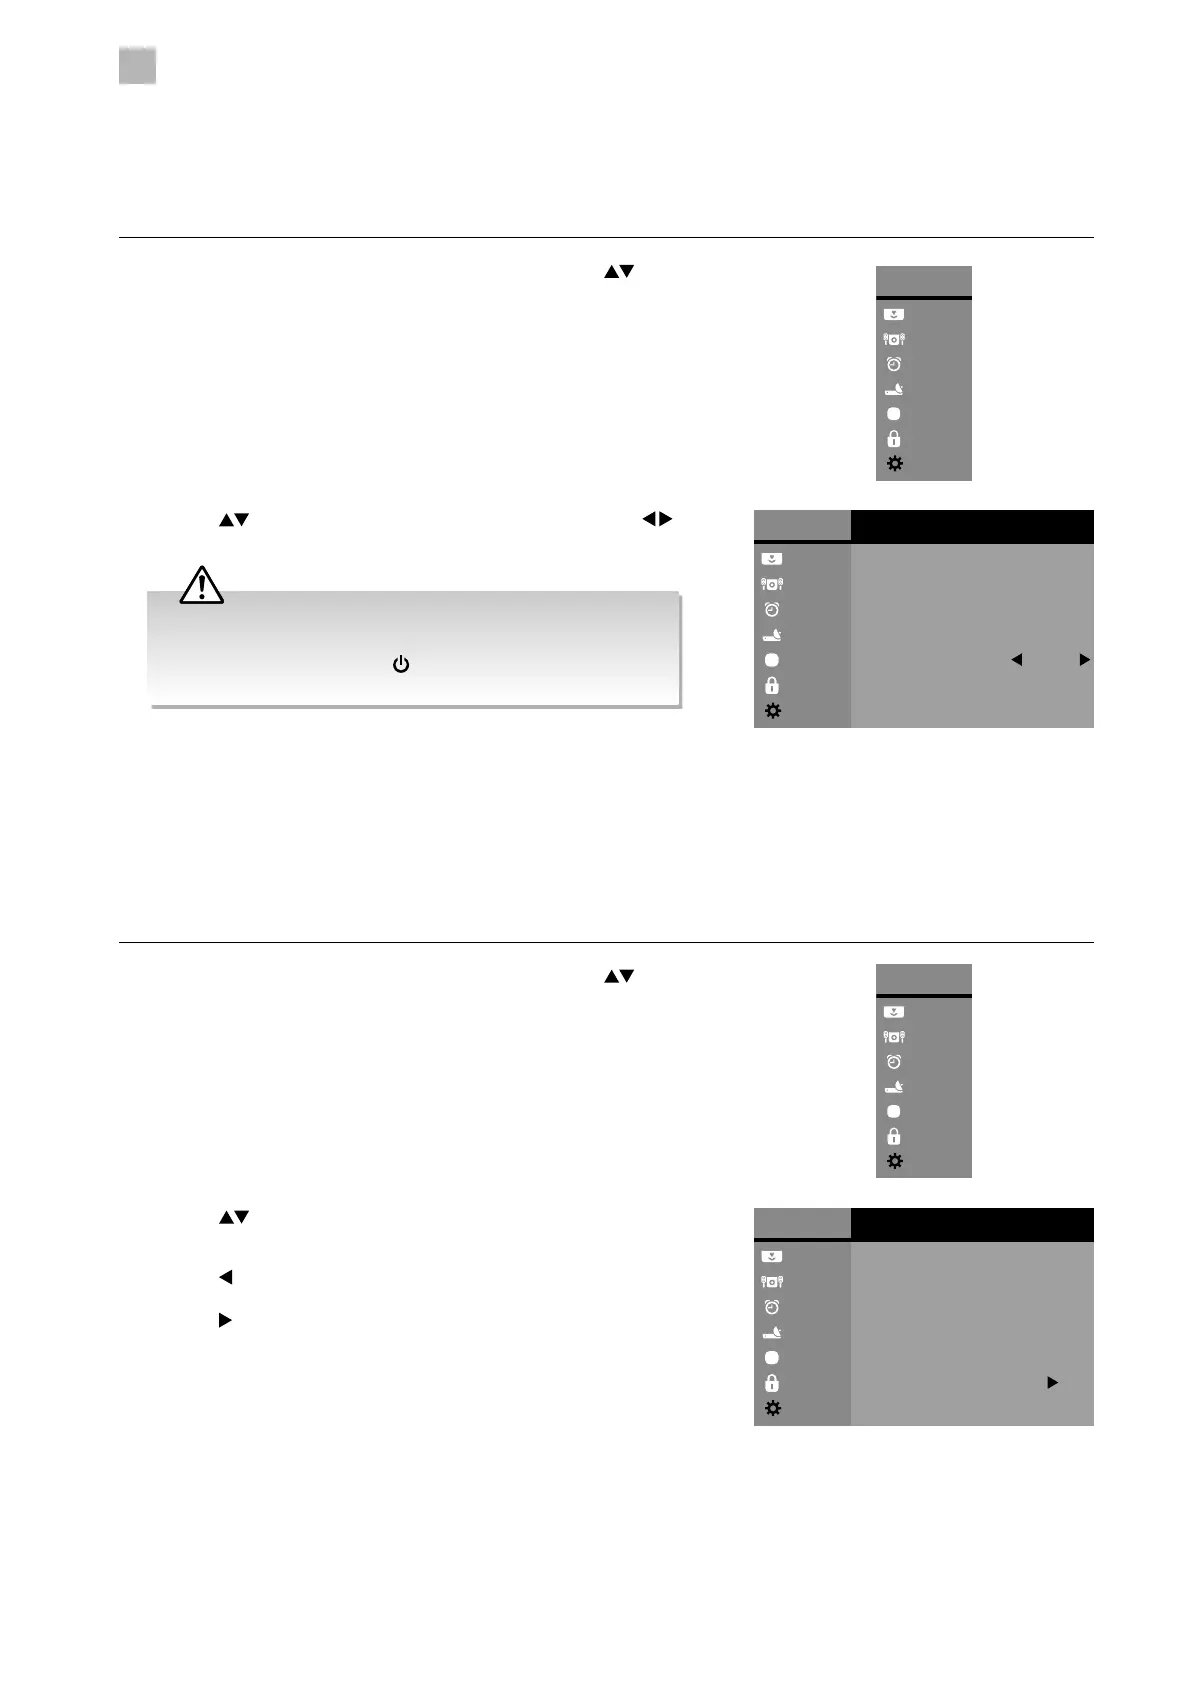
1. Press the MENU button to display the Main Menu. Press the
buttons
to select the System menu and then press the OK button.
Main Menu
Picture
Sound
Time
Channel
Option
Lock
System
Main Menu
Picture
Sound
Time
Channel
Option
Lock
System
System
Network Setting
PVR File System
Software Update
Network Upgrade
Standby Scan Off
First Time Installation
3. Press the BACK or MENU button to return to the previous menu.
4. Press the EXIT button to return to normal TV viewing.
First Time Installation
Restores all settings to the factory defaults.
1. Press the MENU button to display the Main Menu. Press the
buttons
to select the System menu and then press the OK button.
Main Menu
Picture
Sound
Time
Channel
Option
Lock
System
Main Menu
Picture
Sound
Time
Channel
Option
Lock
System
System
Network Setting
PVR File System
Software Update
Network Upgrade
Standby Scan Off
First Time Installation
4. Press the BACK or MENU button to return to the previous menu.
5. Press the EXIT button to return to normal TV viewing.
During the processing of scanning in standby mode, the LED
will blink in red, and the joystick function button can't operate
to wake up the TV. Press the
button on the remote control to
switch on the TV.
 Loading...