Preparation
12
To view an image on the TV screen, select the
video signal type correctly according to the TV
after connecting the main unit to the TV.
1 Turn on the main unit.
• Refer to “Turning on/off the main unit” on
page 13.
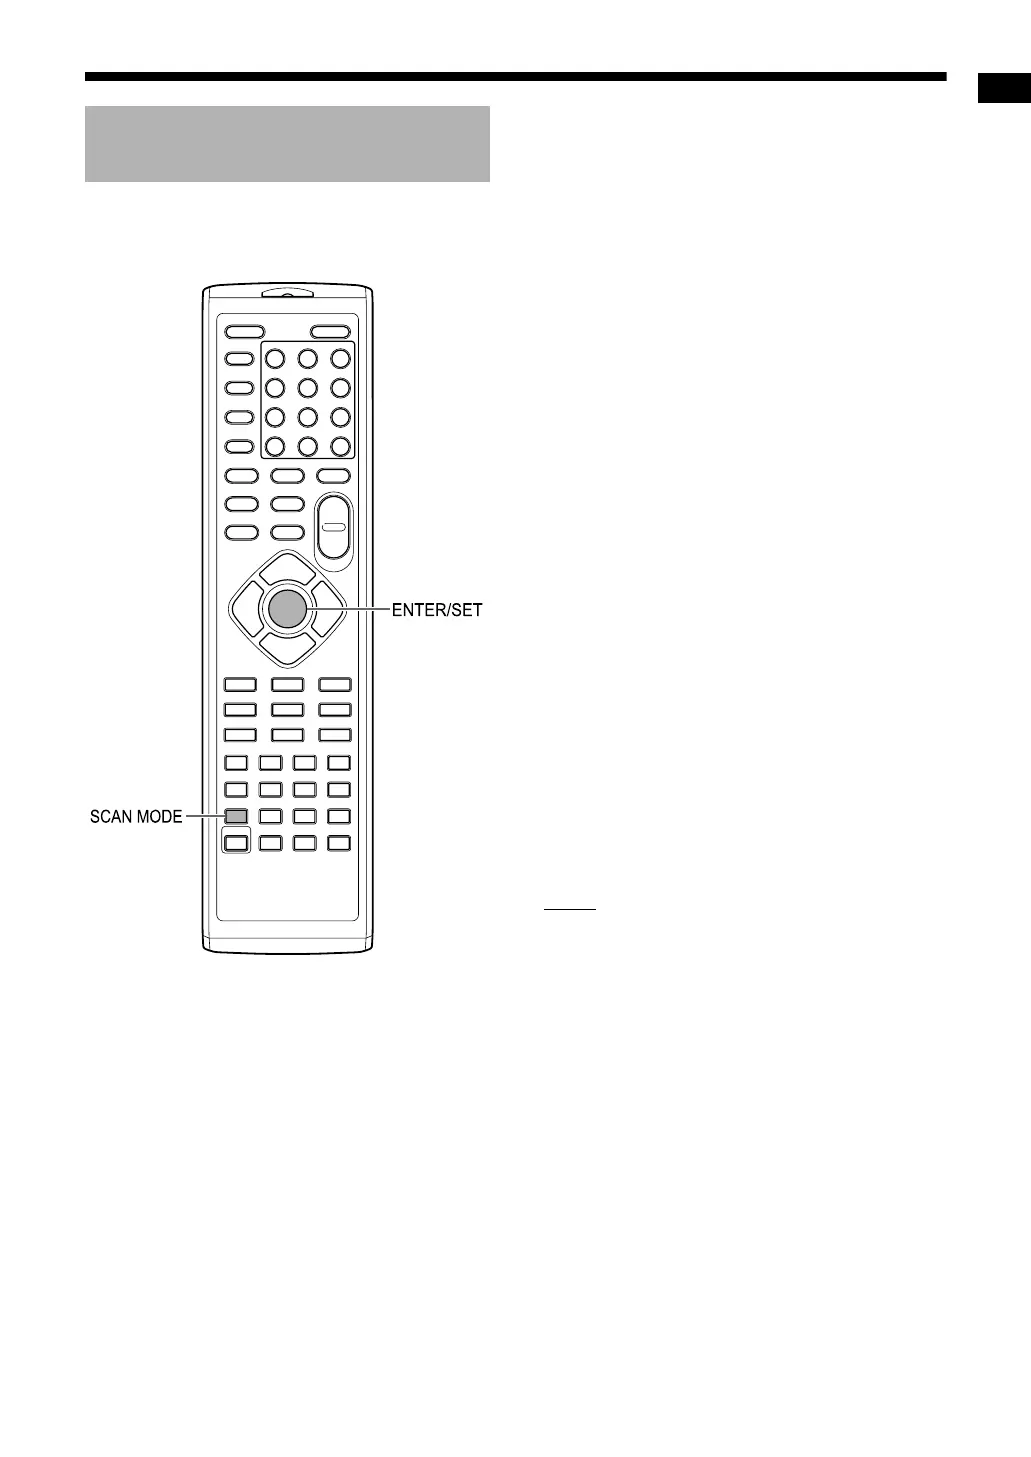
2 Press [SCAN MODE] repeatedly to
select the video signal type suit-
able for the TV.
• When the TV is connected to the [COMPO-
NENT] terminals or the [VIDEO] terminal,
the video signal type can be selected as
instructed below.
- Select “PAL 576I” for a TV only compatible
with a PAL interlaced video signal.
- Select “PAL 576P” for a TV equipped with
a component terminal and compatible with
a PAL progressive video signal.
- Select “NT 480I” for a TV only compatible
with an NTSC interlaced video signal.
- Select “NT 480P” for a TV equipped with a
component terminal and compatible with
an NTSC progressive video signal.
• When the TV is connected to the [HDMI
MONITOR OUTPUT] terminal, the video
signal type can be selected as instructed
below.
- Select “AUTO” for normal usage.
- Select “PAL 576P”, “PAL 720P”, “PAL
1080I”, “PAL 1080P”, “NT 480P”,
“NT 720P”, “NT 1080I” or “NT 1080P” as
needed. (The selectable settings differ
according to the resolution of the con-
nected TV.)
NOTE
• “480”, “576”, “720” and “1080” refer to the num-
ber of scanning lines. Generally, the larger the
number, the better picture that can be obtained.
• “I” refers to the interlaced format. “P” refers to
the progressive format. A better picture can be
obtained in the progressive format than in the
interlaced format.
• When an HDMI video signal is output, the
“HDMI” indicator lights up in the display window.
• When “PAL 576P”, “PAL 720P”, “PAL 1080P”,
“NT 480P”, “NT 720P” or “NT 1080P” is
selected, the “PRGR.” indicator lights up in the
display window.
3 Press [ENTER/SET].
Selecting the video signal
type
UX-GN9V[A]-03.fm Page 12 Tuesday, April 14, 2009 5:26 PM
 Loading...