Basic operations
16
■ When the main unit is turned on
Press [ECO/DIMMER] repeatedly.
• Each time you press [ECO/DIMMER], the setting
changes to “DIM ON”, “AUTO DIM” or “DIM
OFF” in the display window.
• When “AUTO DIM” is selected and no operation
is performed for approximately 5 minutes, the
display window automatically becomes darker
than the normal display window.
You can reduce the power consumption by turning
off the display window when the main unit is off.
■ When the main unit is turned off
Press [ECO/DIMMER] repeatedly.
• Each time you press [ECO/DIMMER], the dis-
play changes as follows.
- Selecting the normal display turns on the clock
display and activates the buttons on the main
unit.
- Selecting “DISP OFF” turns off the clock dis-
play and activates the buttons on the main
unit.
- Selecting “ECO ON” turns off the clock display
and deactivates the buttons on the main unit.
NOTE
• You can use the remote control in any of the
above cases.
• You cannot operate this function when the play-
back/recording timer is activated.
• “ECO” refers to “ecology”.
If no sound is produced for 3 minutes, the main
unit automatically turns off.
This function is available when a loaded disc, a
connected USB device or a Bluetooth device is
selected as the source.
■ When a loaded disc, a connected USB
device or a Bluetooth device is selected as
the source
Press [AUTO STBY].
• The “A.STBY” lights up in the display window.
• Each time you press [AUTO STBY], the setting
turns on and off.
When playback finishes, the auto standby function
starts a countdown. At this time, the “A.STBY” indi-
cator starts flashing.
When no operation is performed for 3 minutes, the
main unit automatically turns off.
NOTE
• When you change the source to a radio broad-
cast or device connected to the [AUDIO IN] ter-
minal, this function temporarily deactivates.
You can lock the disc tray to prevent the disc from
being ejected.
■ When the main unit is turned off
Press 0 on the main unit while hold-
ing down 7 on the main unit.
• “LOCKED” appears in the display window.
• To cancel the disc ejection lock, press 0 on the
main unit while holding down 7 on the main unit
again. “UNLOCKED” appears in the display win-
dow.
Changing the brightness of
the display window
Turning off the display
window
Auto standby function
Activating the auto standby function
Locking disc ejection
Performance of the auto standby
function
Setting the disc ejection lock
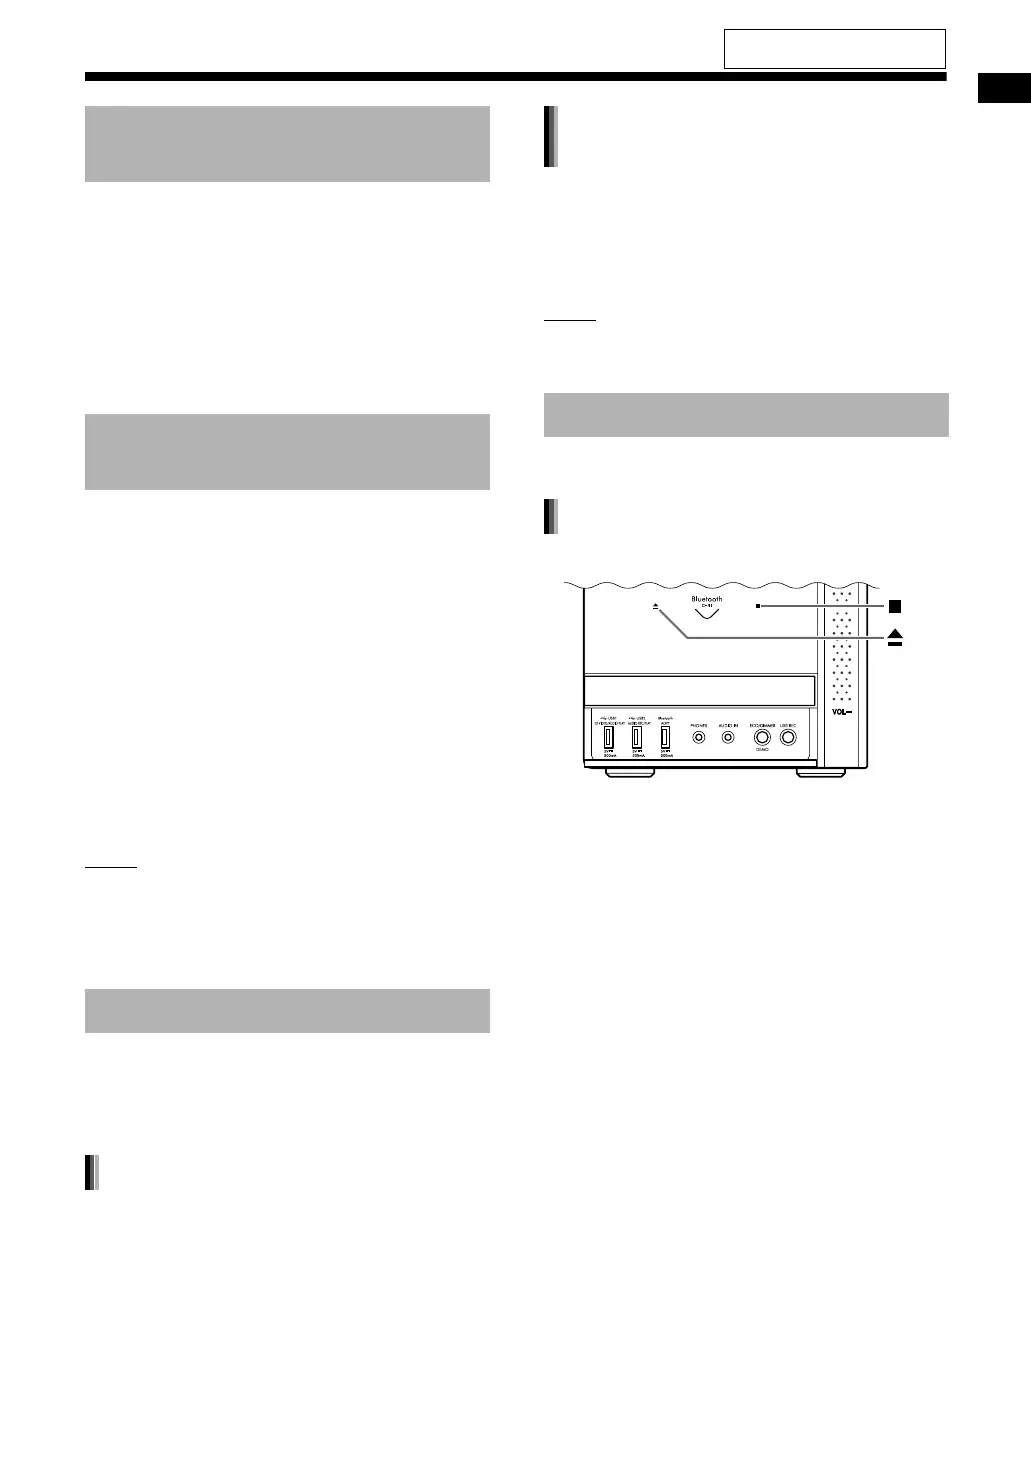
Main unit (front view)
For the locations of the remote
control buttons, refer to page 13.
UX-GN9V[A]-04.fm Page 16 Wednesday, May 13, 2009 11:41 AM
 Loading...