7: Measuring I-V characteristics of FETs Model 2450 Interactive SourceMeter® Instrument
7-6 2450-900-01 Rev. C / December 2013
Set up the application using SCPI commands with the trigger model
In this application, the gate voltage steps from 2 V to 5 V in 1 V steps, the drain voltage sweeps from
0 V to 5 V in 51 steps, and the drain current is measured. The current and voltage measurements are
stored in defbuffer1. The Model 2450 trigger model synchronizes the two Model 2450 instruments.
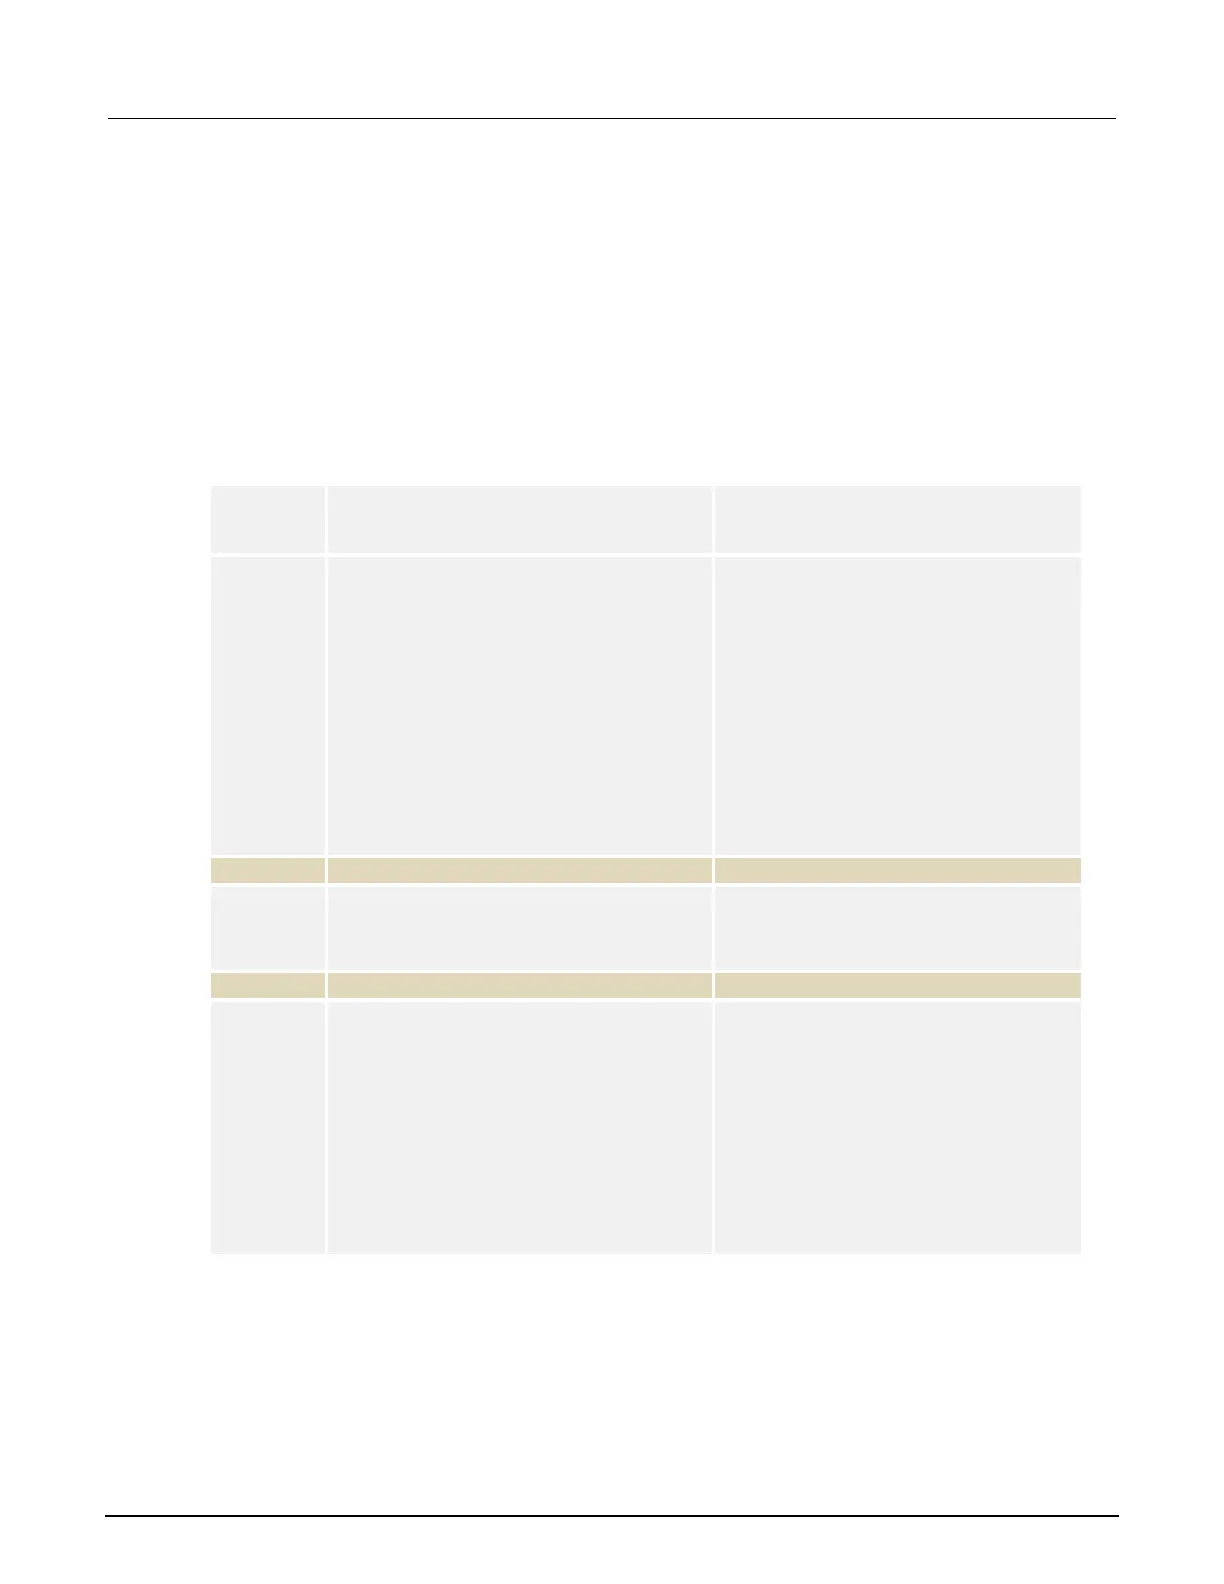
You send commands to either the sweeper on the drain (SMU 1) or the stepper on the gate (SMU 2).
In the table, commands for the sweeper have a light gray background. Commands for the stepper
have a darker gray background. The light-brown shaded code represents pseudocode that will vary
depending on the programming environment you use. Each bulleted item in the Description column
describes a single line of code in the Commands column.
Send the following commands for this example application:
SMU 1,
SMU 2, or
pseudocode
Commands Description
SENS:FUNC "CURR"
SENS:CURR:RANG:AUTO ON
ROUT:TERM REAR
SOUR:FUNC VOLT
SOUR:VOLT:RANG 20
SOUR:CONF:LIST:CRE "stepVals"
DIG:LINE1:MODE TRIG, OUT
DIG:LINE2:MODE TRIG, IN
TRIG:DIG1:OUT:STIM NOT1
TRIG:DIG2:IN:CLE
TRIG:DIG2:IN:EDGE RIS
• Reset the instrument.
• Set to measure current.
• Set to measure with autorange enabled.
• Set to rear terminals.
• Set to source voltage.
• Set to 20 V source range.
• Create a source configuration list called
stepVals.
• Set digital line 1 to trigger out.
• Set digital line 2 to trigger in.
• Set the stimulus for digital line 1 to the
notify1 event.
• Clear digital line 2.
•
Set to detect rising edge on line 2.
•
Set up a for loop from 2 to 5.
SOUR:CONF:STORE "stepVals"
• Set the voltage level to the iteration
number.
• Store the source configuration to
• End the
loop.
SMU 1
"stepVals"
TRIG:BLOC:SOUR:STAT 2, ON
TRIG:BLOC:MEAS 3
TRIG:BLOC:NOT 4, 1
TRIG:BLOC:WAIT 5, DIG2
TRIG:BLOC:CONF:NEXT 6, "stepVals"
TRIG:BLOC:BRAN:COUN 7, 4, 3
TRIG:BLOC:SOUR:STAT 8, OFF
• Create trigger model block 1 to load
stepVals at the first index.
• Create block 2 to turn the output on.
• Create block 3 to make a measurement.
• Create block 4 to generate the notify1
event.
• Create block 5 to wait on digital line 2.
• Create block 6 to load the next index of
stepVals.
• Create block 7 to branch to block 3, 3
times.
• Create block 8 to turn the output off.

 Loading...