TP-5594 5/953-12 Scheduled Maintenance
Belt Tension
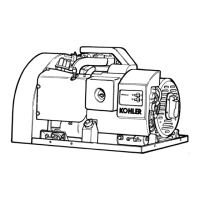
Adjustthebelttensionsothatthe belt can bedepressed
about 0.28 to 0.35 in (7 to 9 mm) with about 22 lbs. (10
kg) of force, see Figure 3-12.
1-932
1
2
3
1. Adjusting Screw
2. Pivot Screw
3. Fan Belt
Figure 3-12. Belt Tension
1. Disconnect battery, negative lead first.
2. Loosen pivot and adjusting screws.
3. While prying battery-charging alternator outward,
tighten adjusting screw.
4. Tighten pivot screw.
5. Recheck and adjust as necessary.
6. Reconnect battery, negative lead last.
NOTE
Check fan belt for cracks or tears and replace if
necessary.
WARNING
Hazardous voltage.
Moving rotor.
Can cause severe injury or death.
Do not operate generator set without all guards and
electrical enclosures in place.
Exposed moving parts can cause severe injury or
death. Keep hands, feet, hair, clothing, and test leads
away from belts and pulleys when generator set is
running. Replace guards, screens, and covers before
operating generator set.
Battery Charging
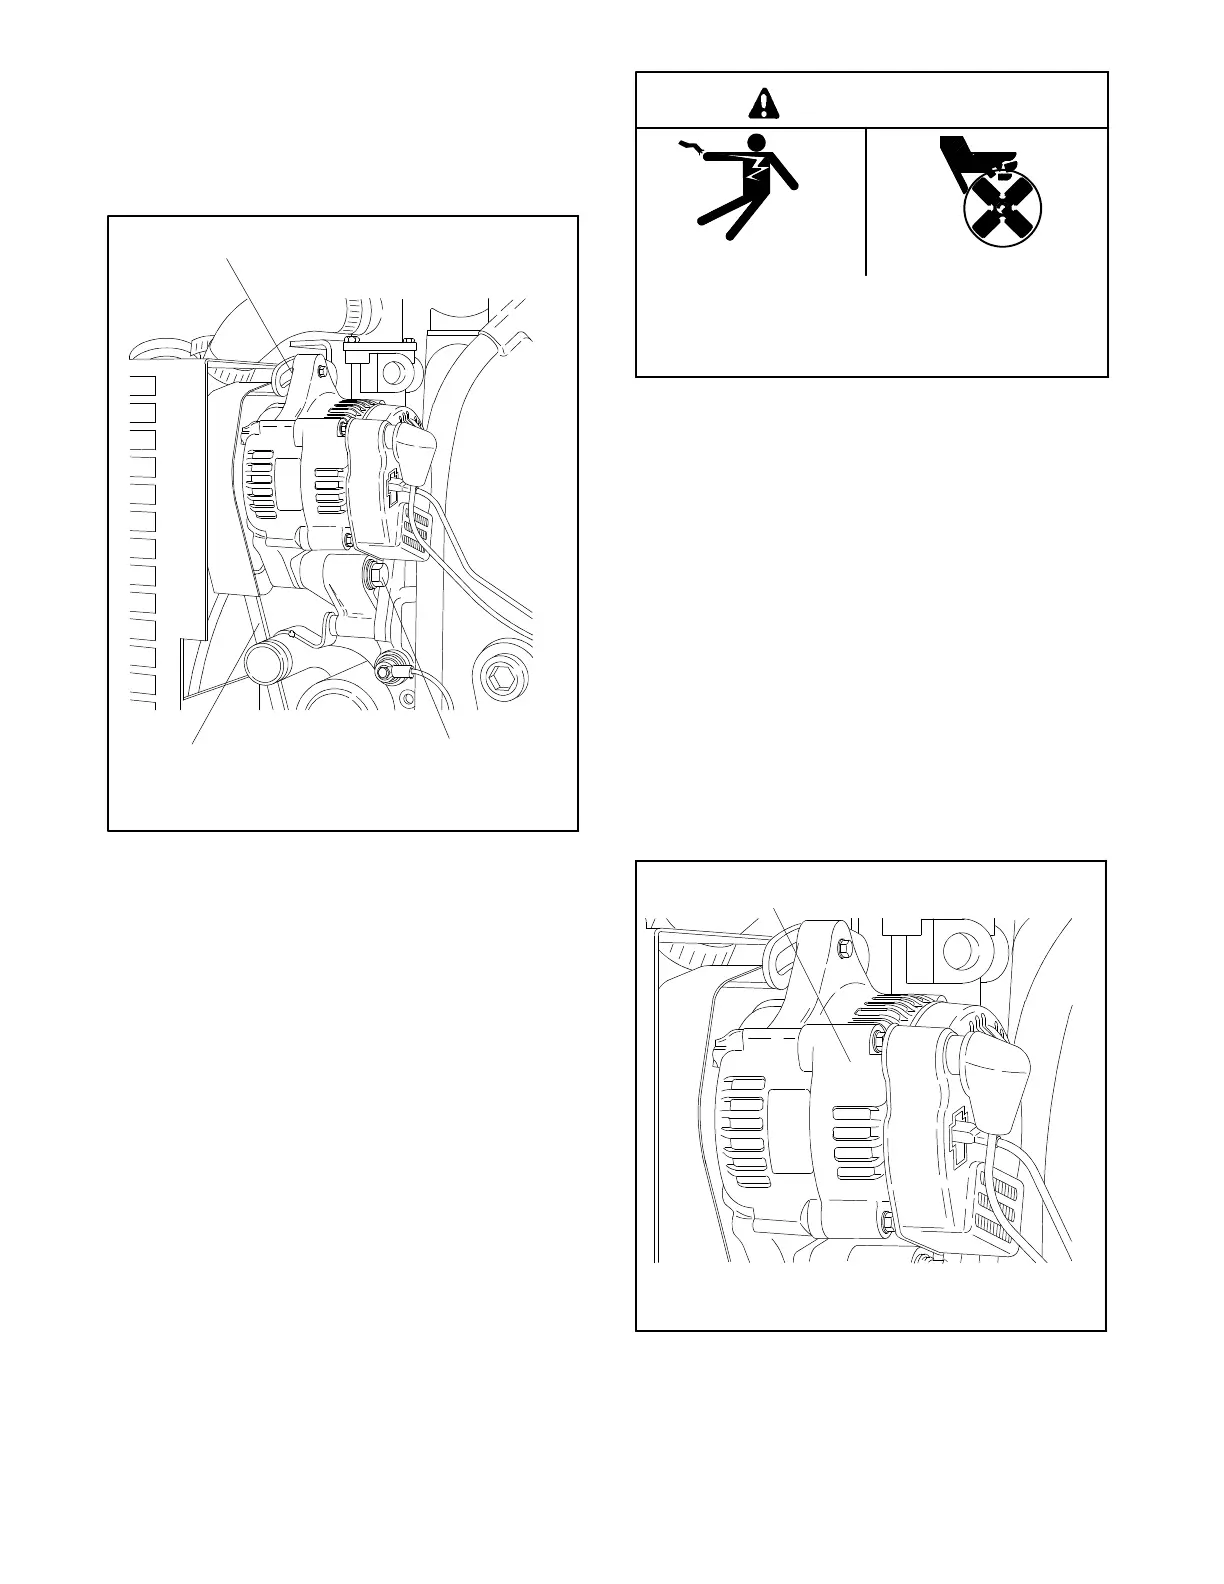
Your generator is equipped with a 20-amp, belt-driven
battery charging alternator. See Figure 3-13. It is
attached to the engine block by a bracket and serves to
keepthebatteryconstantlycharged. Besuretoobserve
battery polarity when connecting the battery to the
generator set. The alternator requires no maintenance
other than maintaining belt tension. To adjust the
alternator belt tension, see Belt Tension.
1-932
1
1. Battery Charging Alternator
Figure 3-13. Battery Charging Alternator
 Loading...