Section 5 OTHER CONVENIENT FUNCTIONS
5-3
4
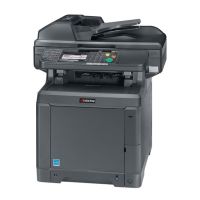
Specify the binding direction of the originals.
Inch specifications
<for 2-sided originals> <for open-faced originals>
Metric specifications
<for 2-sided originals> <for open-faced originals>
5
Select the binding direction you want for the finished copies.
Inch specifications
<
for 1-sided or 2-sided originals
> <for open-faced originals>
Metric specifications
<
for 1-sided or 2-sided originals
> <for open-faced originals>
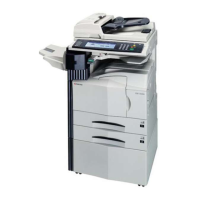
6
Follow the instructions on the right side of the touch panel
and verify the direction in which the originals were set.
IMPORTANT!
If the designation for the direction that the originals are set is not
correct, copying may be accomplished incorrectly.
Inch specifications
<
for 1-sided or 2-sided originals
> <for open-faced originals>
Metric specifications
<
for 1-sided or 2-sided originals
> <for open-faced originals>
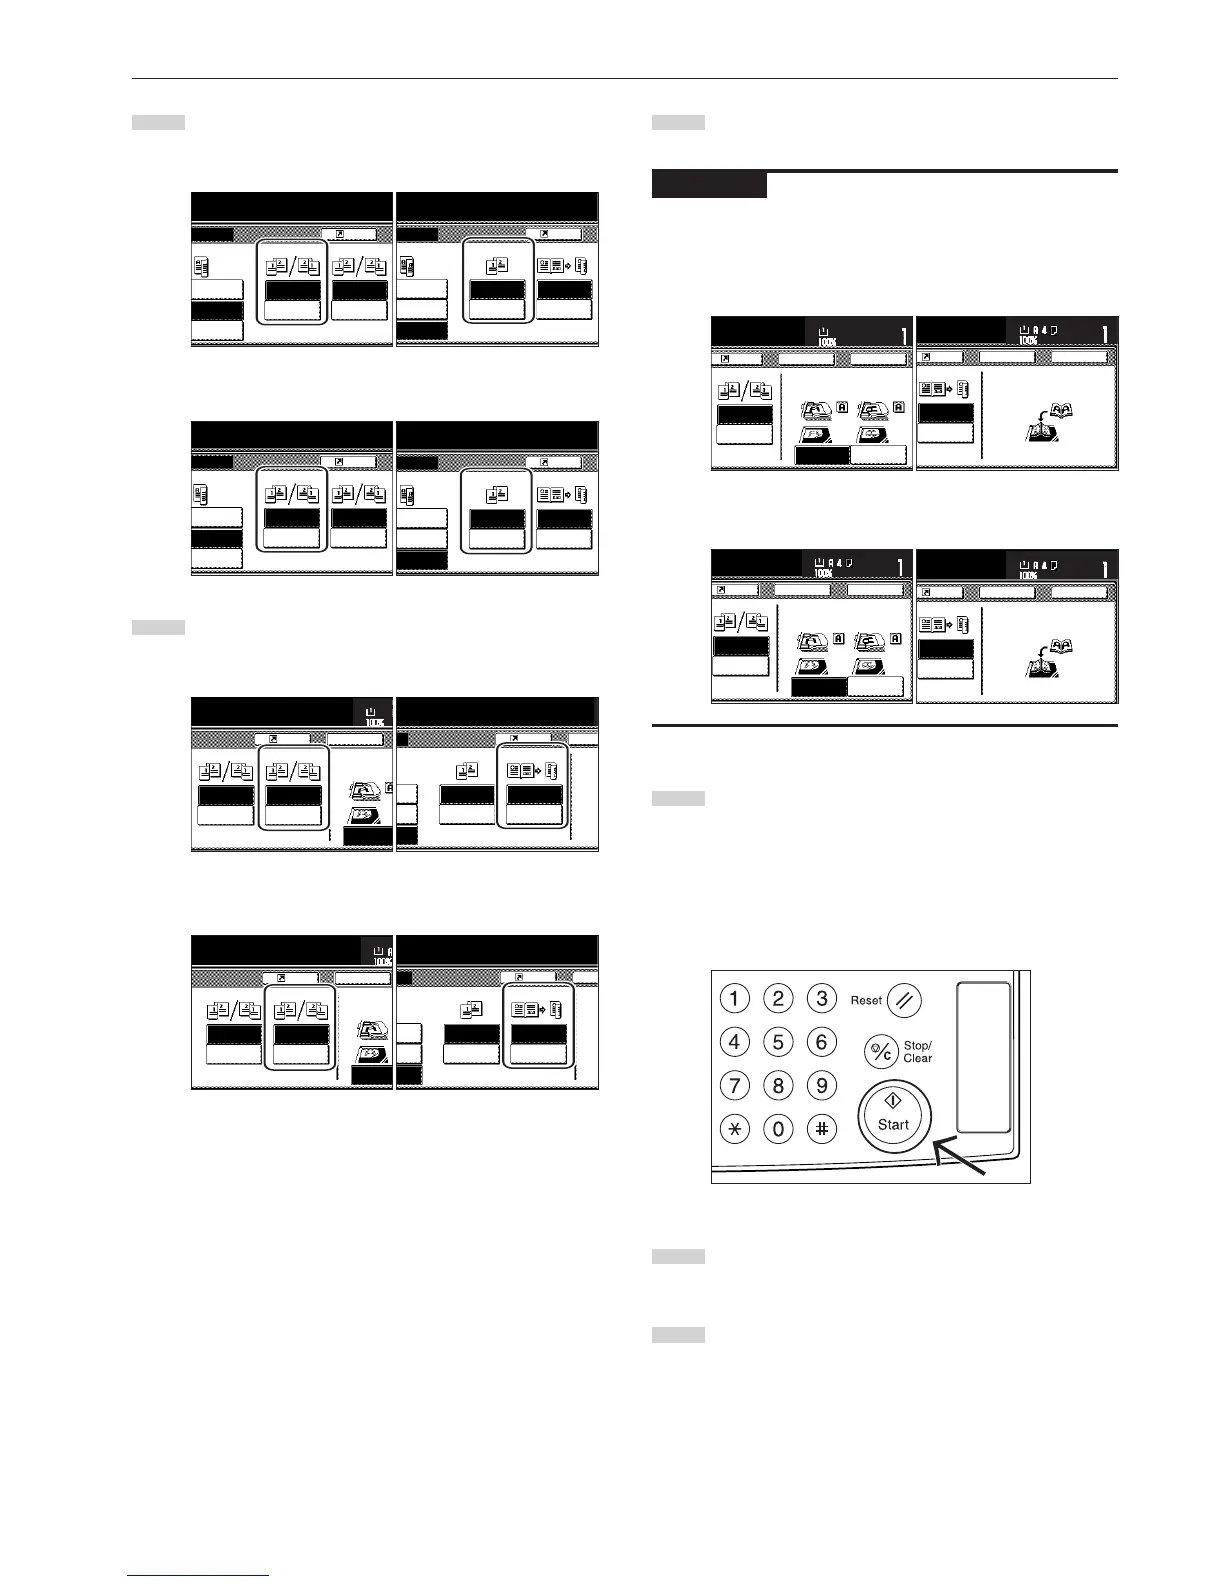
7
Press the [Start] key.
Scanning of the originals will start.
If you set the originals in the optional Document Processor,
copying will start automatically.
If you set an original on the platen, a message will appear
telling you to set the next original. In this case, go to the next
step.
8
Replace the first original with the next one and press the
[Start] key. Scanning of that next original will start.
9
Once you have finished scanning all of the originals, touch
the “Scanning finished” key. Copying will start.
Finished
Back Edg
 Loading...