Section 7 COPIER MANAGEMENT FUNCTIONS
7-8
5
Touch the “Close” key. The touch panel will return to the
screen in step 3.
6
Touch the “Close” key once again. The touch panel will return
to the screen in step 2.
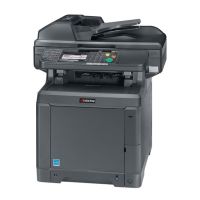
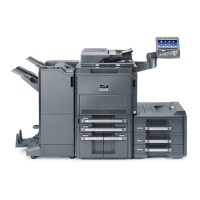
Inch specifications
Amend the number of copy
Management menu
Correction
ID-code
Number of copy
Close
Up
Down
Default setting - Management code menu
Metric specifications
Amend the number of copy
Management mode
Correction
ID-code
Number of copy
Close
Up
Down
Default setting - Management code menu
7
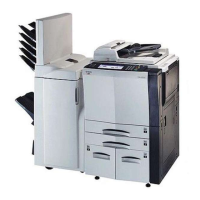
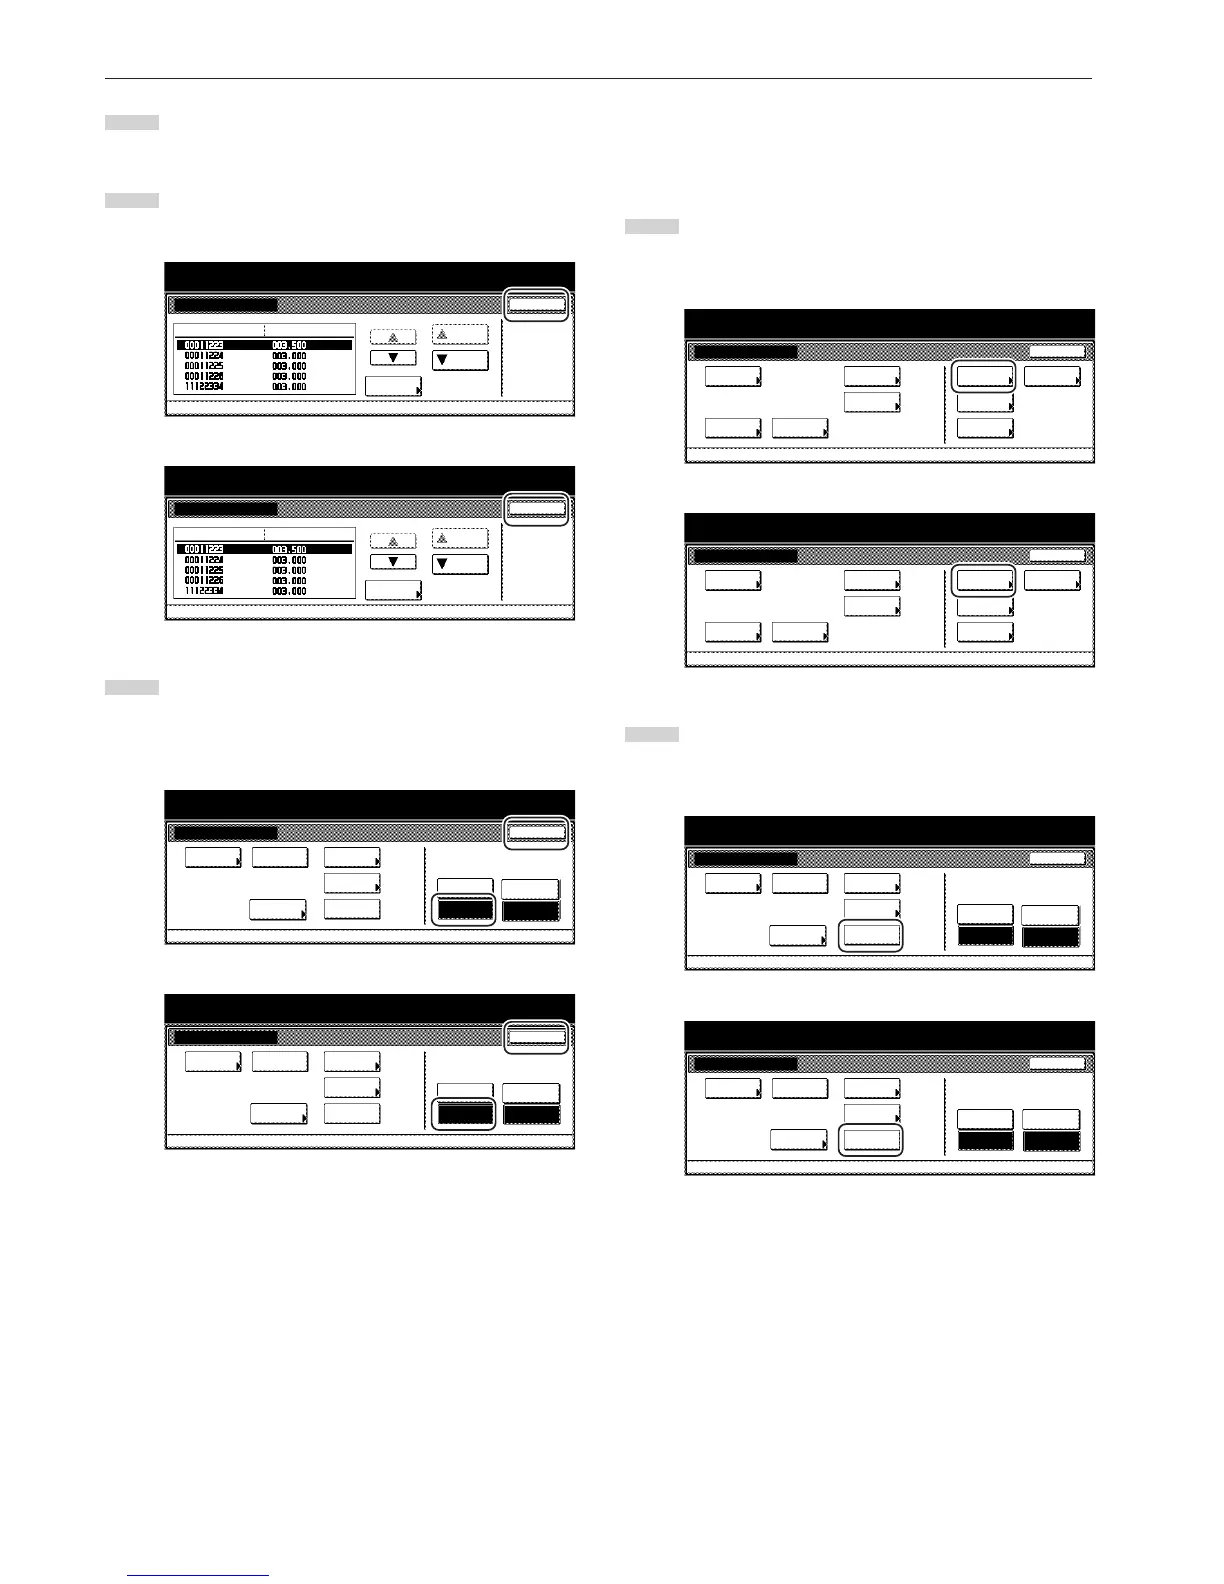
Make sure that the “On” key is selected under “copy” and
then touch the “Close” key. Copy management will be turned
ON and the screen to enter your department ID-code will be
displayed.
Inch specifications
Counter
by ID-code
Print
the list
Management menu
Default setting
Management code menu
# of copy
clear
Counter
correct
ID-code
Reg./Del.
Printercopy
Off
On
Close
Off
On
Print
Err. PRT.
Metric specifications
Counter
by ID-code
Print
the list
Management mode
Default setting
Management code menu
clear
counter
ID-code
Reg./Del.
PrinterCopy
Off
On
Close
# of copy
correct
Off
On
Print
Err. PRT.
● Clearing copy counts
Perform this procedure to clear the copy counts for all of the
registered department ID-codes after a designated period of time.
1
Display the “Management code menu” screen.
(See “(2) Accessing the copy management mode settings”
on page 7-3.)
Inch specifications
2
Touch the “Counter clear” key.
A message asking you to confirm whether or not you really
want to clear all copy counts will appear.
Inch specifications
 Loading...