Section 3 PREPARATIONS
3-2
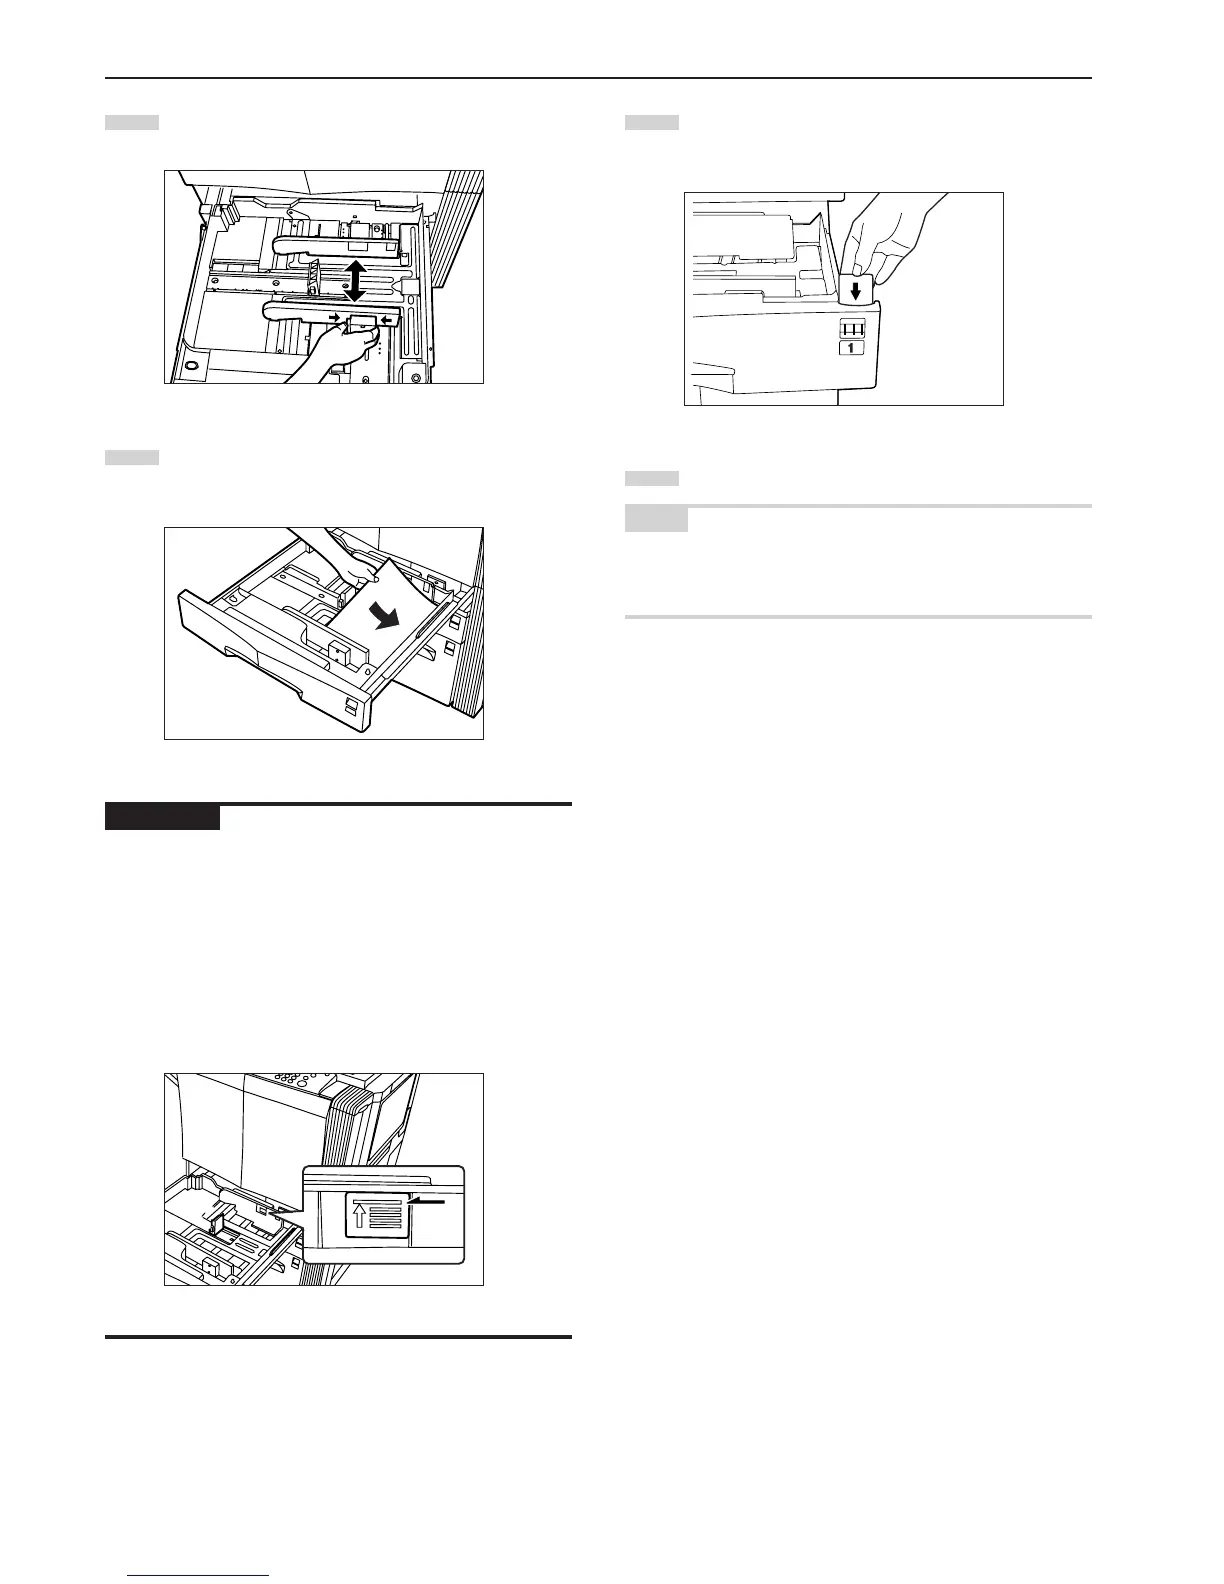
3
Move the paper width guide plate to fit the width of the paper
that is to be loaded in that drawer[cassette].
4
Align the paper flush against the right side of the
drawer[cassette], and then set the paper in the
drawer[cassette].
IMPORTANT!
• Make sure there are no folds, etc., in the paper you load into the
drawers[cassettes]. Folds, etc., can cause paper jams.
• DO NOT load more paper than is indicated by the sticker located on
the inside of the drawer[cassette] (shown as 1 in the illustration).
• When you are loading paper into the drawer[cassette], make sure
that the side to be copied onto is facing downward. (The copy side is
the side facing upward when the package is opened.)
• Make sure that the paper is set securely against the paper length
and width guide plates. If there is a gap between the paper and any
guide plate, readjust the guide plates to fit the paper snugly.
1
5
Insert the appropriate paper size label into the front of the
drawer[cassette] to indicate the size of paper that is loaded
into that drawer[cassette].
6
Gently push the drawer[cassette] back in.
NOTE
If you will not be using the copier for a prolonged period of time,
remove all paper from the drawers[cassettes] and seal it in its original
packaging in order to protect it against moisture.
 Loading...