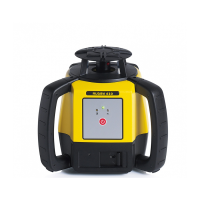
Rugby 620, Description of the System
16
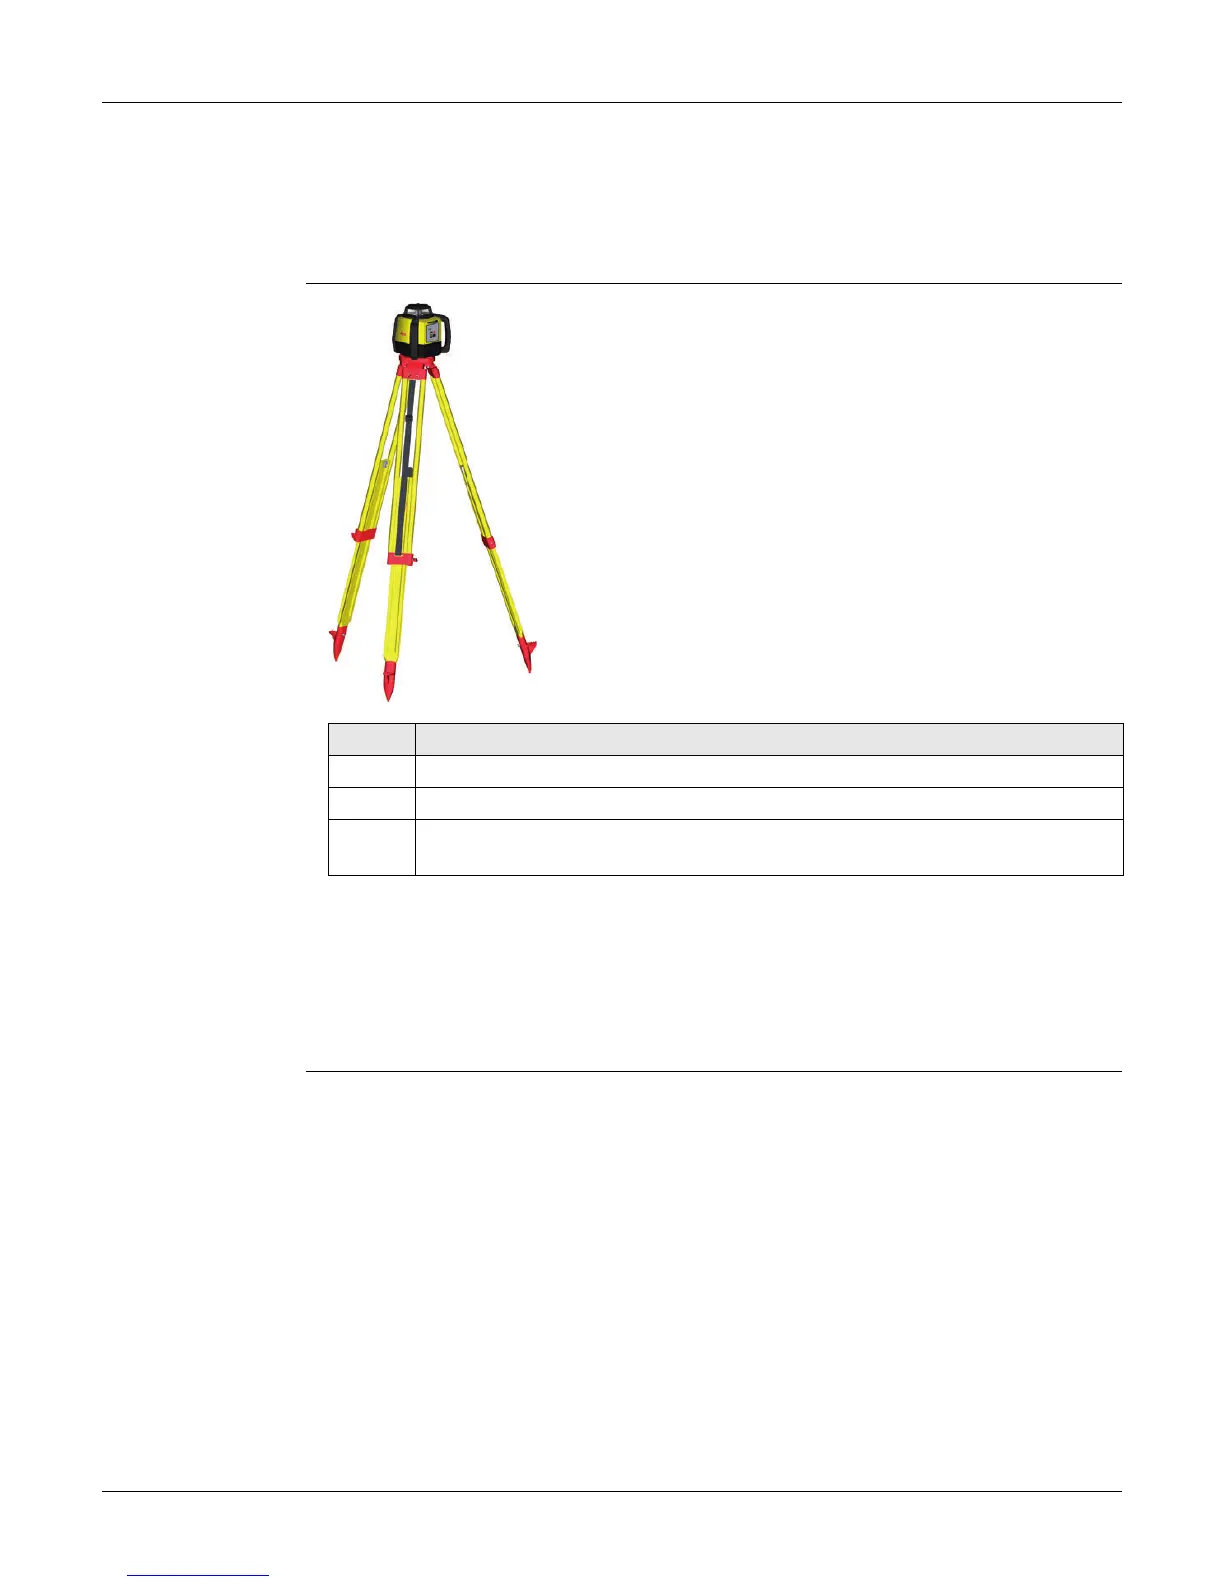
2.4 Setup
Location • Keep the location clear of possible obstructions that could block or reflect the laser
beam.
• Place the Rugby on a stable ground. Ground vibration and extremely windy condi-
tions can affect the operation of the Rugby.
• When working in a very dusty environment place the Rugby up-wind so the dirt is
blown away from the laser.
Setting up on a
Tripod
• Attach the Rugby securely to a tripod or laser trailer, or mount on a stable level
surface.
• Always check the tripod or laser trailer before attaching the Rugby. Make sure all
screws, bolts and nuts are tight.
• If a tripod has chains, they should be slightly loose to allow for thermal expansion
during the day.
• Secure the tripod on extremely windy days.
Step Description
1. Set up the tripod.
2. Place the Rugby on the tripod.
3. Tighten the screw on the underside of the tripod to secure the Rugby on the
tripod.
005785_001

 Loading...