11
Terminal
DCw
The following procedure reinitialises the terminal and removes the connection to the reference access point.
Access in the parameter programming procedure and set loc21 = ON.
Parameter loc21 is used to return the terminal to the default configuration (including the supervisor address).
Sensor
SCw
The address of the sensor can only be set again if it has first been associated with an access point; in the case the
connection to the access point in question will be removed.
Press the button on the rear until the LED flashes (10s);
Release the button;
The LED will flash quickly;
The device is reinitialised if when pressure the button again the LED remains on for 15s.
Note:
Resetting the terminal/sensor does not eliminate the space reserved for the terminal inside the access point. Note that,
after resetting the terminal/sensor, the number of devices on the access point remains unvaried.
SETTING AND ASSIGNMENT
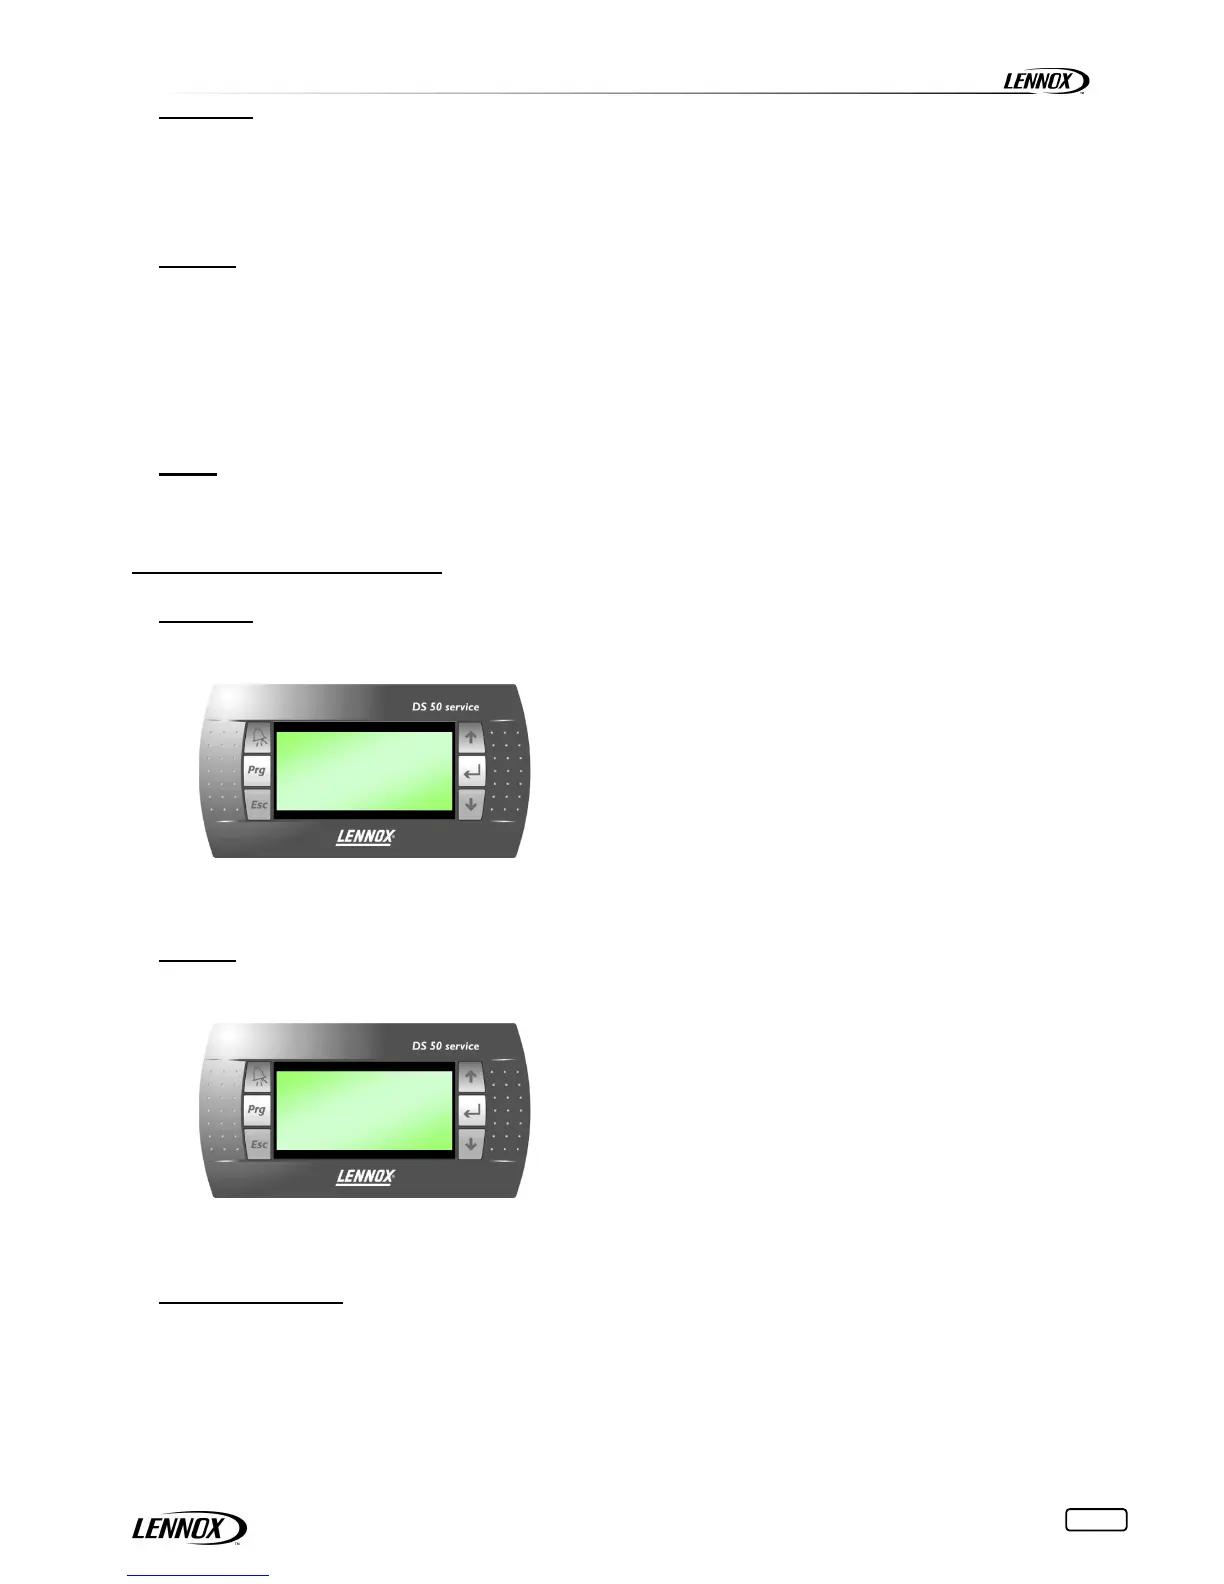
Terminal
DCw
In the special screens, search the screen beginning with [ Wireless (DCw) ]
This screen can display the temperature, and humidity,
as measured by the display and adjust an offset to these
sensors.
To change the value of an offset:
The cursor blinks at the top left of the screen. Press
the button ' ' to move the cursor to the value of offset
temperature.
Press the buttons '↓' or '↑' to change the value.
Then press, again, the button ' ' to validate the new
value and position the cursor on the value of the offset
humidity.
Then press, again, the button ' ' to validate the new
value and position the cursor in the upper right corner.
Sensor
SCw
In the special screens, search the screen beginning with [ Wireless (SCw) ] or several
This screen can display the temperature, and humidity,
as measured by the sensor and adjust an offset to these
sensors.
To change the value of an offset:
The cursor blinks at the top left of the screen. Press
the button '' to move the cursor to the value of offset
temperature.
Press the buttons '↓' or '↑' to change the value.
Then press, again, the button '' to validate the new
value and position the cursor on the value of the offset
humidity.
Then press, again, the button '' to validate the new
value and position the cursor in the upper right corner.
Choice of probes
Warning: if this is not carried out, the unit will work with its return probe, and not with the probes system Wireless.
The following special screens to select the probes used by the unit.
You'll find 12 screens identical; representing 12 units can be connected to Master/Slave.
Each unit has the opportunity to work on the average values of sensors connected to all units slaves bus. (Altogether it is
possible to work on the average of 84 probes of the bus, 7x12)
 Loading...