Rev: 10.22.19 Page 16
CCD-0001541
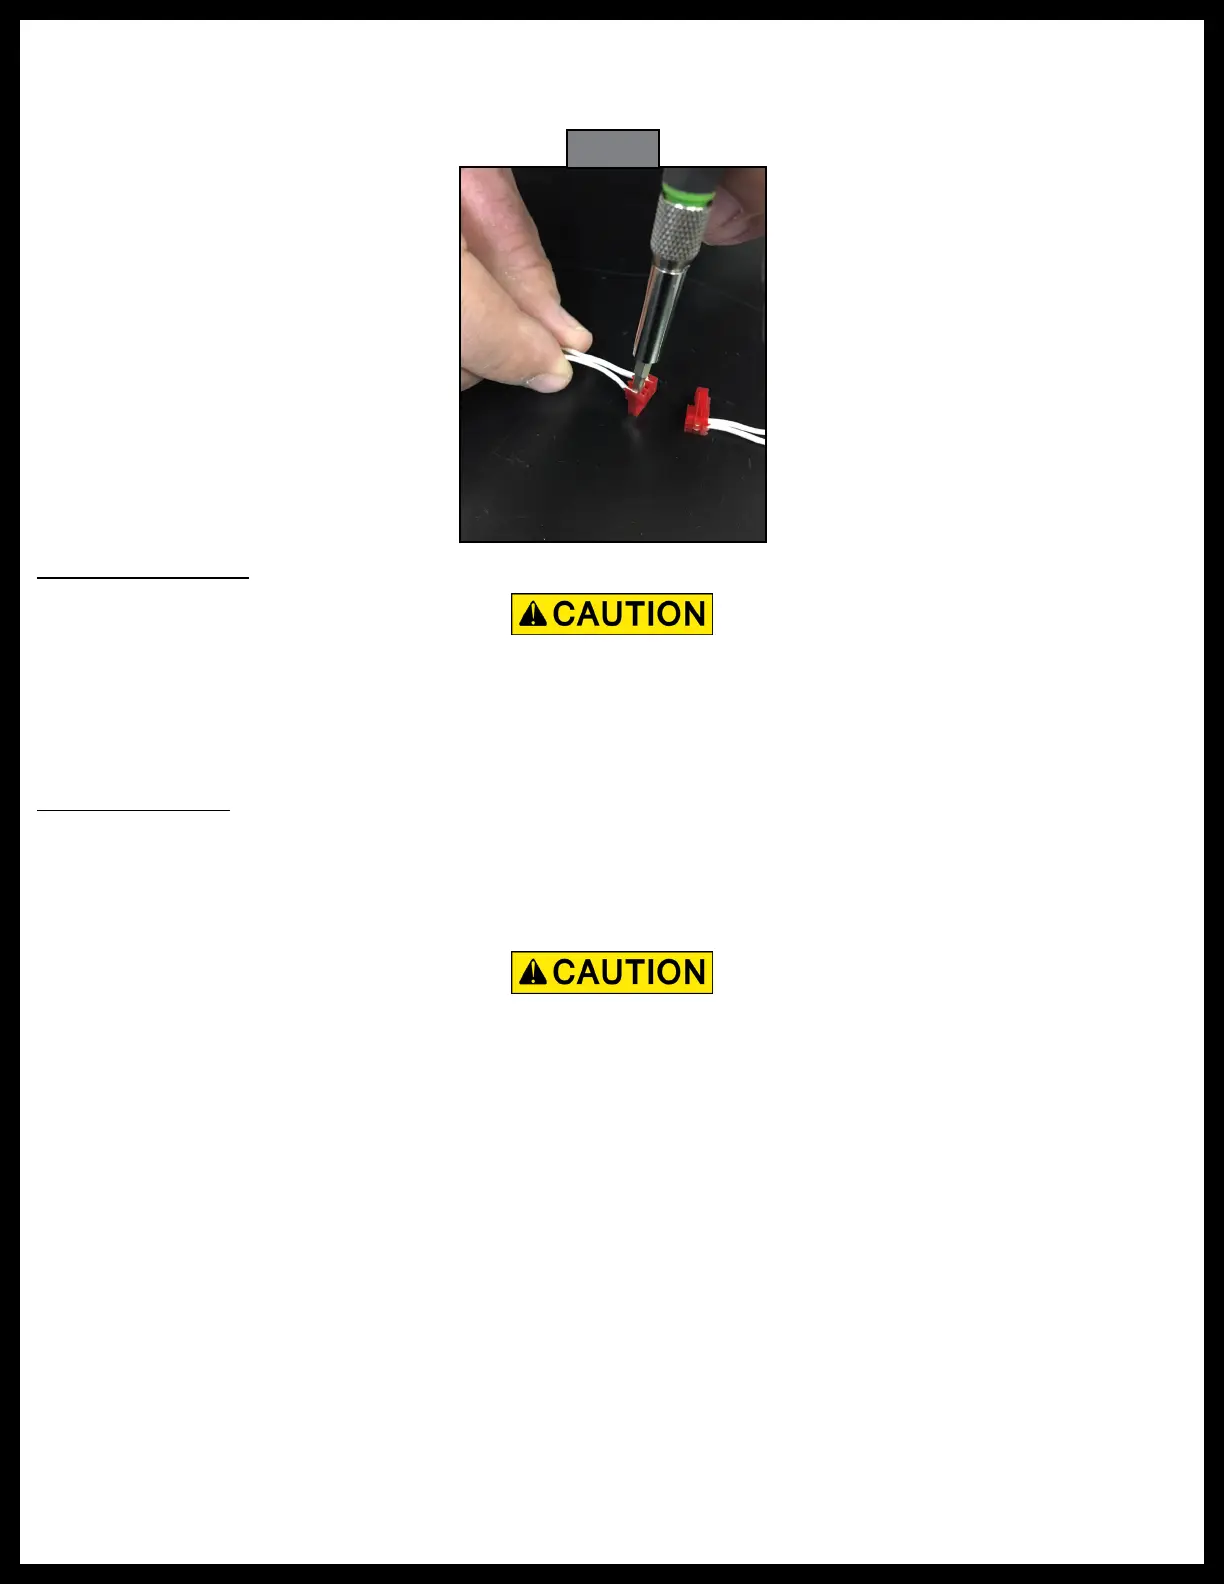
6. Check to make sure that the wires punched down into the microswitch connectors (small red ones)
are tightly secured. If necessary, press wires firmly in-place with a small screwdriver blade (Fig. 27) to
make sure that the pins in the connector bite through the insulation on the wire.
Bed Lift Operation
Moving parts can cut or crush. Keep clear of moving parts.
2. Remove the motor plug from the control module.
3. Release the brake lever on the end of the motor.
NOTE: If the beds are up, they will drift downward.
4. Briefly jump 12V DC from a known good source to the motor wires.
5. Use care not to contact the limit switches. If the beds move too close to the limit switches, reverse
the wires to reverse the direction of the beds. Run the beds this way only long enough to verify
motor operation.
Fig. 30
Moving parts can cut or crush. Keep clear of moving parts.
1. Press and hold the bed lift control switch UP button (Fig. 23A) to make the lift go up.
2. Continue to hold the UP button until the limit switches (microswitches) stop the lift's movement.
3. Press and hold the DOWN button (Fig. 23B) until the limit switches stop the lift's movement.
Motor and Brake
If the motor does not operate properly in this test mode, the problem may still be unrelated to the motor.
If uncertain of failure, contact LCI customer service before replacing the motor. See back cover page for LCI
customer service contact information.
1. Position the bed(s) well out of the upper and lower limit switches.
 Loading...