Adjust the microswitches after replacing old with new door
hinges.
Micro-switch alignment is NOT required if just refitting the same
door.
Tools required
M7 hex socket wrench
Requirements
Check that the following requirements have been met:
The appliance has been disconnected from the power supply and protective measures have been
taken to ensure the power cannot be switched on again.
The appliance is cool.
The top and side panels of the casing of the appliance have been removed.
The high voltage capacitors are discharged before commencing work.
Anti-static precautions have been taken.
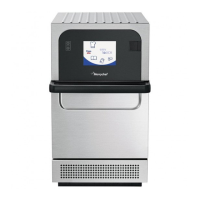
Adjusting the door microswitches
1.
Located on the door hinges are 3 safety interlock microswitches,
to prevent microwave emissions escaping when the oven door is
opened:
The primary microswitch (SW3) breaks the electrical supply
circuit to the transformers.
The secondary microswitch (SW2) breaks the microwave circuit if
the primary fails.
The monitor switch (SW1) will short out the microwave circuit
blowing the fuse if both primary and secondary interlocks fail.
IMPORTANT:
In the event that the monitor switch causes the microwave circuit
fuse to blow, the secondary (SW2) and monitor (SW1)
microswitches must be replaced due to exposure to high
short-circuit currents.
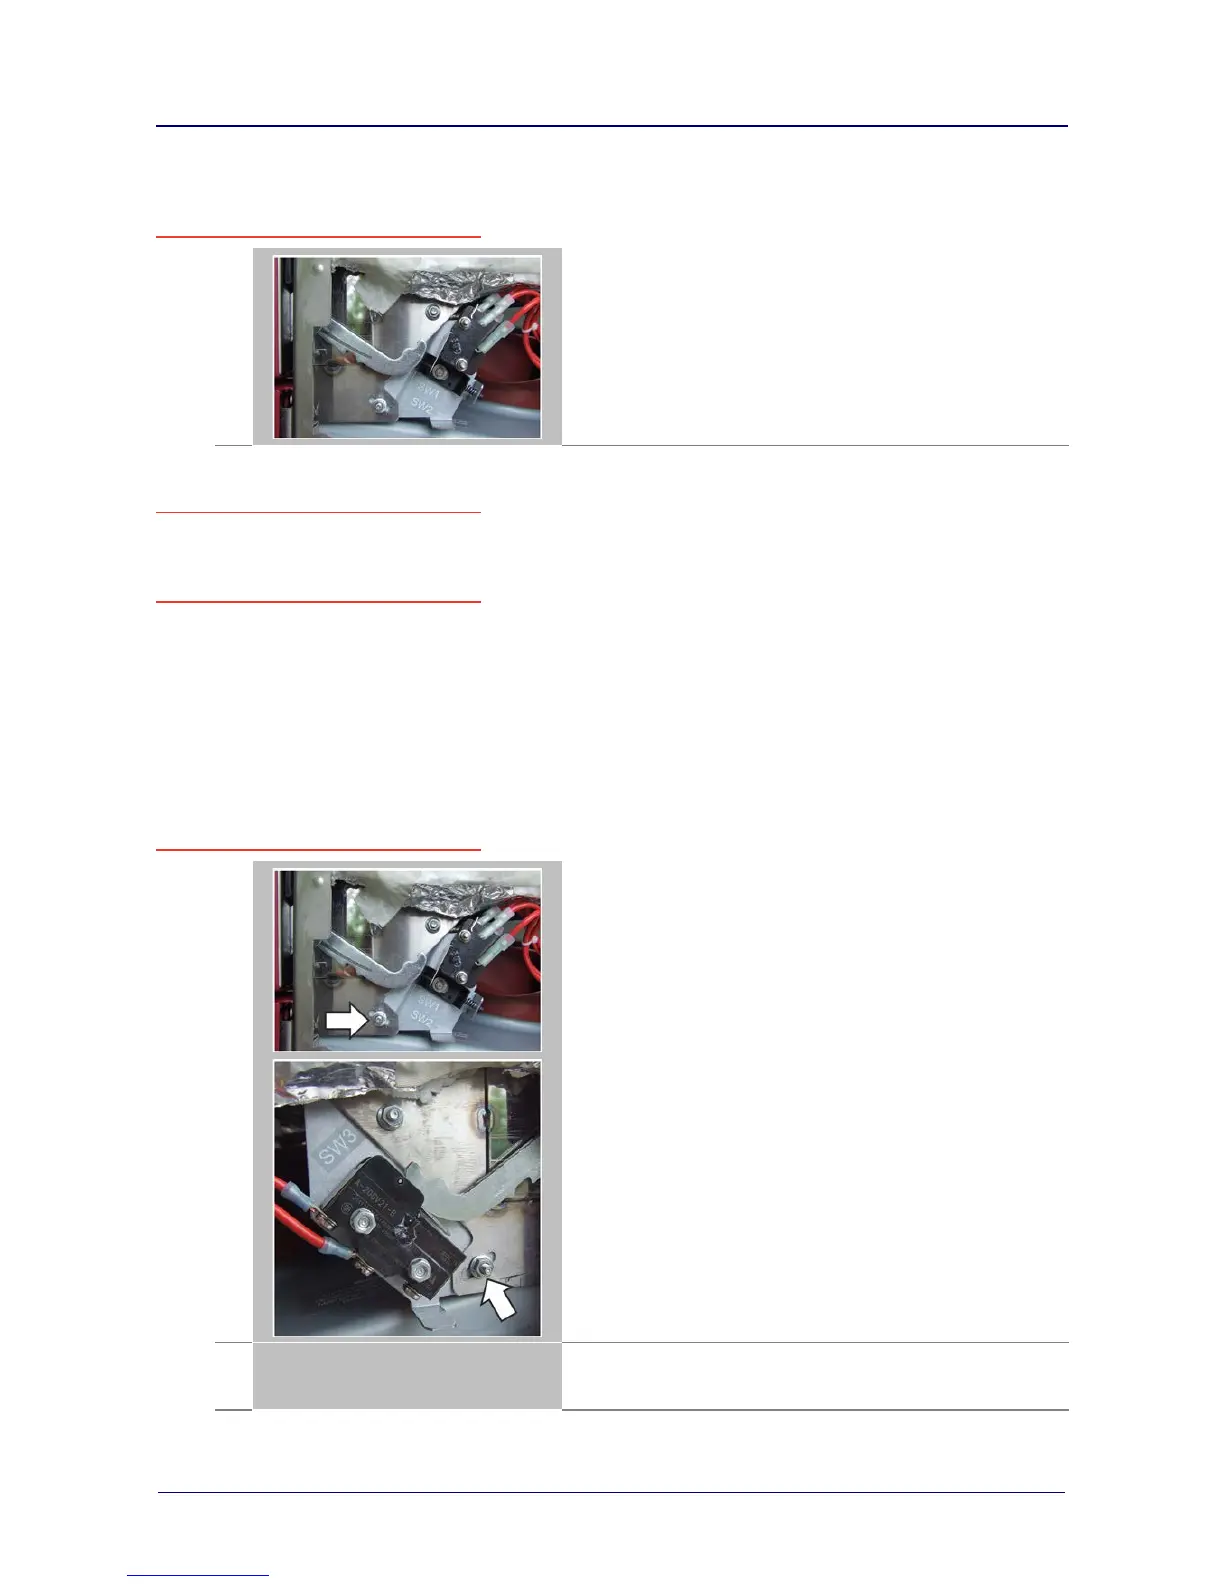
The purpose of the following adjustment procedure is to set the
interlock to switch off the microwave circuit when the door is
opened more than 4 mm and for the microwave circuit to operate
when the door is closed and the door seal expands.
2.
Position green 2 mm spacers over the top corners of the door
seal. Then carefully close the door ensuring the spacer is still in
position.
 Loading...